Creating Tenant Accounts in Wallarm Console
These instructions provide you with the steps for the correct configuration of tenant accounts.
The term "partner client"
Previously, "tenant" was referred to as "partner client". We further use the term "tenant".
Configuring tenant accounts
To configure tenant accounts:
-
Sign up for Wallarm Console and send a request for activating the multitenancy feature for your account to Wallarm technical support.
-
Create a tenant account.
-
Associate specific traffic with the tenant and its applications.
Step 1: Sign up and send a request to activate the multitenancy feature
-
Fill in and confirm the registration form in Wallarm Console in the US Cloud or EU Cloud.
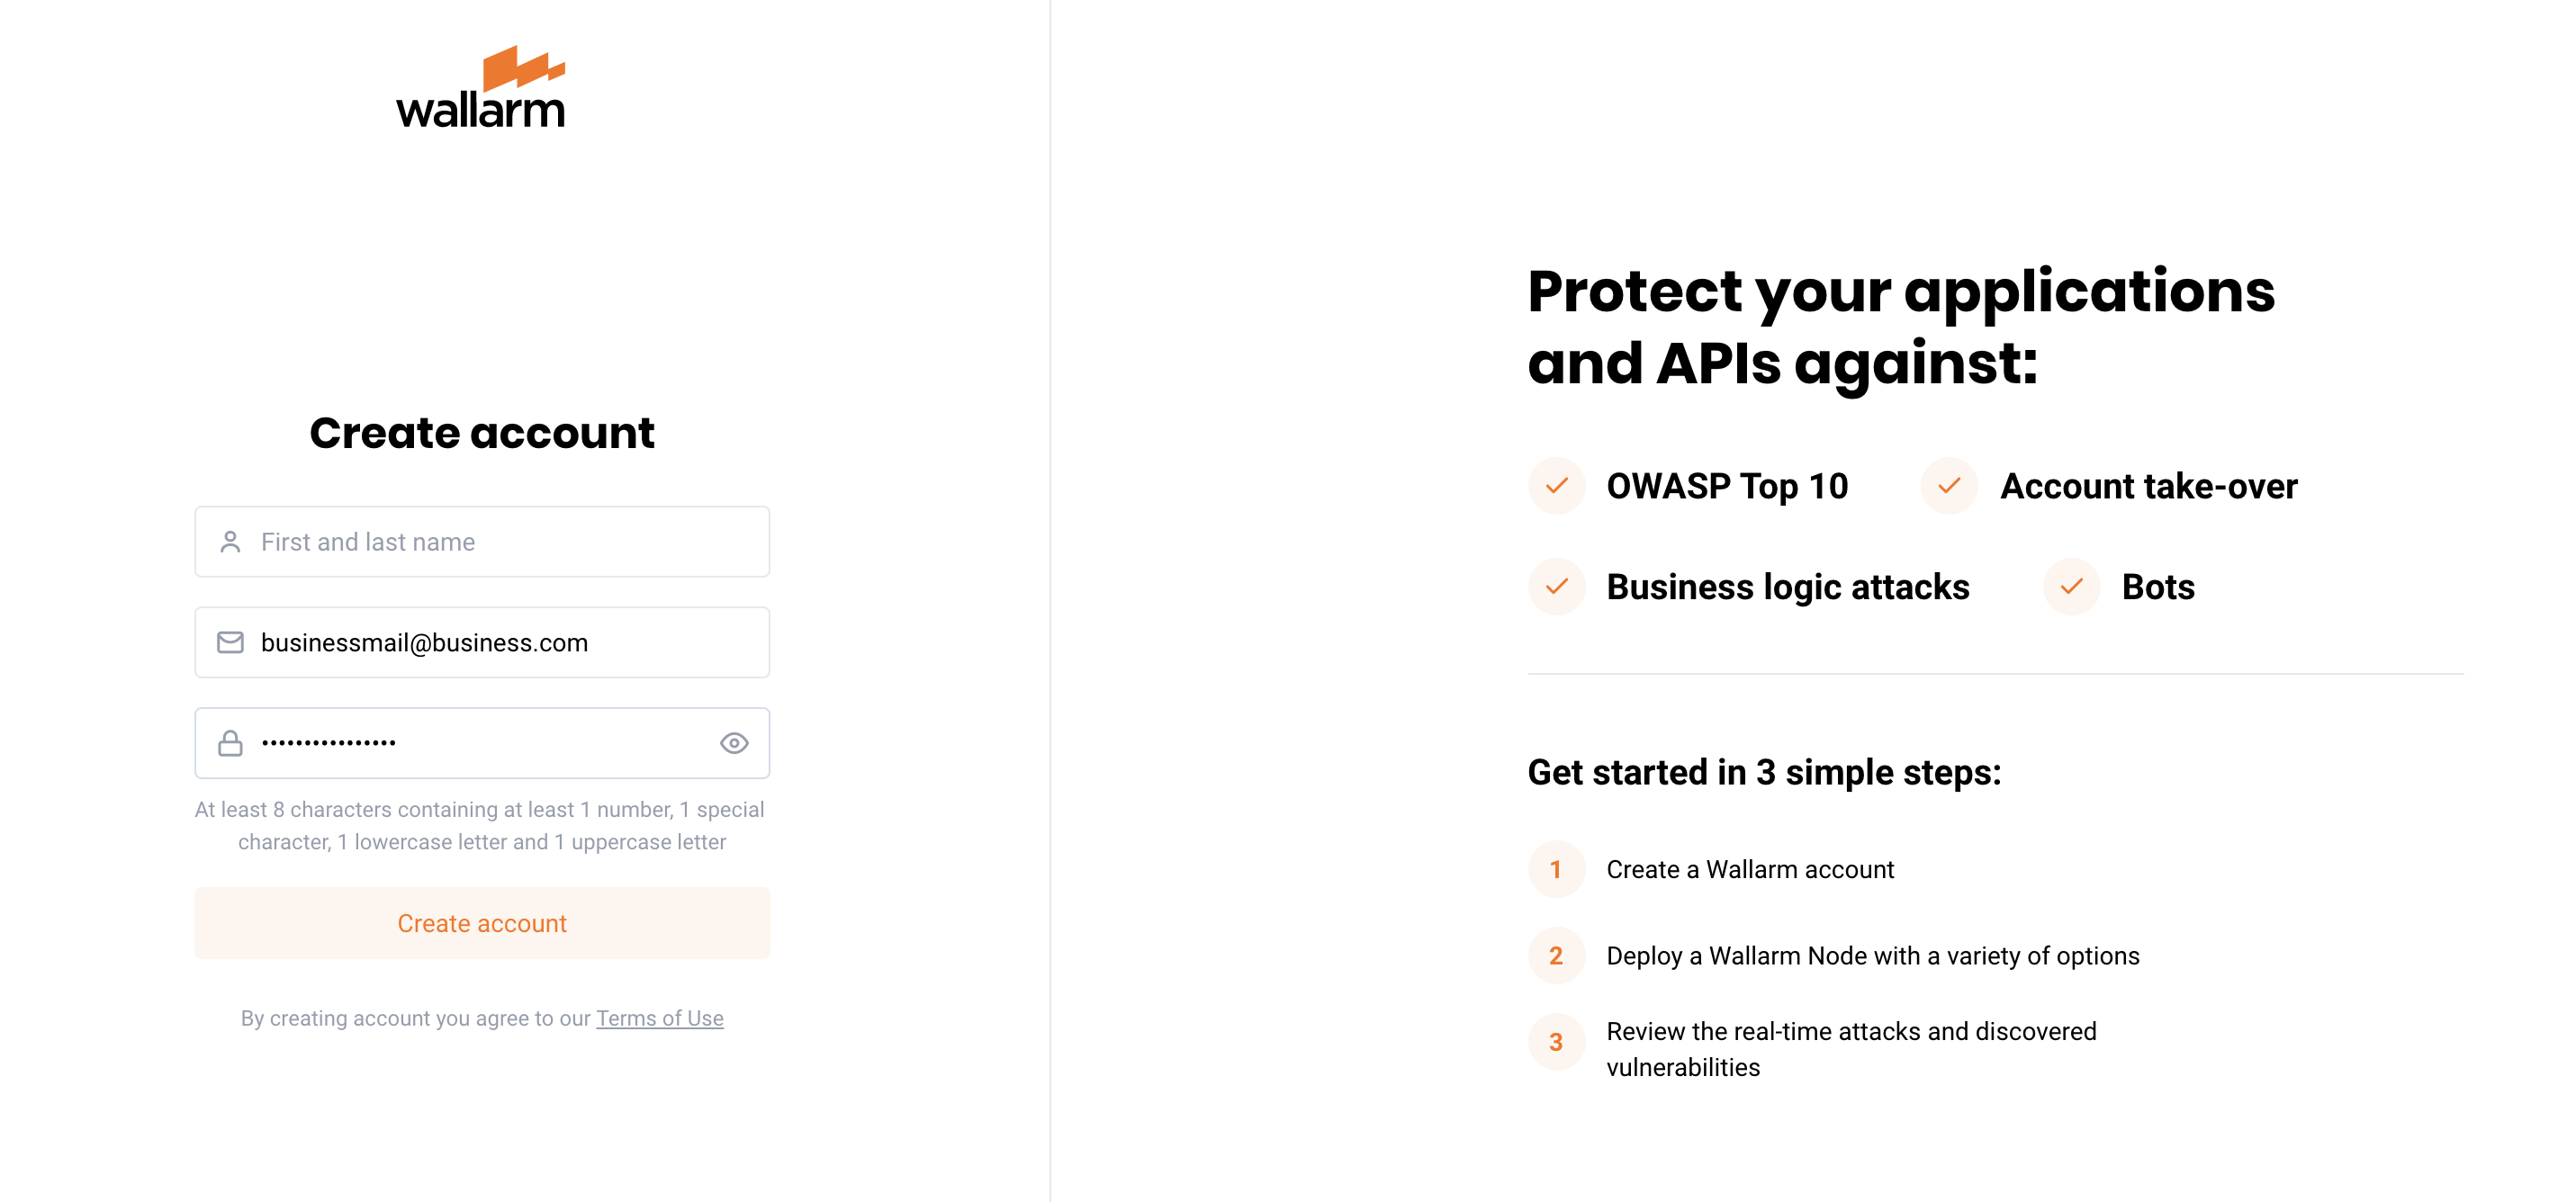
Corporate email
Please sign up using a corporate email address.
-
Open your email inbox and activate the account using the link from the received message.
-
Send a request for activating the multitenancy feature for your account to the Wallarm technical support. Send the following data with the request:
- Name of the Wallarm Cloud being used (US Cloud or EU Cloud)
- Names for a global account and technical tenant account
- Email addresses of employees to be provided with access to tenant accounts (after activating the multitenancy feature, you will be able to add employees yourself)
- Logo for branded Wallarm Console
- Custom domain for Wallarm Console, certificate and encryption key for the domain
- Your technical support email address
After getting your request, the Wallarm technical support will:
-
Create a global account and technical tenant account in the Wallarm Cloud.
-
Add you to the list of users of the technical client account with the role of Global administrator.
-
If email addresses of your employees are provided, the Wallarm technical support will add employees to the list of users of the technical tenant account with the role of Global read only.
Unregistered employees will receive emails with the link for setting a new password to access the technical tenant account.
-
Send your UUID (the main tenant UUID indicating the Wallarm partner company or Wallarm client using multitenancy for isolated environments).
Received UUID will be required in the further steps.
Step 2: Create the tenant
Via Wallarm Console
Under the Global administrator account, you can create tenants via Wallarm Console → tenant selector → Create tenant.
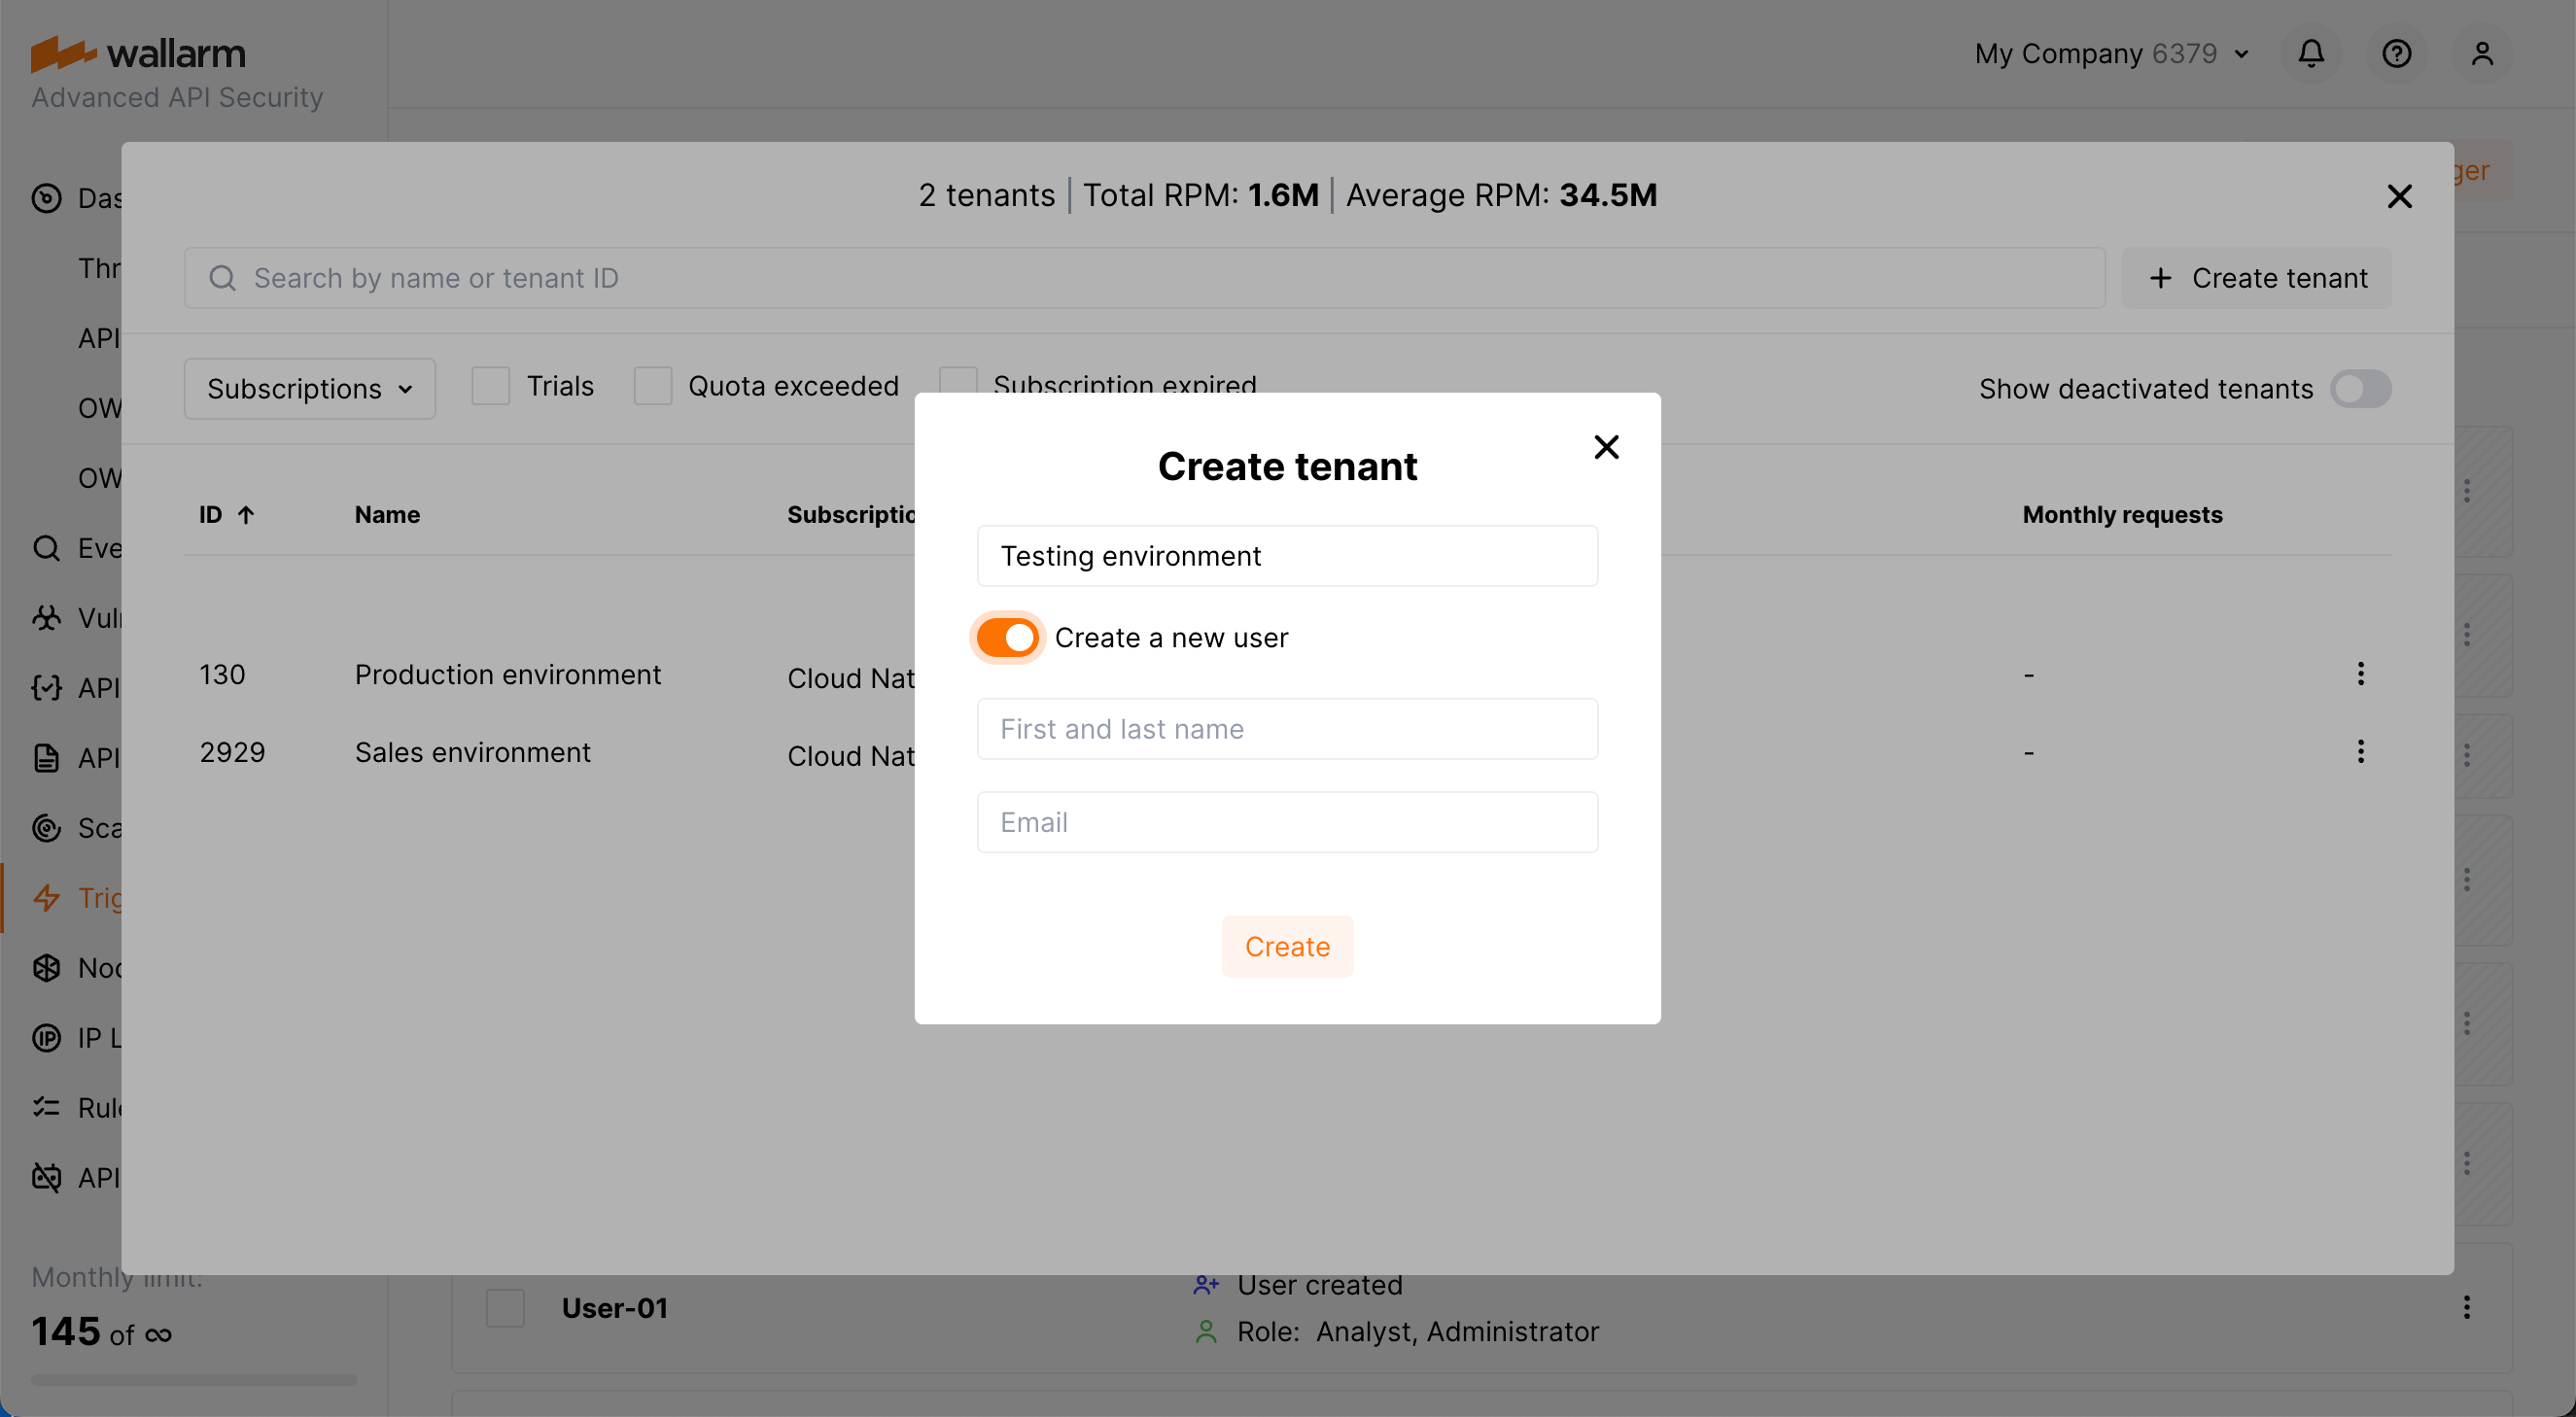
You can create a new Administrator user for your new tenant. The invitation email will be sent to the specified address.
Via the Wallarm API
To create the tenant, you can send authenticated requests to Wallarm API. Authenticated requests to Wallarm API can be sent from your own API client or from the Wallarm API Console that defines the authentication method:
-
For requests to be sent from the Wallarm API Console, it is required to sign in to Wallarm Console with the Global administrator user role and update the Wallarm API Console page available at:
- https://apiconsole.us1.wallarm.com/ for the US Cloud
- https://apiconsole.eu1.wallarm.com/ for the EU Cloud
-
For requests to be sent from the your own API client, it is required to pass the API token with Global Administrator's permissions in the request.
At this step, a tenant account linked to a global account will be created.
-
Send the POST request to the route
/v1/objects/client/createwith the following parameters:Parameter Description Request part Required X-WallarmApi-TokenAPI token with the Global Administrator's permissions. Header Yes, when sending a request from your own API client nameTenant's name. Body Yes vuln_prefixVulnerability prefix Wallarm will use for vulnerability tracking and association with the tenant. The prefix must contain four capital letters or numbers and be related to a tenant's name, e.g.: TNNTfor the tenantTenant.Body Yes partner_uuidMain tenant UUID received when creating a global account. Body Yes Show an example of the request sent from your own API client
-
Copy the value of the
uuidparameter from the response to the request. The parameter will be used when linking tenant's traffic to the tenant account.
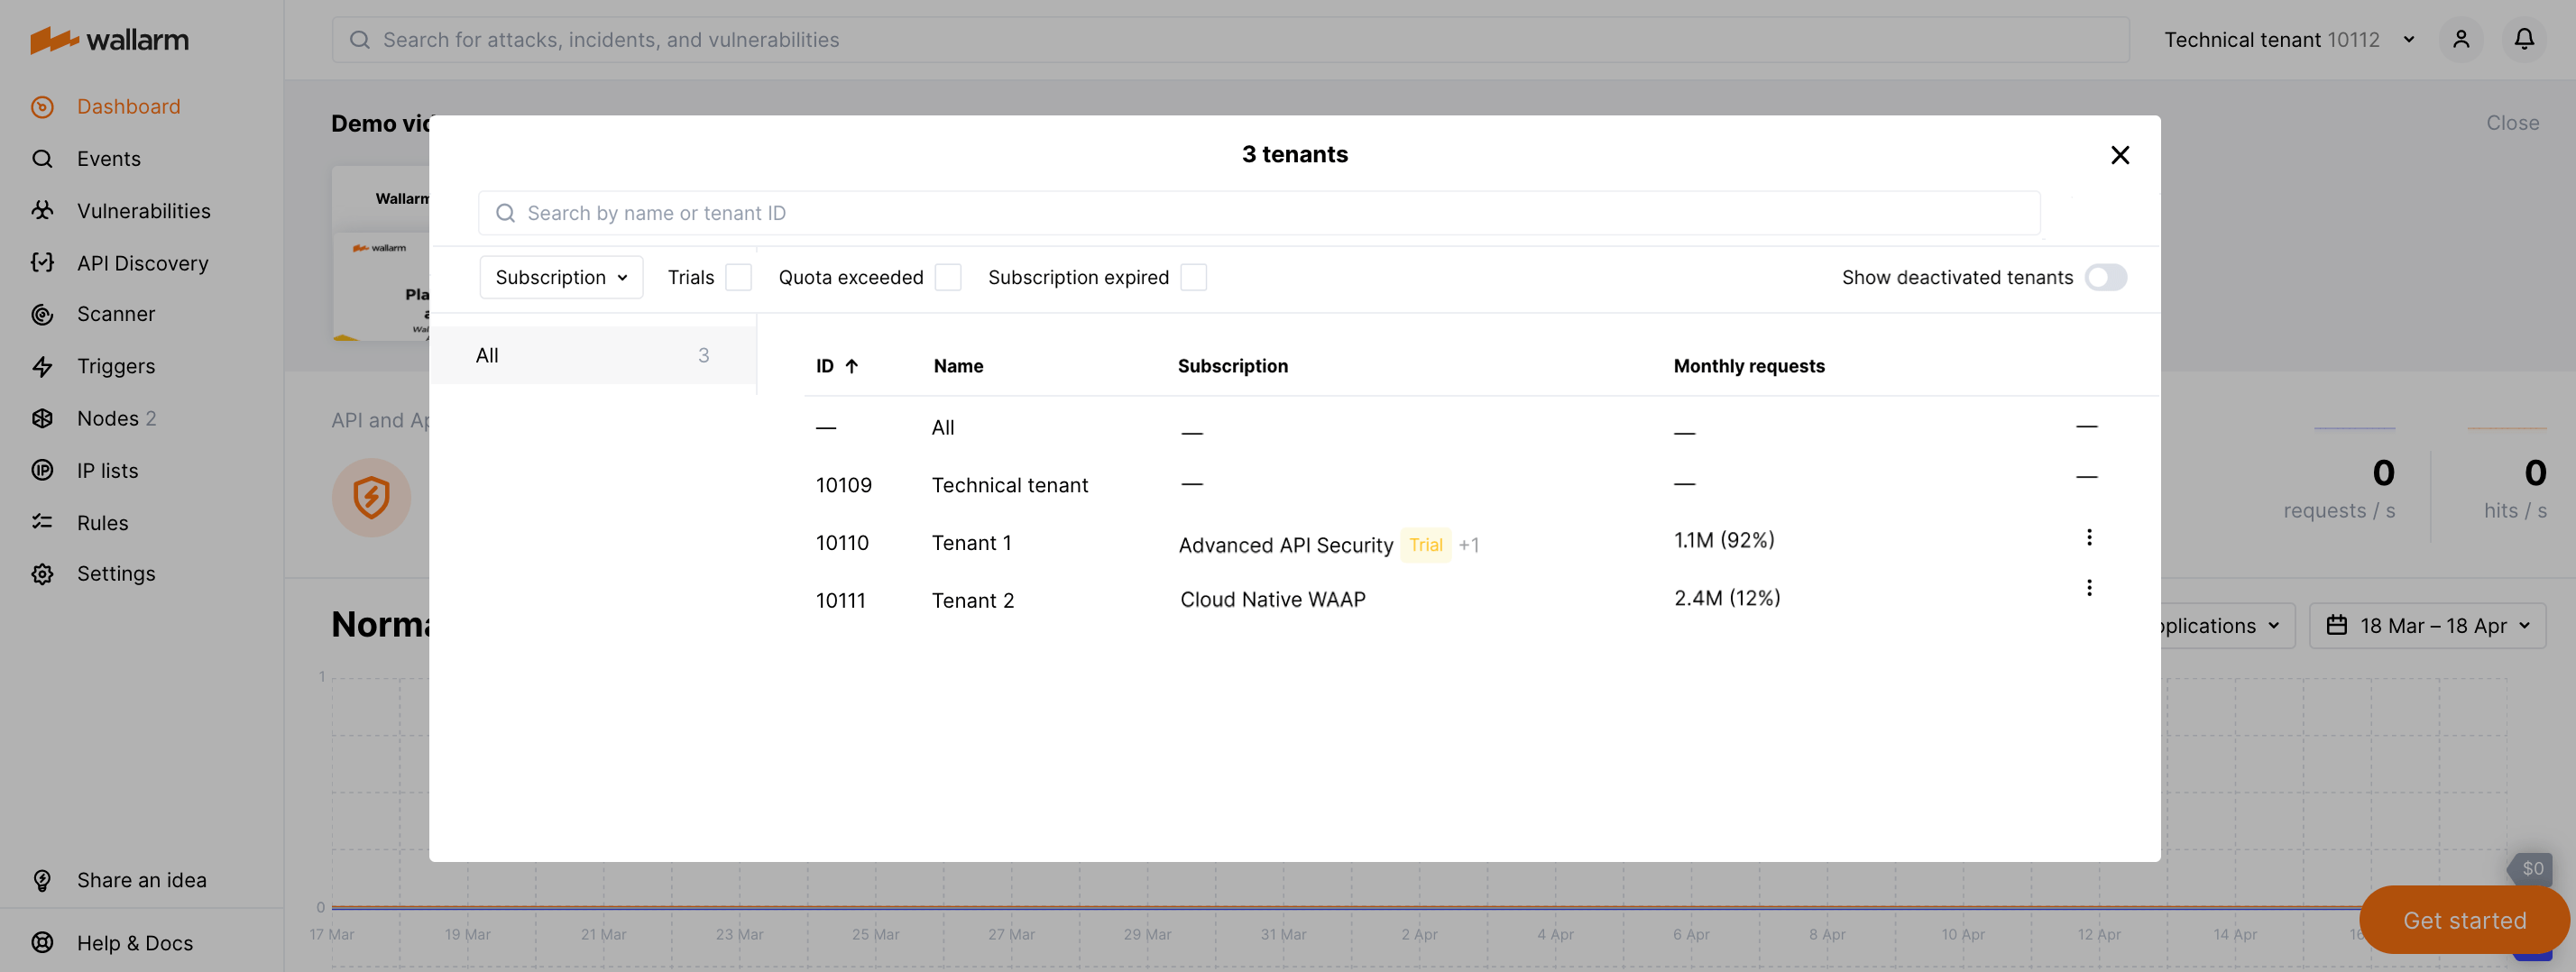
Created tenants will be displayed in Wallarm Console for global users. For example, Tenant 1 and Tenant 2:
Step 3: Associate specific traffic with your tenant
When to configure?
This configuration is performed during the node deployment and only if the traffic of all tenants is processed or will be processed by only one Wallarm node.
If a separate node processes each tenant's traffic, please skip this step and proceed to node deployment and configuration.
To provide Wallarm Cloud with the information about which traffic should be displayed under which tenant account, we need to associate the specific traffic with the created tenant. To do this, include the tenant in the NGINX configuration file using its uuid (obtained in Step 3) as the value for the wallarm_partner_client_uuid directive. For example:
server {
  server_name  tenant1.com;
  wallarm_partner_client_uuid 11111111-1111-1111-1111-111111111111;
  ...
}
In the configuration above, the traffic targeting tenant1.com will be associated with the client 11111111-1111-1111-1111-111111111111.
Providing users with access to accounts
-
On the technical tenant account, there are global and regular roles to provide the users with.
Global users will have access to all linked tenant accounts.
Regular users will have access only to the technical tenant account.
-
On certain tenant accounts, there are only regular roles to provide the users with.
Users will be able to track blocked requests, analyze discovered vulnerabilities, and perform additional configurations of the filtering node within a certain tenant account. Users will be able to add each other on their own if the roles allow this action.
Proceed to the multi-tenant node deployment and configuration →
Deactivating and activating tenant accounts in Wallarm Console
In Wallarm Console, the user with the Global administrator role can deactivate tenant accounts linked to the global account this administrator serves. When the tenant account is deactivated:
-
Users of this tenant account has no access to Wallarm Console.
-
Filtering node(s) installed on this tenant level will stop traffic processing.
Deactivated accounts are not deleted and can be activated again.
To deactivate a tenant account, in the tenant selector, from the tenant menu, select Deactivate, then confirm. The tenant account will be deactivated and hidden from the tenant list.
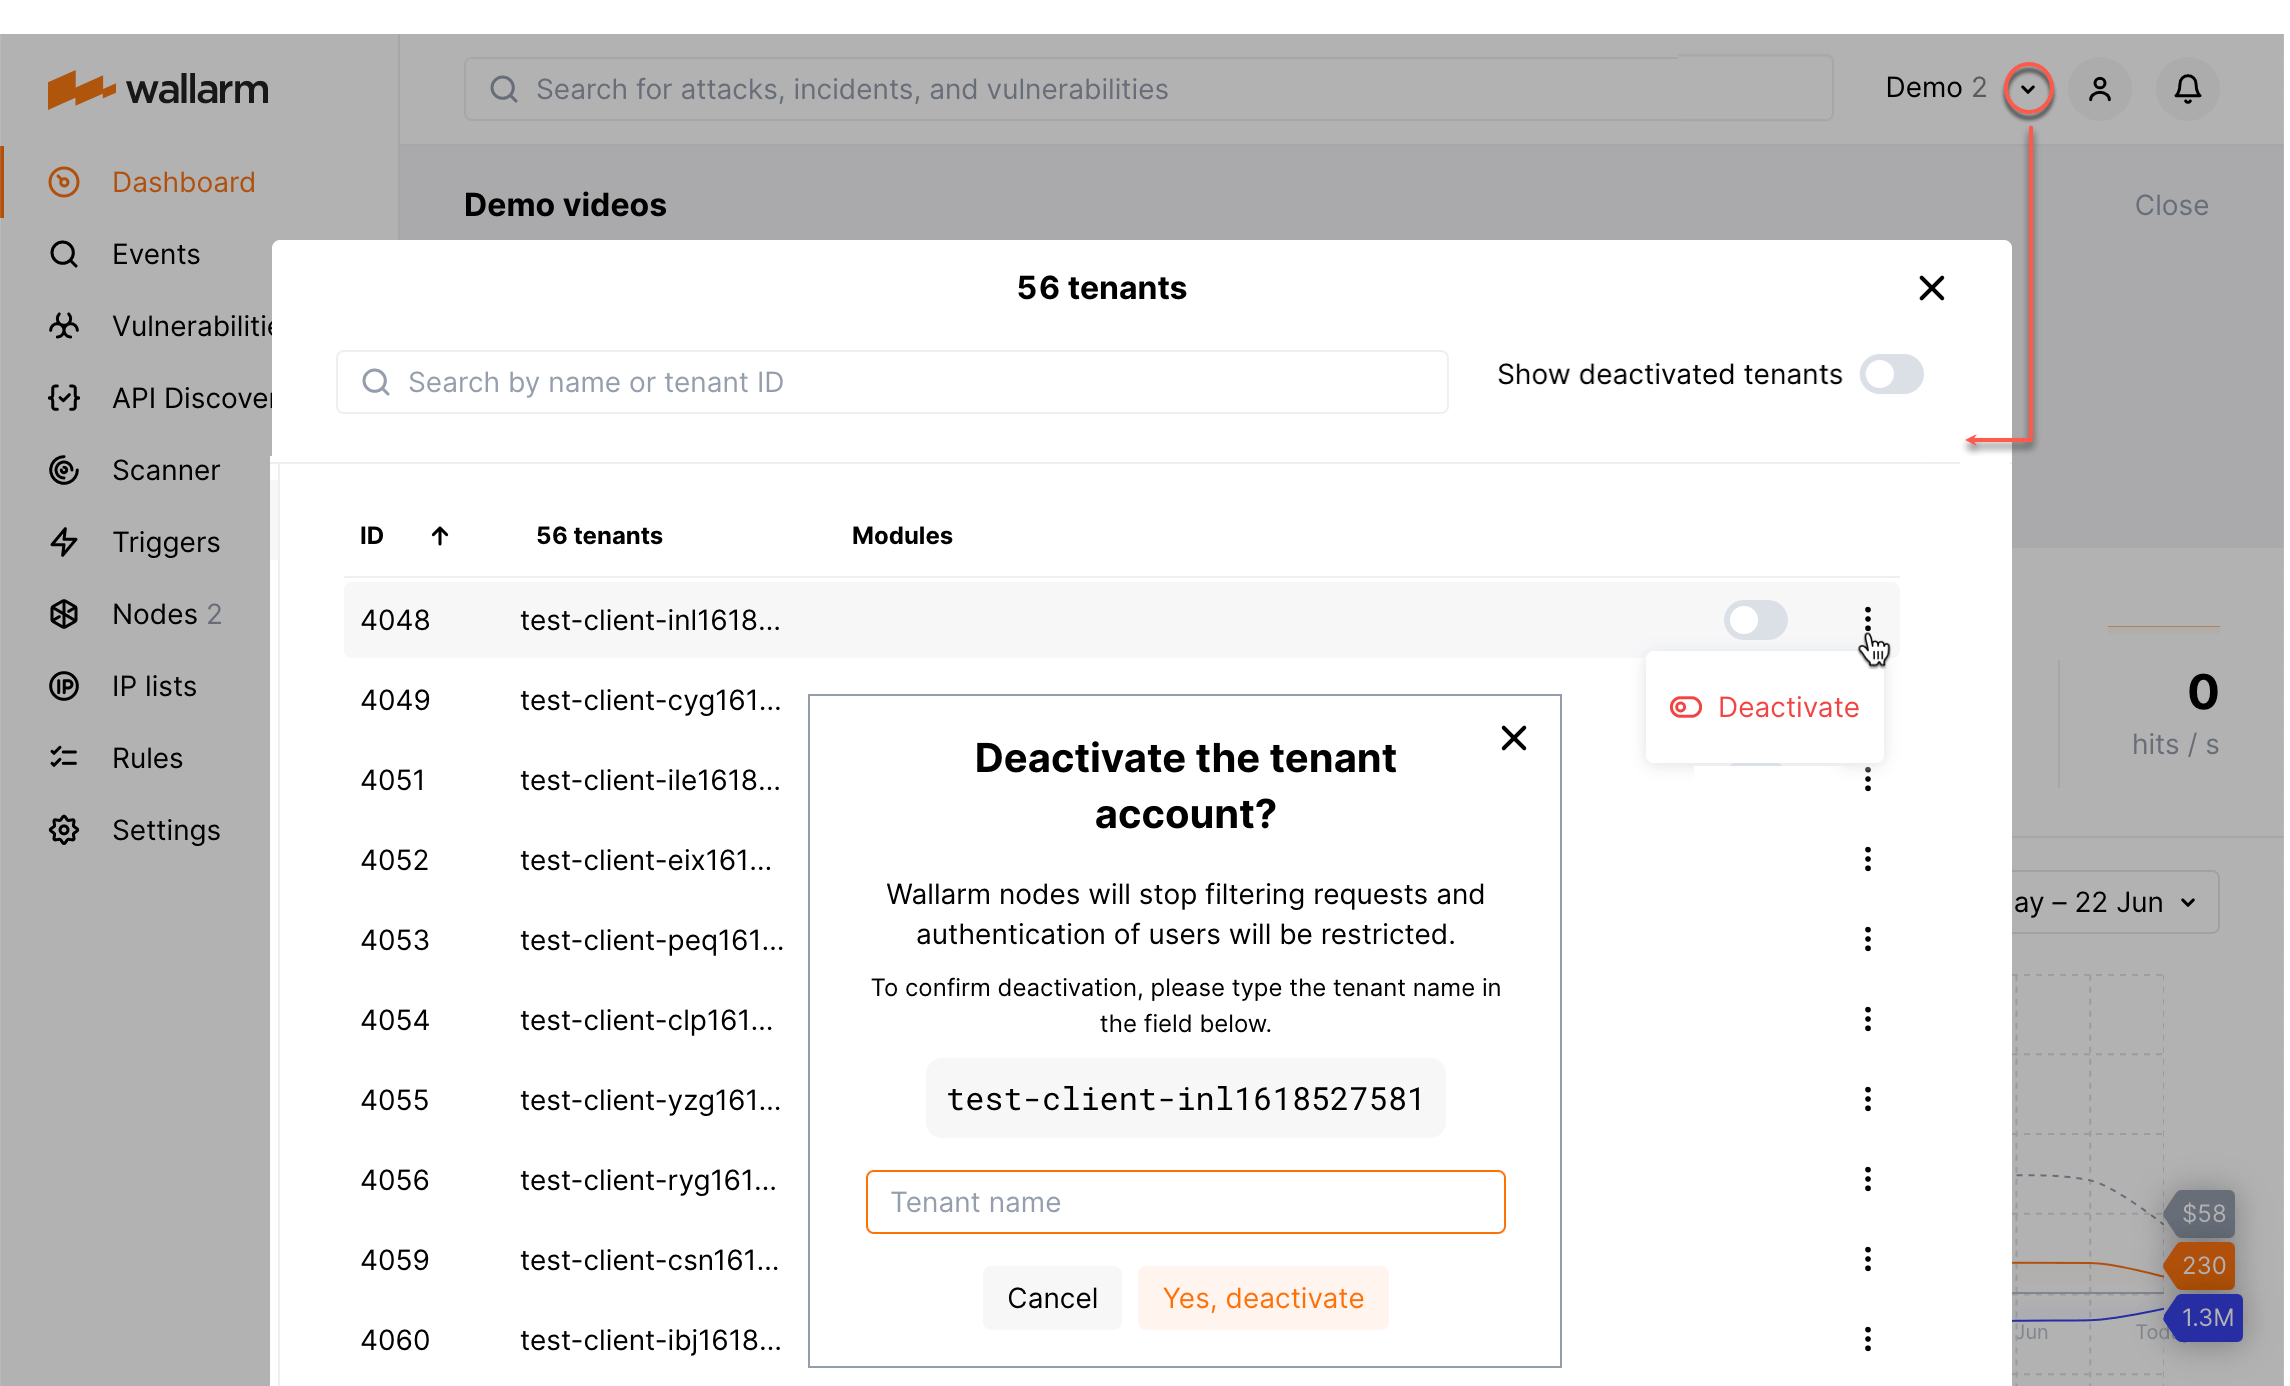
To activate previously deactivated tenant account, in the tenant selector, click Show deactivated tenants, then select Activate for your tenant.