API Tokens
In Wallarm Console → Settings → API tokens, you can manage tokens for API request authentication and for filtering node deployment.
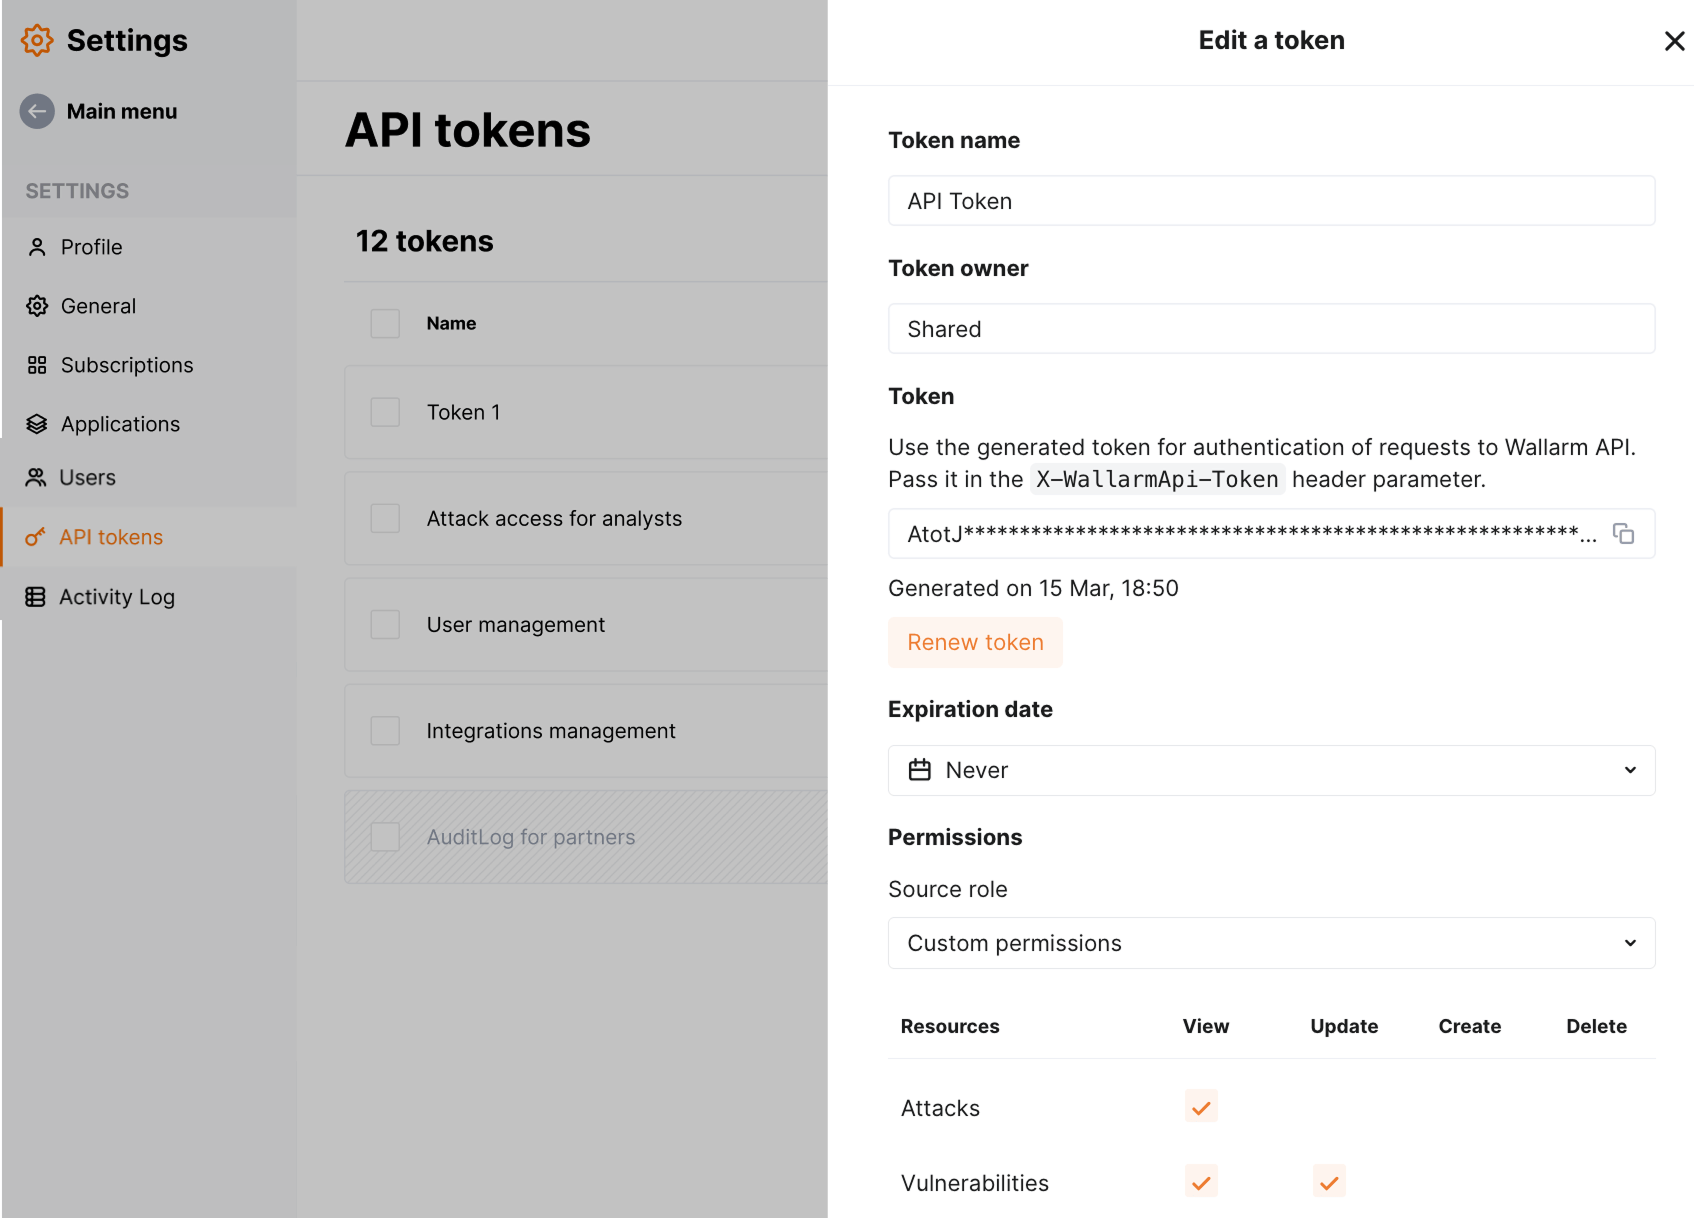
Wallarm API tokens offer flexible management options. You can choose the token's type, such as personal or shared, set its expiration date, and specify permissions.
Personal and shared tokens
You can generate either personal or shared API tokens:
-
Personal tokens are designated for individual use, according to the permissions assigned to them. Only Administrators and Analysts can create and use personal tokens.
The value of a personal token can be copied and utilized solely by its owner. However, administrators can view the list of user tokens within the company account.
-
Shared tokens are designed for use by multiple users or systems. They provide access to resources or functionalities collectively, without being linked to any individual personal account.
Only Administrators and Global Administrators can generate these tokens, and only other administrators within the company can use them.
Token usage
The selected usage scope restricts how and where the token can be used:
-
Node deployment - use this option to generate an API token for the Wallarm Node deployment or upgrade to authenticate a Node.
Appropriate for self-hosted Nodes only.
-
Wallarm API - select this option to use the token for making authenticated requests directly to the Wallarm API.
-
Schema-Based Testing agent - required for the operation of Schema-Based Testing.
Token expiration
You have the option to set an expiration date for each token. Once set, the token will be deactivated after the specified date.
We issue an email notification 3 days prior to a token's expiration date. For short-term tokens with an expiration period of less than 3 days, no notification is sent.
For personal tokens, the email is sent directly to the token owner, and for shared tokens, all administrators receive the notification.
Token permissions
For each token, you can set permissions that do not exceed the scope of permissions associated with your user role.
You can assign token permissions based on predefined user roles or customize them:
-
Administrator, Analyst, API Developer, Read Only and the equivalent Global roles - a token assigned one of these roles will inherit the permissions detailed in our user role system.
-
Deploy - API tokens with this role are used to deploy Wallarm nodes.
-
Custom permissions - switches to the manual permission selection.
If the permissions of a personal token owner are reduced, the permissions of their tokens will be adjusted correspondingly.
Disabling and re-enabling tokens
You can manually disable or enable your tokens. Once disabled, a token immediately stops functioning.
Disabled tokens are automatically deleted one week after deactivation.
To re-enable a previously disabled token, assign it a new expiration date.
If a token owner is disabled, their tokens are also automatically disabled.
Backward-compatible tokens
Previously UUID and secret key were used for request authentication which is now replaced with tokens. The UUID and secret key you were using are automatically transformed into the backward-compatible token. With this token, requests authenticated with UUID and secret key will continue working.
Renew token or enable SSO
If you renew the value of the backward-compatible token or enable SSO for this token's owner, the backward compatibility ends - all requests authenticated with old UUID and secret key will stop working.
You can also use the generated value of the backward-compatible token passing it in the X-WallarmApi-Token header parameter of your requests.
The backward-compatible token has the same permissions as the user role does, these permissions are not displayed in the token window and cannot be changed. If you want to control permissions, you need to remove a backward-compatible token and create a new one.
API tokens vs. node tokens
You can use API tokens described in this article for Wallarm Cloud API request authentication from any client and with any set of permissions.
One of the clients accessing Wallarm Cloud API is Wallarm filtering node itself. To grant a filtering node access to the Wallarm Cloud API, besides API tokens, you can use node tokens. Know the difference and what to prefer →
API tokens are not supported by some deployment options
API tokens currently cannot be used for AWS deployments based on Terraform module. Use node tokens instead.