Getting Started with the Wallarm Platform
Wallarm delivers all-in-one API security, identifying and protecting your APIs from vulnerabilities and malicious activities. To help you begin using the platform, we offer a Playground for exploration prior to signing up, a Free Tier upon registration, and access to expert support for a seamless experience.
Learn Wallarm in Playground
To explore Wallarm even before signing up and deploying any components to your environment, use Wallarm Playground.
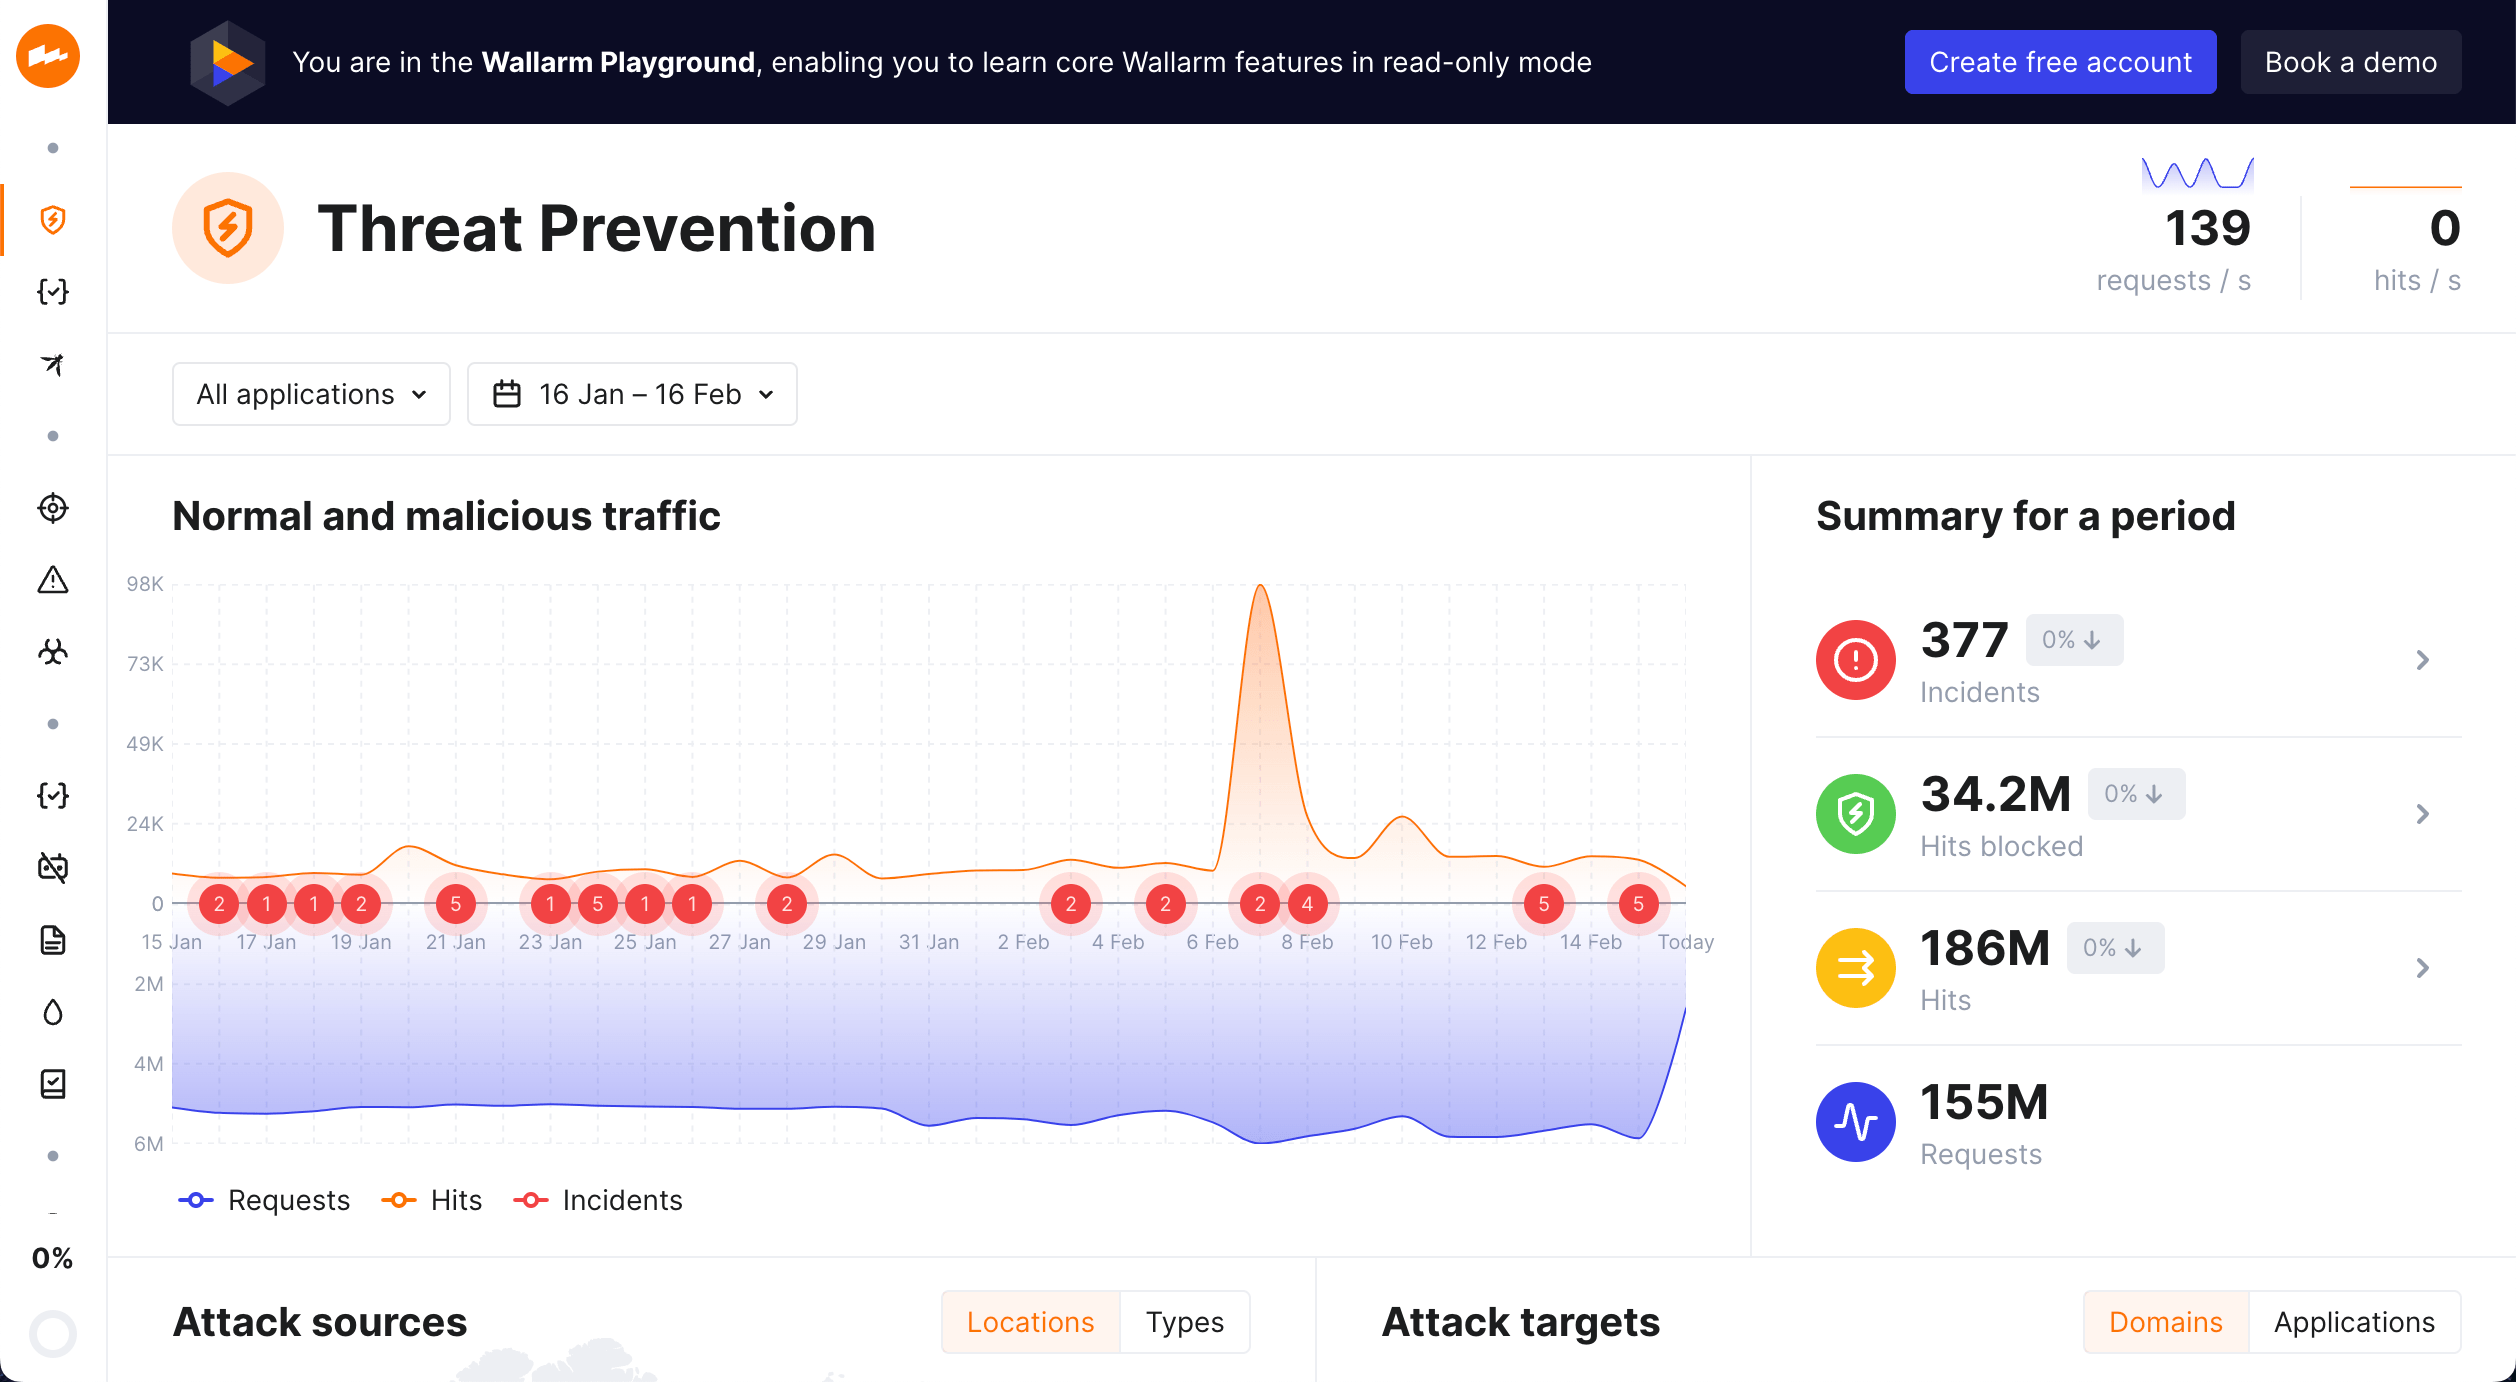
In Playground, you can access the Wallarm Console view like it is filled with real data. Wallarm Console is the major Wallarm platform component that displays data on processed traffic and allows the platform fine-tuning. So, with Playground you can learn and try out how the product works, and get some useful examples of its usage in the read-only mode.
To try the Wallarm solution capabilities on your traffic, create a Free tier account.
Self-signup and Free tier
When signing up with Wallarm, you will create an account in the Wallarm Console, which serves as the central hub for navigating and configuring the Wallarm platform. The Console UI is hosted on the Wallarm Cloud.
Wallarm manages separate American and European cloud instances, each distinct in terms of databases, API endpoints, client accounts, and more. Therefore, your first step is to choose the Cloud you want to use.
-
Choose your Wallarm Cloud:
US Cloud EU Cloud Signup link https://us1.my.wallarm.com/signup https://my.wallarm.com/signup Physical location USA Netherlands Wallarm Console URL https://us1.my.wallarm.com/ https://my.wallarm.com/ Wallarm API Endpoint https://us1.api.wallarm.com/https://api.wallarm.com/ -
Follow the registration link either in the US or EU Wallarm Cloud and input your personal data.
-
Confirm your account by following the link from the confirmation message sent to your email.
Once an account is registered and confirmed, it is automatically assigned with Free tier that allows you to explore the power of the Wallarm solution for free on 500 thousand monthly requests.
Continue by deploying the first Wallarm filtering node.
Know your API with zero deployment
Knowing the full list of your organization's external APIs is the first step in mitigating potential security risks as unmonitored or undocumented APIs can become potential entry points for malicious attacks.
Subscribe to Wallarm's API Attack Surface Management (AASM) to immediately discover all your external hosts and their APIs and get:
-
List of your external hosts.
-
Protection score of your hosts - Wallarm will automatically test your found subdomains/hosts for the resistance against attacks on web and API services and evaluate their protection level.
-
Leaked credentials info for your hosts - Wallarm will actively scan your selected domains and public sources for the leaks of the credential data (API tokens and keys, passwords, client secrets, usernames, emails and others).
You get all this simply by subscribing to the component in Wallarm - to get your information, you do not need to deploy anything.
To start, do one of the following:
-
Contact sales@wallarm.com or
-
Get pricing information and activate AASM on the Wallarm's official site here.
Guided trial
You can opt for a guided trial where our Sales Engineer team will assist you during the entire onboarding process. They will demonstrate the product's value over a 2-week period and help you deploy Wallarm filtering instances to filter your traffic.
To request this trial, please email us at sales@wallarm.com.
Start securing your traffic
After creating your Wallarm account, the next step is to initiate the deployment of a Wallarm filtering node. This essential component handles and filters your incoming traffic, enabling Wallarm's traffic analysis, attack prevention, and vulnerability detection capabilities.
