Alibaba CloudへのWallarm Dockerイメージのデプロイ
このクイックガイドでは、NGINXベースのWallarmノードのDockerイメージをAlibaba Cloud Elastic Compute Service (ECS)を使用してAlibaba Cloudプラットフォームへデプロイする手順を説明します。
手順の制限事項
本手順には、ロードバランシングおよびノードのオートスケーリングの設定は含まれていません。これらを自身で設定する場合は、該当するAlibaba Cloudのドキュメントをお読みになることを推奨します。
ユースケース
Among all supported Wallarm deployment options, Wallarm deployment on Alibaba Cloud ECS using the Docker image is recommended in these use cases:
-
If your applications leverage a microservices architecture, and are already containerized and operational on Alibaba Cloud ECS.
-
If you require fine-grained control over each container, the Docker image excels. It affords a greater level of resource isolation than typically possible with traditional VM-based deployments.
要件
-
Alibaba Cloud Consoleへのアクセス
-
US CloudまたはEU CloudのWallarm ConsoleでAdministratorロールを持つアカウントへのアクセス
-
攻撃検知ルールやAPI仕様の更新をダウンロードし、さらに許可リスト・拒否リスト・グレーリストに登録した国、地域、またはデータセンターの正確なIPを取得するために、以下のIPアドレスへアクセスできること
WallarmノードDockerコンテナの設定オプション
The filtering node configuration parameters should be passed to the deployed Docker container in one of the following ways:
-
In the environment variables. This option allows for the configuration of only basic filtering node parameters. Most directives cannot be configured through environment variables.
-
In the mounted configuration file. This option allows full filtering node configuration via any directives. With this configuration method, environment variables with the filtering node and Wallarm Cloud connection settings are also passed to the container.
環境変数で設定したWallarmノードDockerコンテナのデプロイ
環境変数のみで設定したコンテナ化されたWallarmフィルタリングノードをデプロイするには、Alibaba Cloudインスタンスを作成し、そのインスタンス内でDockerコンテナを実行します。これらの手順はAlibaba Cloud ConsoleまたはAlibaba Cloud CLIで実行できます。本手順ではAlibaba Cloud Consoleを使用します。
-
Get Wallarm token of the appropriate type:
-
Alibaba Cloud Console→サービスの一覧→Elastic Compute Service→Instancesを開きます。
-
Alibaba Cloudの手順および以下のガイドラインに従ってインスタンスを作成します:
- インスタンスは任意のOSイメージに基づいて作成できます。
- インスタンスを外部リソースから利用できるようにするため、インスタンス設定でパブリックIPアドレスまたはドメインを構成する必要があります。
- インスタンスの設定は、インスタンスへの接続方法を反映している必要があります。
-
Alibaba Cloudのドキュメントに記載のいずれかの方法でインスタンスに接続します。
-
該当OSのインストール手順に従って、インスタンスにDockerパッケージをインストールします。
-
コピーしたWallarmトークンをインスタンスの環境変数に設定し、Wallarm Cloudへの接続に使用します:
-
環境変数を渡し、設定ファイルをマウントして
docker runコマンドでWallarmノードDockerコンテナを起動します:-p: フィルタリングノードが待ち受けるポート。値はインスタンスのポートと同一にします。-
-e: フィルタリングノードの設定を行う環境変数(利用可能な変数は下表を参照)。WALLARM_API_TOKENの値を明示的に渡すことは推奨しません。Environment variable Description Required WALLARM_API_TOKENWallarm node or API token. Yes WALLARM_LABELSAvailable starting from node 4.6. Works only if
WALLARM_API_TOKENis set to API token with theDeployrole. Sets thegrouplabel for node instance grouping, for example:WALLARM_LABELS="group=<GROUP>"...will place node instance into the
<GROUP>instance group (existing, or, if does not exist, it will be created).Yes (for API tokens) NGINX_BACKENDDomain or IP address of the resource to protect with the Wallarm solution. Yes WALLARM_API_HOSTWallarm API server: us1.api.wallarm.comfor the US Cloudapi.wallarm.comfor the EU Cloud
api.wallarm.com.No WALLARM_MODENode mode: blockto block malicious requestssafe_blockingto block only those malicious requests originated from graylisted IP addressesmonitoringto analyze but not block requestsoffto disable traffic analyzing and processing
monitoring.
Detailed description of filtration modes →No WALLARM_APPLICATIONUnique identifier of the protected application to be used in the Wallarm Cloud. The value can be a positive integer except for 0.
Default value (if the variable is not passed to the container) is-1which indicates the default application displayed in Wallarm Console → Settings → Application.
More details on setting up applications →No SLAB_ALLOC_ARENA(TARANTOOL_MEMORY_GBNGINX Node 5.x and earlier)Amount of memory allocated to wstore. The value can be a float (a dot .is a decimal separator). By default: 1.0 (1 gygabyte).
Note that when passing this variable in Dockerruncommand with the-e, the variable is not recorded in any configuration file within the container, but it is still used whenwstorestarts.No NGINX_PORTSets a port that NGINX will use inside the Docker container.
Starting from the Docker image4.0.2-1, thewallarm-statusservice automatically runs on the same port as NGINX.
Default value (if the variable is not passed to the container) is80.
Syntax isNGINX_PORT='443'.No WALLARM_STATUS_ALLOWCustom CIDRs that are allowed to access the /wallarm-statusendpoint from outside the Docker container. Example value:10.0.0.0/8. If you need to pass several values, use a comma,as a separator. To access the service externally, use the Docker container's IP, specifying the/wallarm-statusendpoint path.No DISABLE_IPV6The variable with any value except for an empty one deletes the listen [::]:80 default_server ipv6only=on;line from the NGINX configuration file which will stop NGINX from IPv6 connection processing.
If the variable is not specified explicitly or has an empty value"", NGINX processes both IPv6 and IPv4 connections.No WALLARM_APIFW_ENABLEThis setting toggles API Specification Enforcement on or off, available from release 4.10 onwards. Please note that activating this feature does not substitute for the required subscription and configuration through the Wallarm Console UI.
Its default value istrue, enabling the functionality.No WALLARM_APID_ONLY(5.3.7 and higher)In this mode, attacks detected in your traffic are blocked locally by the node (if enabled) but not exported to Wallarm Cloud. Meanwhile, API Discovery and some other features remain fully functional, detecting your API inventory and uploading it to the Cloud for visualization. This mode is for those who want to review their API inventory and identify sensitive data first, and plan controlled attack data export accordingly. However, disabling attack export is rare, as Wallarm securely processes attack data and provides sensitive attack data masking if needed. More details
By default:false.No APIFW_METRICS_ENABLED(6.4.1 and higher)Enables Prometheus metrics for the API Specification Enforcement module.
By default:false(disabled).No APIFW_METRICS_HOST(6.4.1 and higher)Defines the host and port on which the API Specification Enforcement exposes metrics.
By default::9010.No APIFW_METRICS_ENDPOINT_NAME(6.4.1 and higher)Defines the HTTP path of the API Specification Enforcement metrics endpoint
By default:metrics.No WALLARM_WSTORE__METRICS__LISTEN_ADDRESSDefines the host and port on which [Postanalytics and general system metrics][wstore-metrics] are exposed.
By default:http://localhost:9001/metrics.No WALLARM_WSTORE__SERVICE__PROTOCOL(6.6.0 and higher)Specifies the protocol family that wstore uses for incoming connections. Possible values: "tcp"- dual-stack mode (listens on both IPv4 and IPv6)"tcp4"- IPv4 only"tcp6"- IPv6 only
"tcp4".No WALLARM_WCLI__METRICS__LISTEN_ADDRESSDefines the host and port on which the [wcli Controller metrics][wcli-metrics] are exposed.
By default:http://localhost:9003/metrics.No WALLARM_WCLI__METRICS__ENDPOINTDefines the HTTP path for the [wcli Controller metrics][wcli-metrics] endpoint.
By default:metrics.No
マウントしたファイルで設定したWallarmノードDockerコンテナのデプロイ
環境変数とマウントしたファイルで設定したコンテナ化されたWallarmフィルタリングノードをデプロイするには、Alibaba Cloudインスタンスを作成し、そのインスタンスのファイルシステムにフィルタリングノードの設定ファイルを配置して、インスタンス内でDockerコンテナを実行します。これらの手順はAlibaba Cloud ConsoleまたはAlibaba Cloud CLIで実行できます。本手順ではAlibaba Cloud Consoleを使用します。
-
Get Wallarm token of the appropriate type:
-
Alibaba Cloud Console→サービスの一覧→Elastic Compute Service→Instancesを開きます。
-
Alibaba Cloudの手順および以下のガイドラインに従ってインスタンスを作成します:
- インスタンスは任意のOSイメージに基づいて作成できます。
- インスタンスを外部リソースから利用できるようにするため、インスタンス設定でパブリックIPアドレスまたはドメインを構成する必要があります。
- インスタンスの設定は、インスタンスへの接続方法を反映している必要があります。
-
Alibaba Cloudのドキュメントに記載のいずれかの方法でインスタンスに接続します。
-
該当OSのインストール手順に従って、インスタンスにDockerパッケージをインストールします。
-
コピーしたWallarmトークンをインスタンスの環境変数に設定し、Wallarm Cloudへの接続に使用します:
-
インスタンス内に、フィルタリングノードの設定を含む
defaultファイルを配置したディレクトリを作成します(例: ディレクトリ名はconfigs)。最小設定の例:server { listen 80 default_server; listen [::]:80 default_server ipv6only=on; #listen 443 ssl; server_name localhost; #ssl_certificate cert.pem; #ssl_certificate_key cert.key; root /usr/share/nginx/html; index index.html index.htm; wallarm_mode monitoring; # wallarm_application 1; location / { proxy_pass http://example.com; include proxy_params; } } -
環境変数を渡し、設定ファイルをマウントして
docker runコマンドでWallarmノードDockerコンテナを起動します:<INSTANCE_PATH_TO_CONFIG>: 直前の手順で作成した設定ファイルへのパス。例:configs。-
<DIRECTORY_FOR_MOUNTING>: 設定ファイルをマウントするコンテナ内のディレクトリ。設定ファイルは、NGINXが使用する以下のコンテナディレクトリにマウントできます:/etc/nginx/conf.d— 共通設定/etc/nginx/http.d— バーチャルホスト設定/var/www/html— 静的ファイル
フィルタリングノードのディレクティブは
/etc/nginx/http.d/default.confファイルに記述してください。 -
-p: フィルタリングノードが待ち受けるポート。値はインスタンスのポートと同一にします。 -
-e: フィルタリングノードの設定を行う環境変数(利用可能な変数は下表を参照)。WALLARM_API_TOKENの値を明示的に渡すことは推奨しません。Environment variable Description Required WALLARM_API_TOKENWallarm node or API token. Yes WALLARM_API_HOSTWallarm API server: us1.api.wallarm.comfor the US Cloudapi.wallarm.comfor the EU Cloud
api.wallarm.com.No WALLARM_LABELSAvailable starting from node 4.6. Works only if
WALLARM_API_TOKENis set to API token with theDeployrole. Sets thegrouplabel for node instance grouping, for example:WALLARM_LABELS="group=<GROUP>"...will place node instance into the
<GROUP>instance group (existing, or, if does not exist, it will be created).Yes (for API tokens) SLAB_ALLOC_ARENA(TARANTOOL_MEMORY_GBNGINX Node 5.x and earlier)Amount of memory allocated to wstore. The value can be a float (a dot .is a decimal separator). By default: 1.0 (1 gygabyte).No WALLARM_APID_ONLY(5.3.7 and higher)In this mode, attacks detected in your traffic are blocked locally by the node (if enabled) but not exported to Wallarm Cloud. Meanwhile, API Discovery and some other features remain fully functional, detecting your API inventory and uploading it to the Cloud for visualization. This mode is for those who want to review their API inventory and identify sensitive data first, and plan controlled attack data export accordingly. However, disabling attack export is rare, as Wallarm securely processes attack data and provides sensitive attack data masking if needed. More details
By default:false.No APIFW_METRICS_ENABLED(6.4.1 and higher)Enables Prometheus metrics for the API Specification Enforcement module.
By default:false(disabled).No APIFW_METRICS_HOST(6.4.1 and higher)Defines the host and port on which the API Specification Enforcement exposes metrics.
By default::9010.No APIFW_METRICS_ENDPOINT_NAME(6.4.1 and higher)Defines the HTTP path of the API Specification Enforcement metrics endpoint
By default:metrics.No WALLARM_WSTORE__METRICS__LISTEN_ADDRESSDefines the host and port on which [Postanalytics and general system metrics][wstore-metrics-mount] are exposed.
By default:http://localhost:9001/metrics.No WALLARM_WSTORE__SERVICE__PROTOCOL(6.6.0 and higher)Specifies the protocol family that wstore uses for incoming connections. Possible values: "tcp"- dual-stack mode (listens on both IPv4 and IPv6)"tcp4"- IPv4 only"tcp6"- IPv6 only
"tcp4".No WALLARM_WCLI__METRICS__LISTEN_ADDRESSDefines the host and port on which the [wcli Controller metrics][wcli-metrics] are exposed.
By default:http://localhost:9003/metrics.No WALLARM_WCLI__METRICS__ENDPOINTDefines the HTTP path for the [wcli Controller metrics][wcli-metrics] endpoint.
By default:metrics.No
フィルタリングノードの動作テスト
-
Alibaba Cloud Console→サービスの一覧→Elastic Compute Service→Instancesを開き、IP address列からインスタンスのパブリックIPアドレスをコピーします。
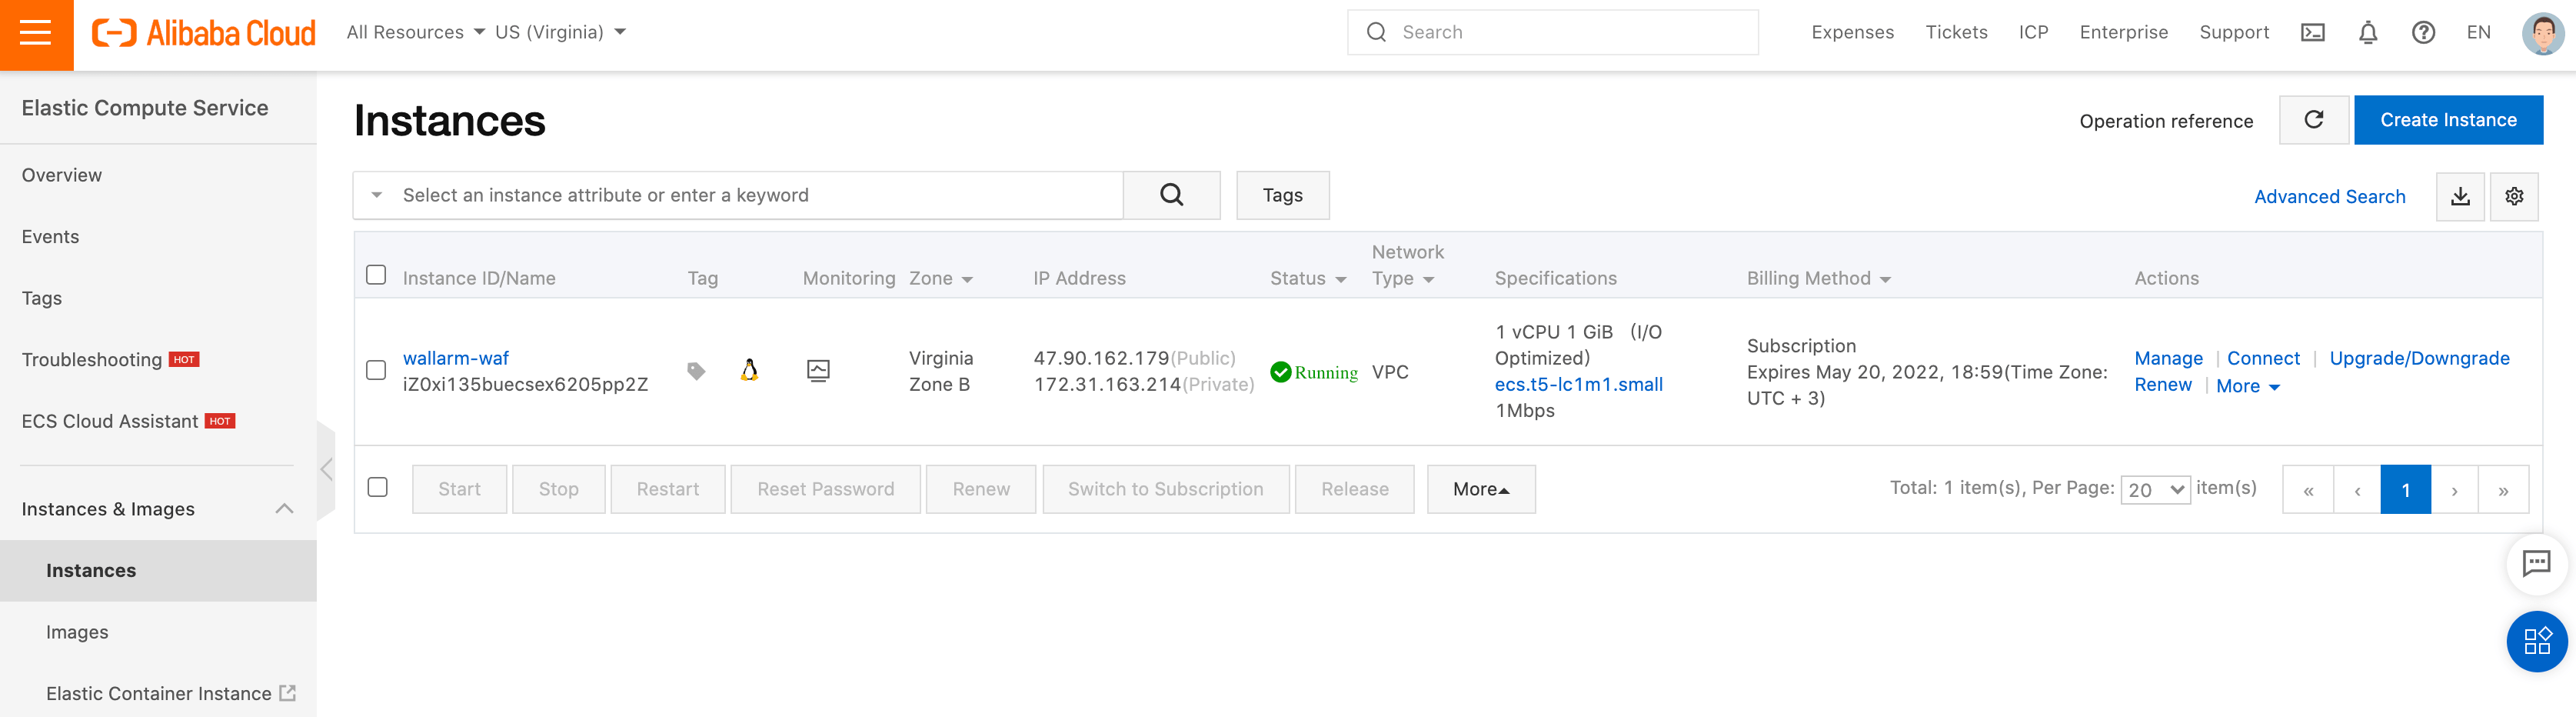
IP addressが空の場合は、インスタンスがRunningステータスであることを確認してください。
-
コピーしたアドレスに、テスト用のパストラバーサル攻撃のリクエストを送信します:
-
Wallarm Console→Attacks(US CloudまたはEU Cloud)を開き、攻撃が一覧に表示されていることを確認します。

-
必要に応じて、ノードの他の動作もテストします。
コンテナのデプロイ中に発生したエラーの詳細を確認するには、いずれかの方法でインスタンスに接続してコンテナログを確認します。インスタンスにアクセスできない場合は、フィルタリングノードの必須パラメータが正しい値でコンテナに渡されていることを確認してください。