OktaとのSSO接続
本ガイドでは、サービスプロバイダーとして動作するWallarmに、アイデンティティプロバイダーとしてOktaサービスを接続する手順を説明します。
手順を実行するには、WallarmとOktaの両方で管理者権限を持つアカウントが必要です。
手順1 (Wallarm): SSOサービスを有効化する
デフォルトでは、Wallarmでの認証用SSOサービスは有効化されておらず、Wallarm ConsoleのIntegrationsセクションに対応するブロックは表示されません。
SSOサービスを有効化するには、Wallarmサポートチームに連絡してください。既定ではプロビジョニングありのSSOが提案されます:
-
有効化後は、ログインIDとパスワードによる認証はユーザーは行えません。必要に応じてフォールバックアカウントを依頼してください - そのアカウントではログインID/パスワードの入力が可能なままです。
-
ユーザーの無効化や削除はWallarm側からは行えません。
-
複数テナントがある場合、Oktaと併用することでテナント依存の権限オプションを使用できます。この可否はWallarmサポートと相談して決定してください。
手順2 (Wallarm): メタデータを生成する
拡張セキュリティ
OktaとWallarm間の接続に追加のセキュリティ検証を適用したい、または適用する必要がある場合は、本手順で利用できる拡張セキュリティオプションの使用をご検討ください。
Okta側で入力するためにWallarmのメタデータが必要です:
-
Wallarm ConsoleでIntegrations → SSO SAML AUTHENTICATIONに進み、Okta SSOの構成を開始します。
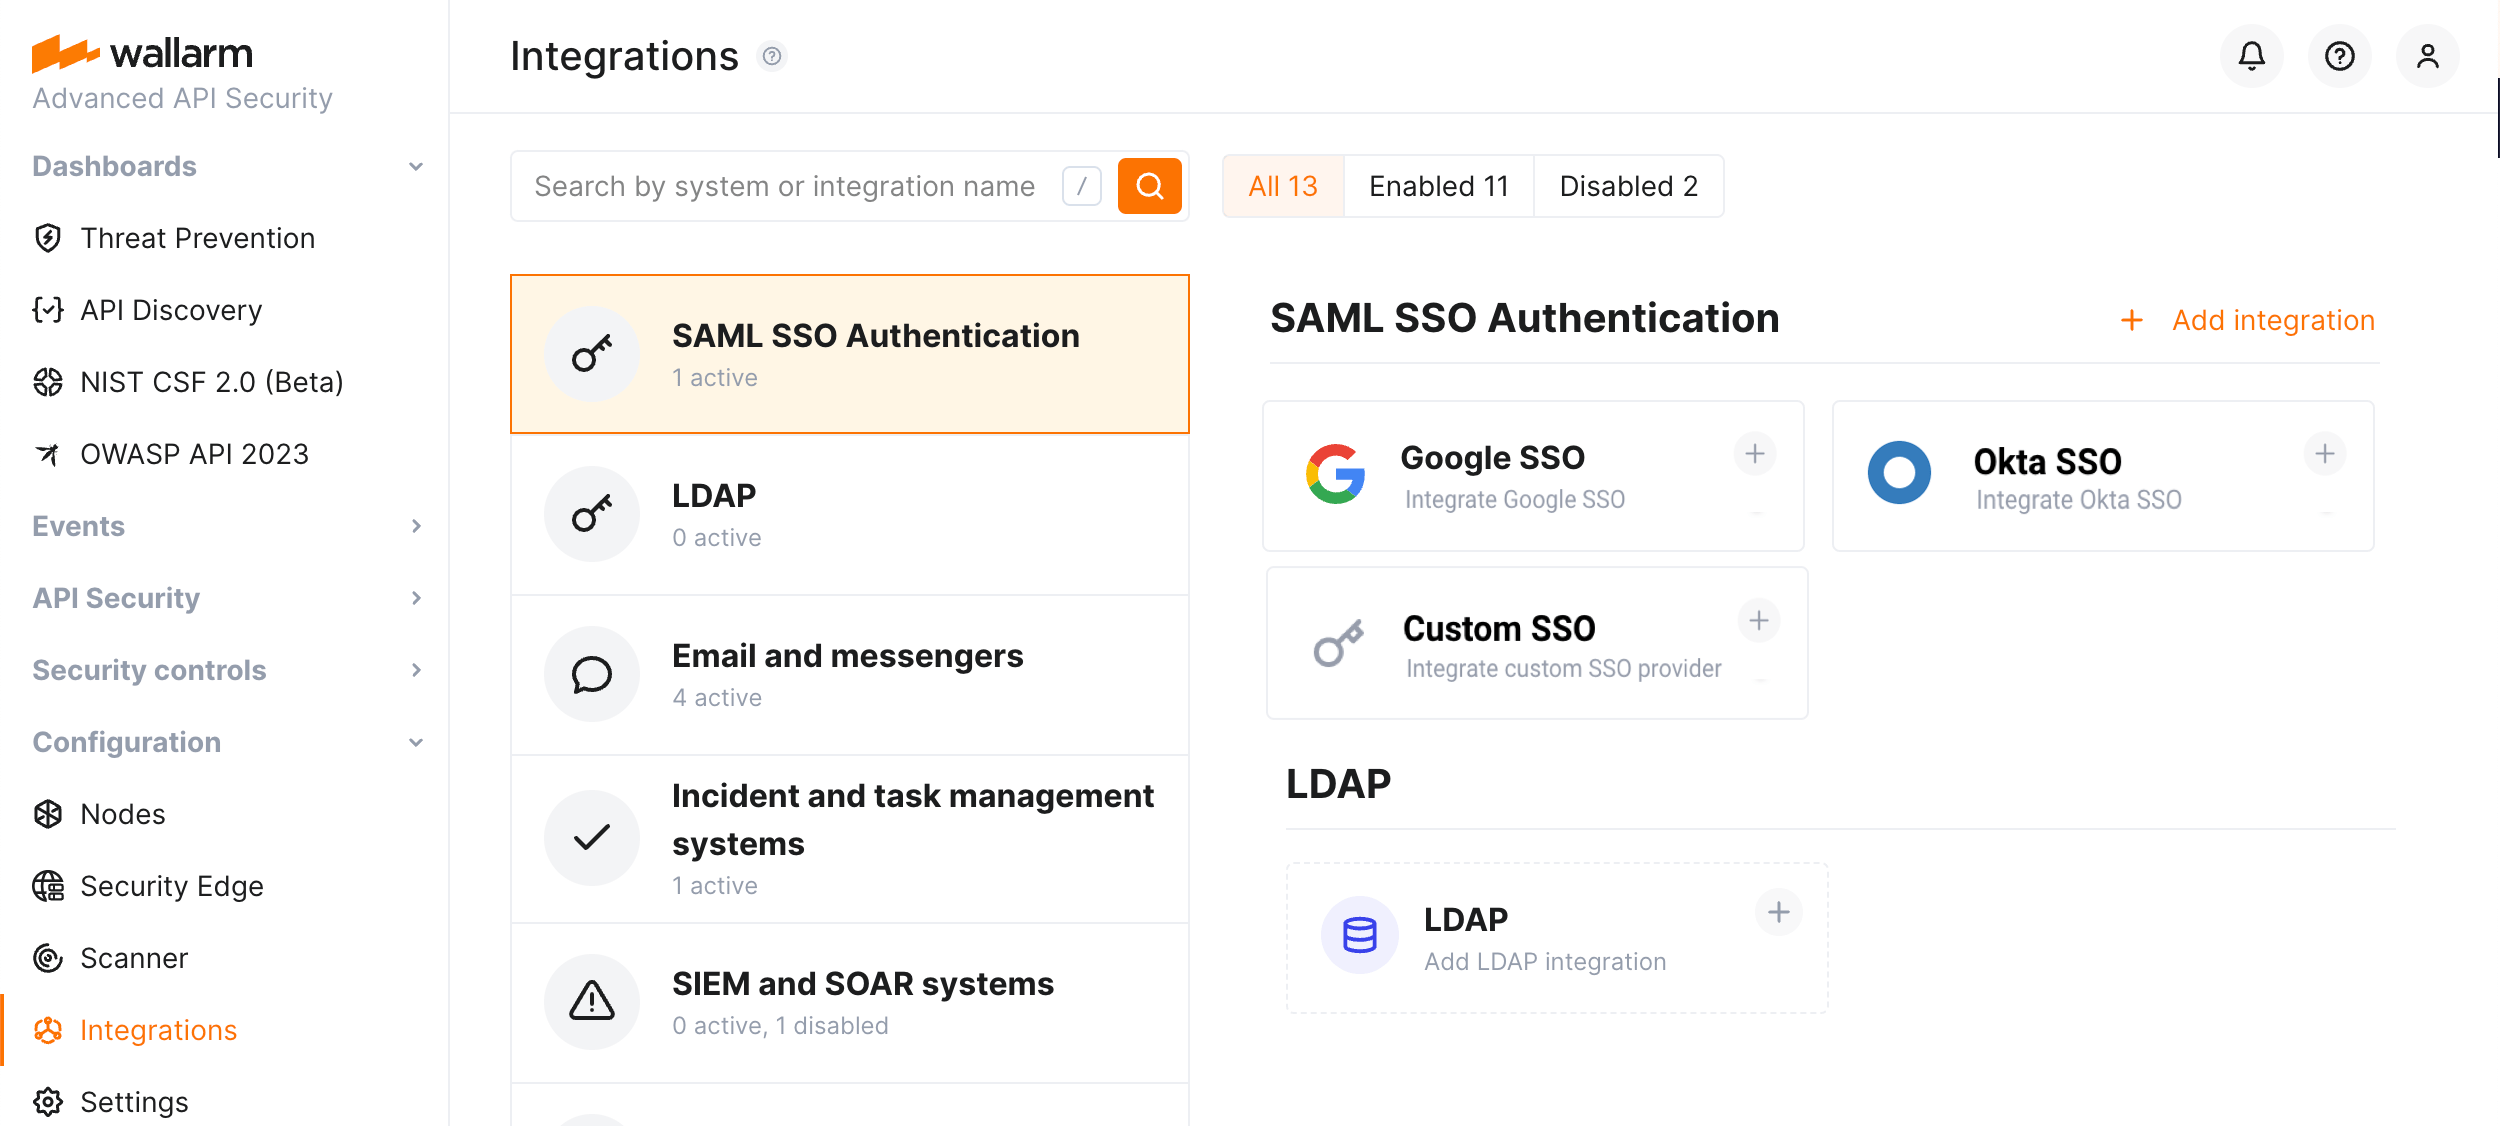
-
SSO構成ウィザードで、Send details手順にて、Oktaサービスへ渡す必要があるWallarmのメタデータを確認します。
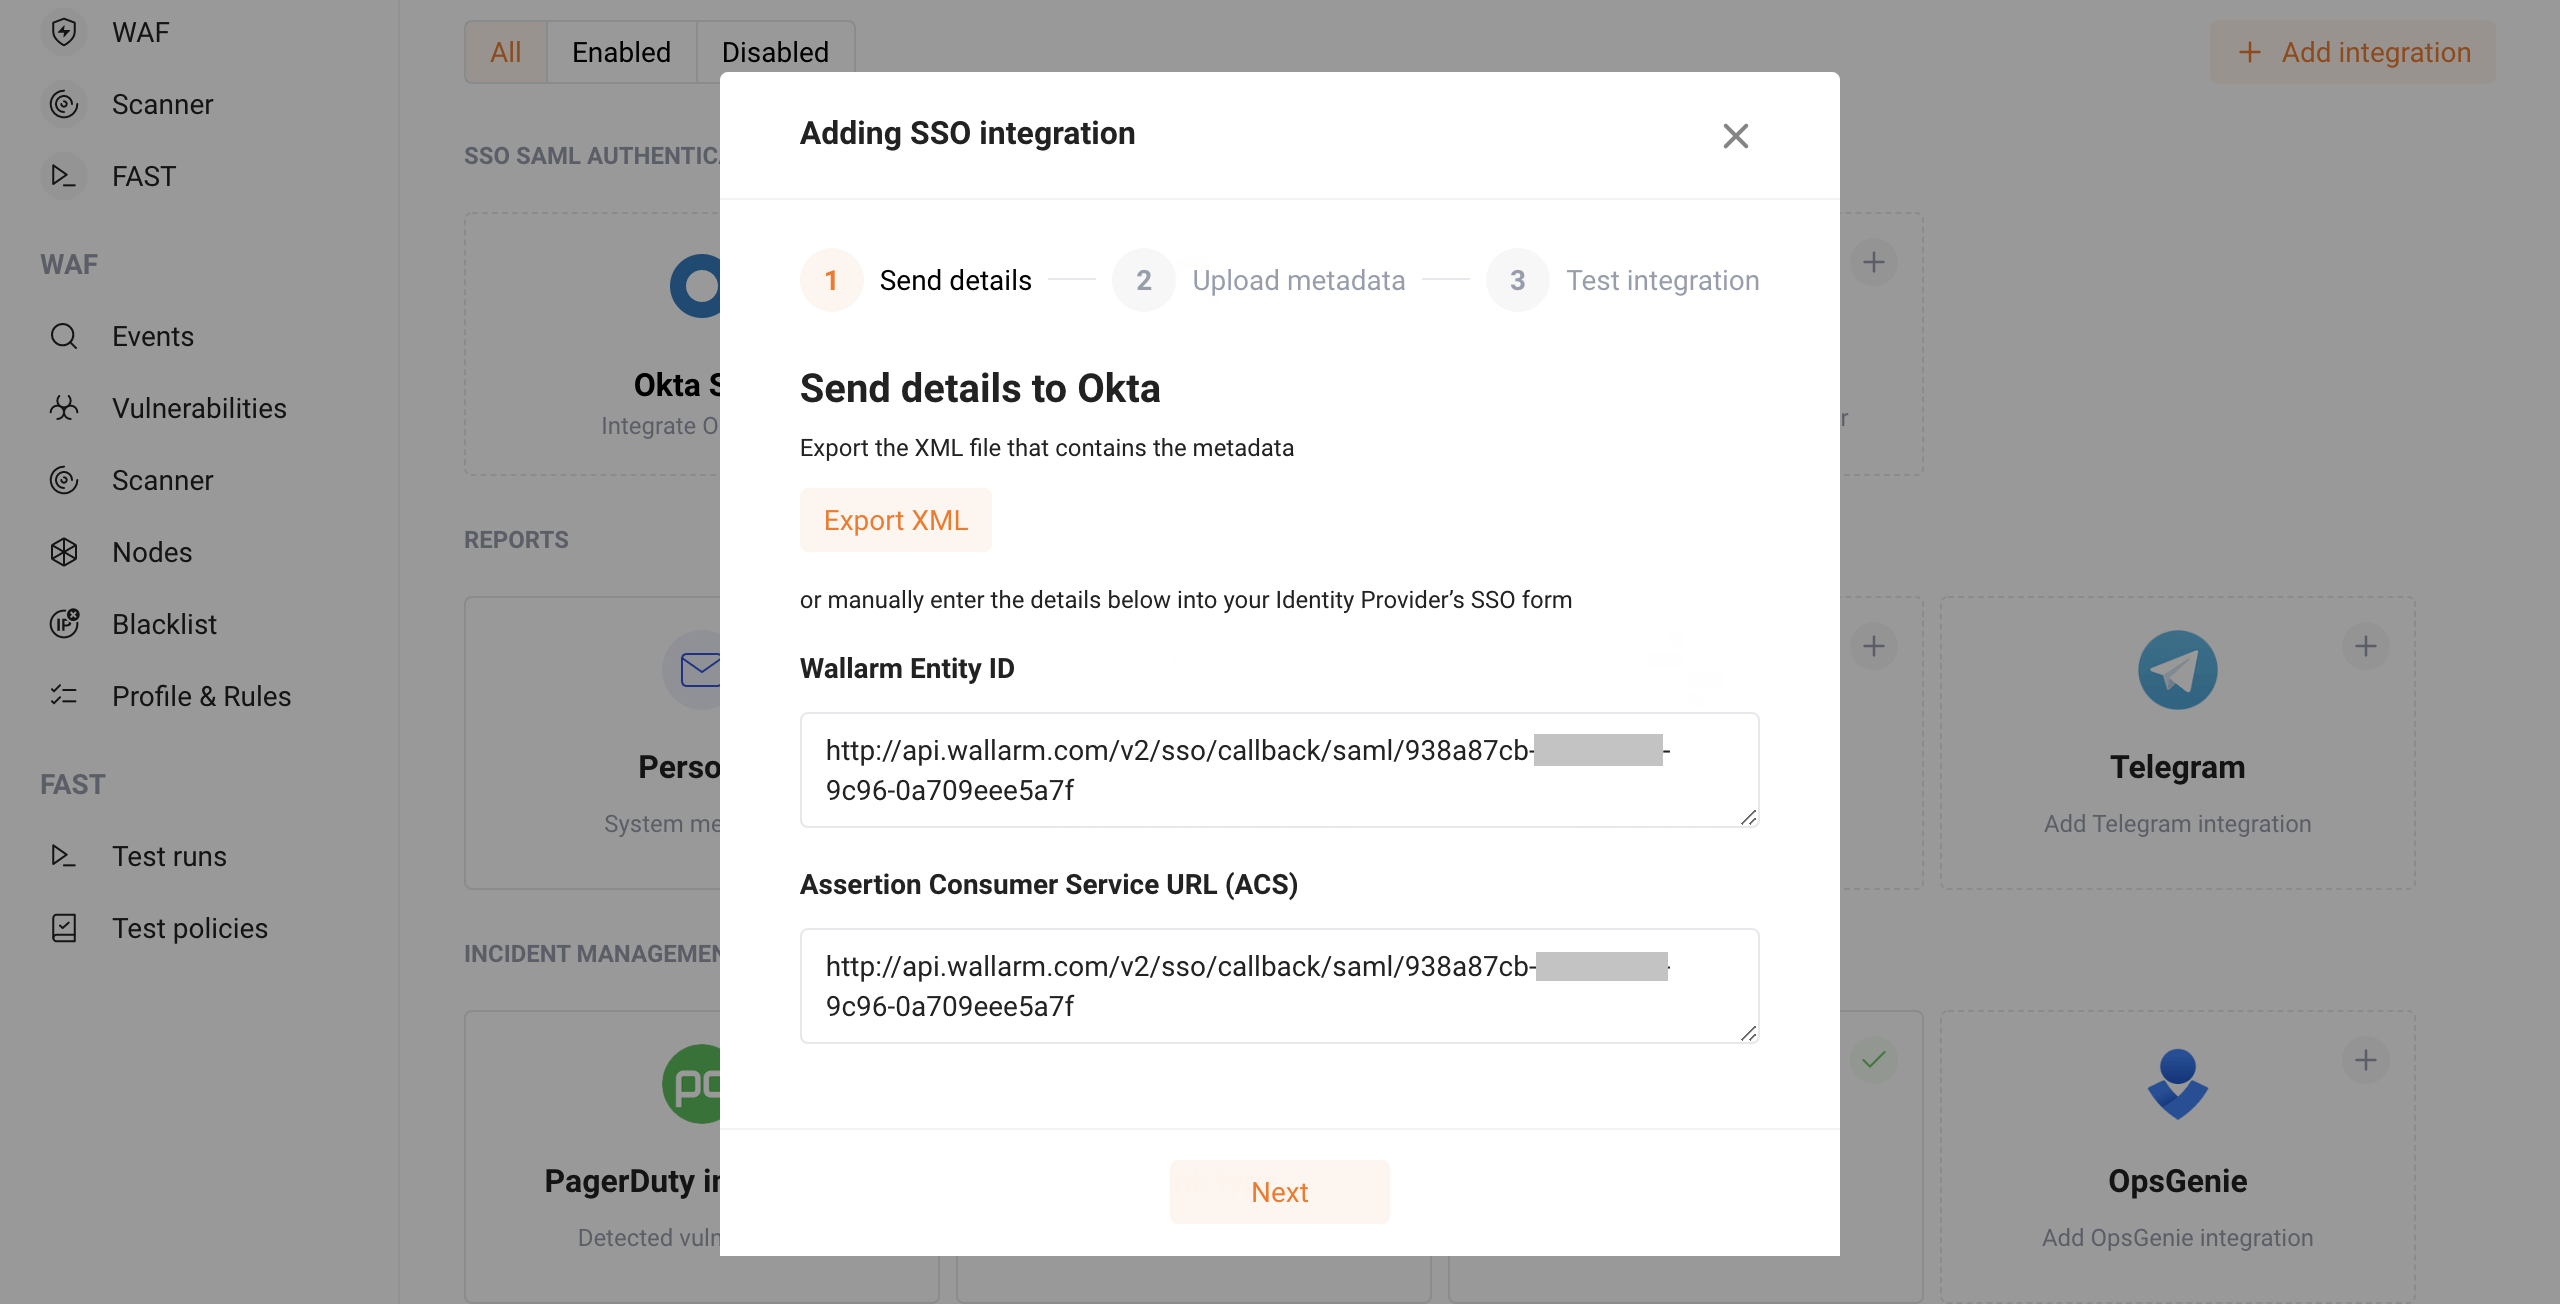
- Wallarm Entity IDは、アイデンティティプロバイダー向けにWallarmアプリケーションが生成する一意のアプリケーション識別子です。
- Assertion Consumer Service URL (ACS URL)は、アイデンティティプロバイダーがSamlResponseパラメータ付きのリクエストを送信する、Wallarm側アプリケーションのアドレスです。
-
メタデータをコピーするか、XMLとして保存します。
手順3 (Okta): アプリケーションを構成する
Oktaでアプリケーションを構成するには:
-
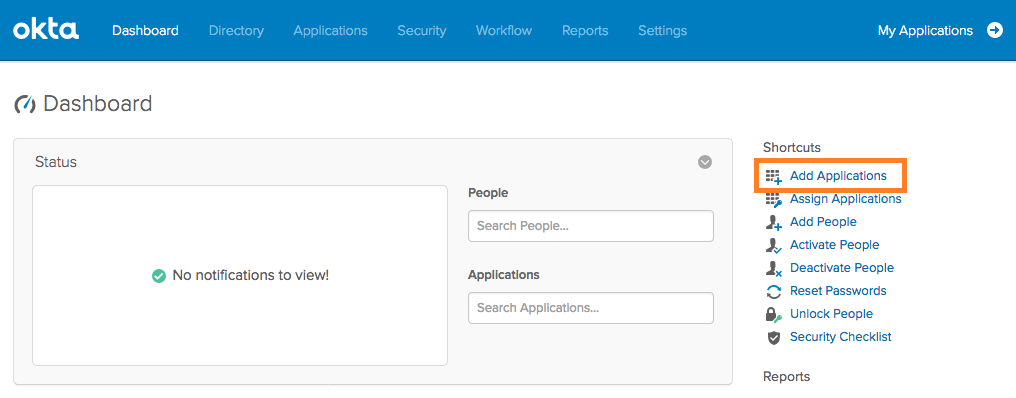
管理者としてOktaにログインします。
-
Applications → Applications → Create App Integrationをクリックします。
-
Sign‑on method → “SAML 2.0”を設定します。
-
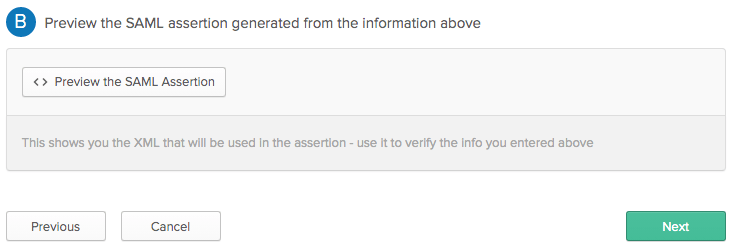
続行し、Create SAML Integrationウィザードで、App Nameや任意でApp logoなどの統合の一般設定を行います。
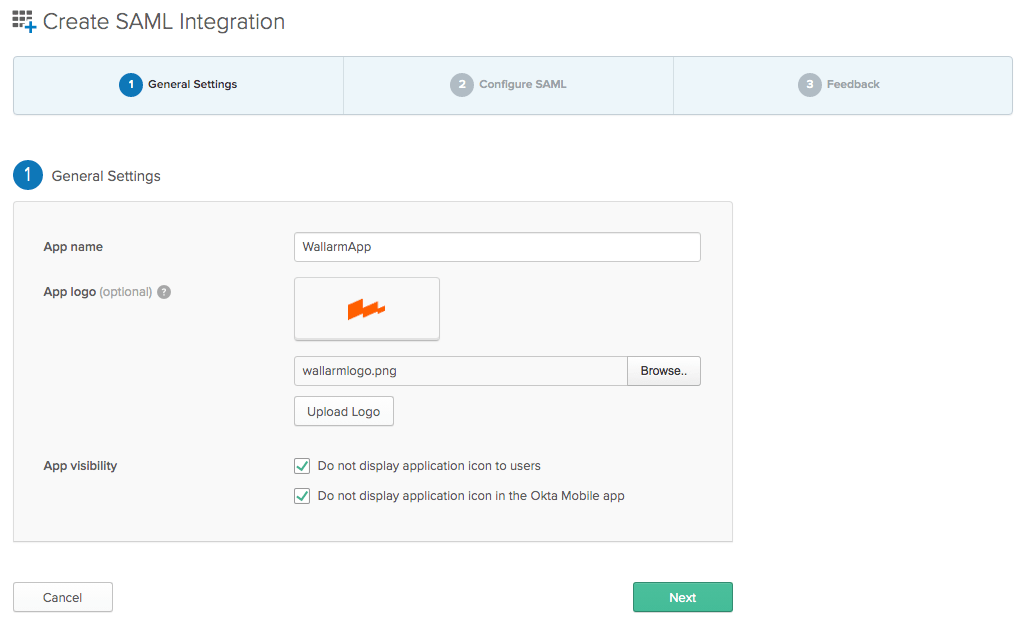
-
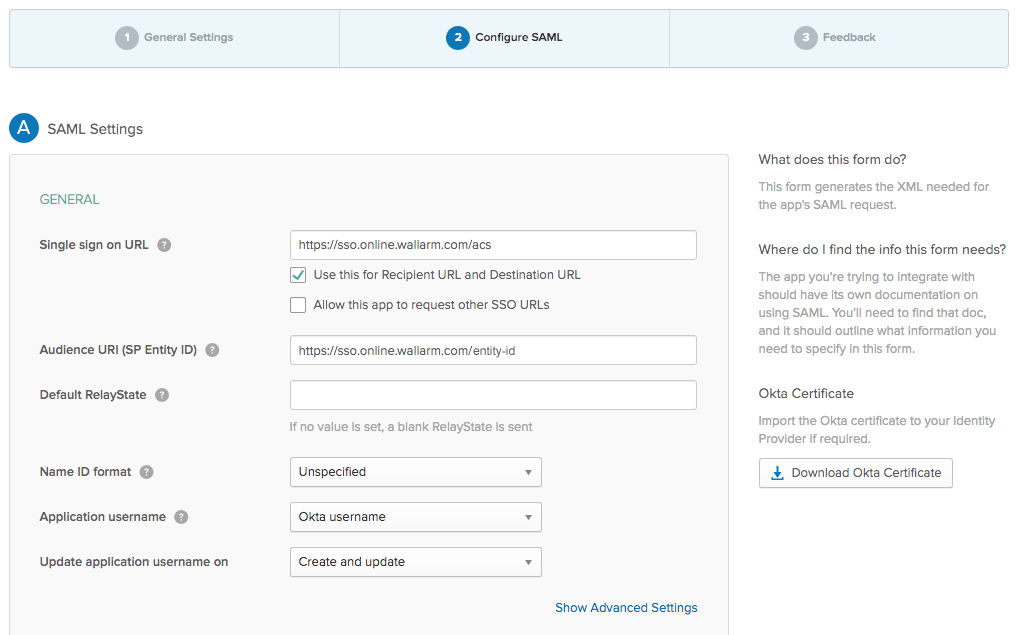
続行し、Wallarmのメタデータを入力します。必須フィールド:
- Single sign‑on URL = WallarmのAssertion Consumer Service URL (ACS URL)。
-
Audience URI (SP Entity ID) = WallarmのWallarm Entity ID。
-
必要に応じて、Oktaドキュメントに記載の他のパラメータを設定します。
-
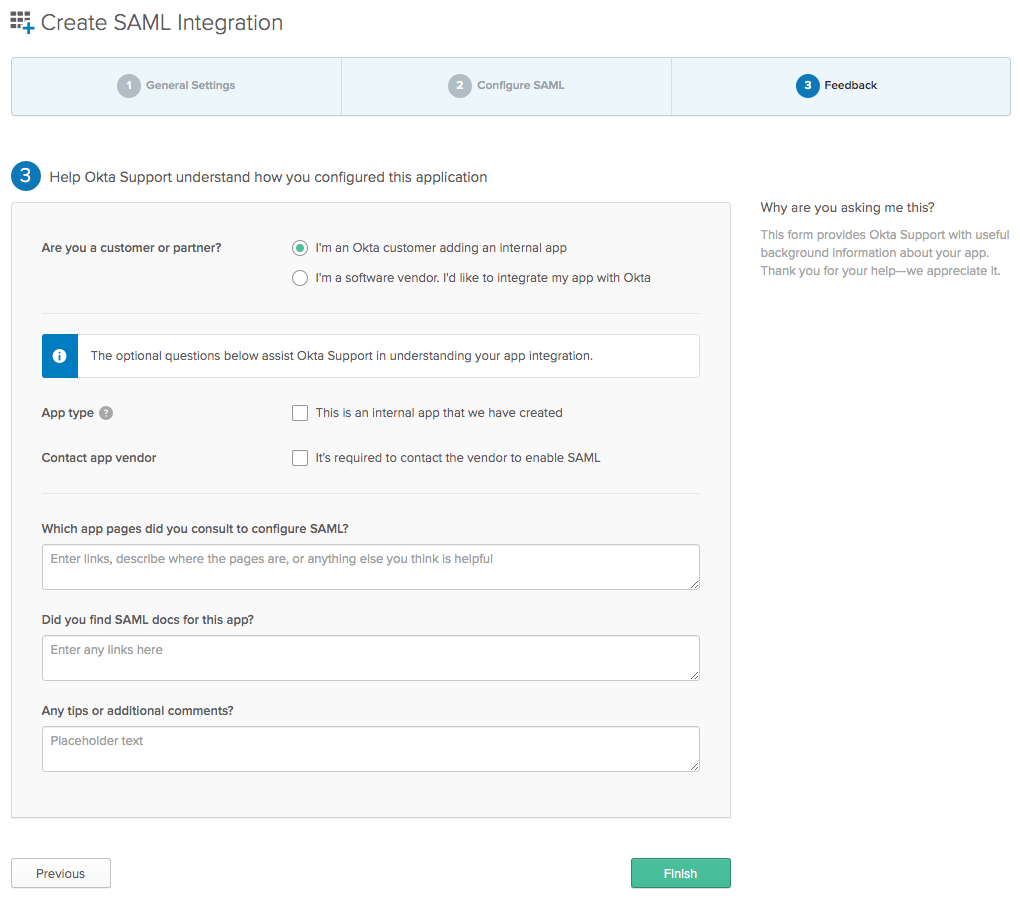
続行し、Are you a customer or partnerを「I'm an Okta customer adding an internal app」に設定します。
-
必要に応じて、他のパラメータを設定します。
-
Finishをクリックします。作成されたアプリケーションのページにリダイレクトされます。
-
Oktaメタデータを取得するには、Sign Onタブに移動し、次のいずれかを実行します:
- Identity Provider metadataをクリックし、表示されたデータをXMLとして保存します。
- View Setup instructionsをクリックし、表示されたデータをコピーします。
-
Applications → Applications → Assign Users to Appに移動して、作成したアプリケーションにOktaユーザーへのアクセス権を付与します。

手順4 (Okta): プロビジョニングを設定する
プロビジョニングは、SAML SSOソリューション(Okta)からWallarmへのデータ自動転送です: OktaのユーザーおよびそのグループメンバーシップがWallarmへのアクセスとそこでの権限を決定し、ユーザー管理はすべてOkta側で行います。
これを機能させるには、属性マッピングを設定します:
-
Oktaのアプリケーションで、Applications → Applications → General → SAML Settings (Edit) → Nextをクリックします。
-
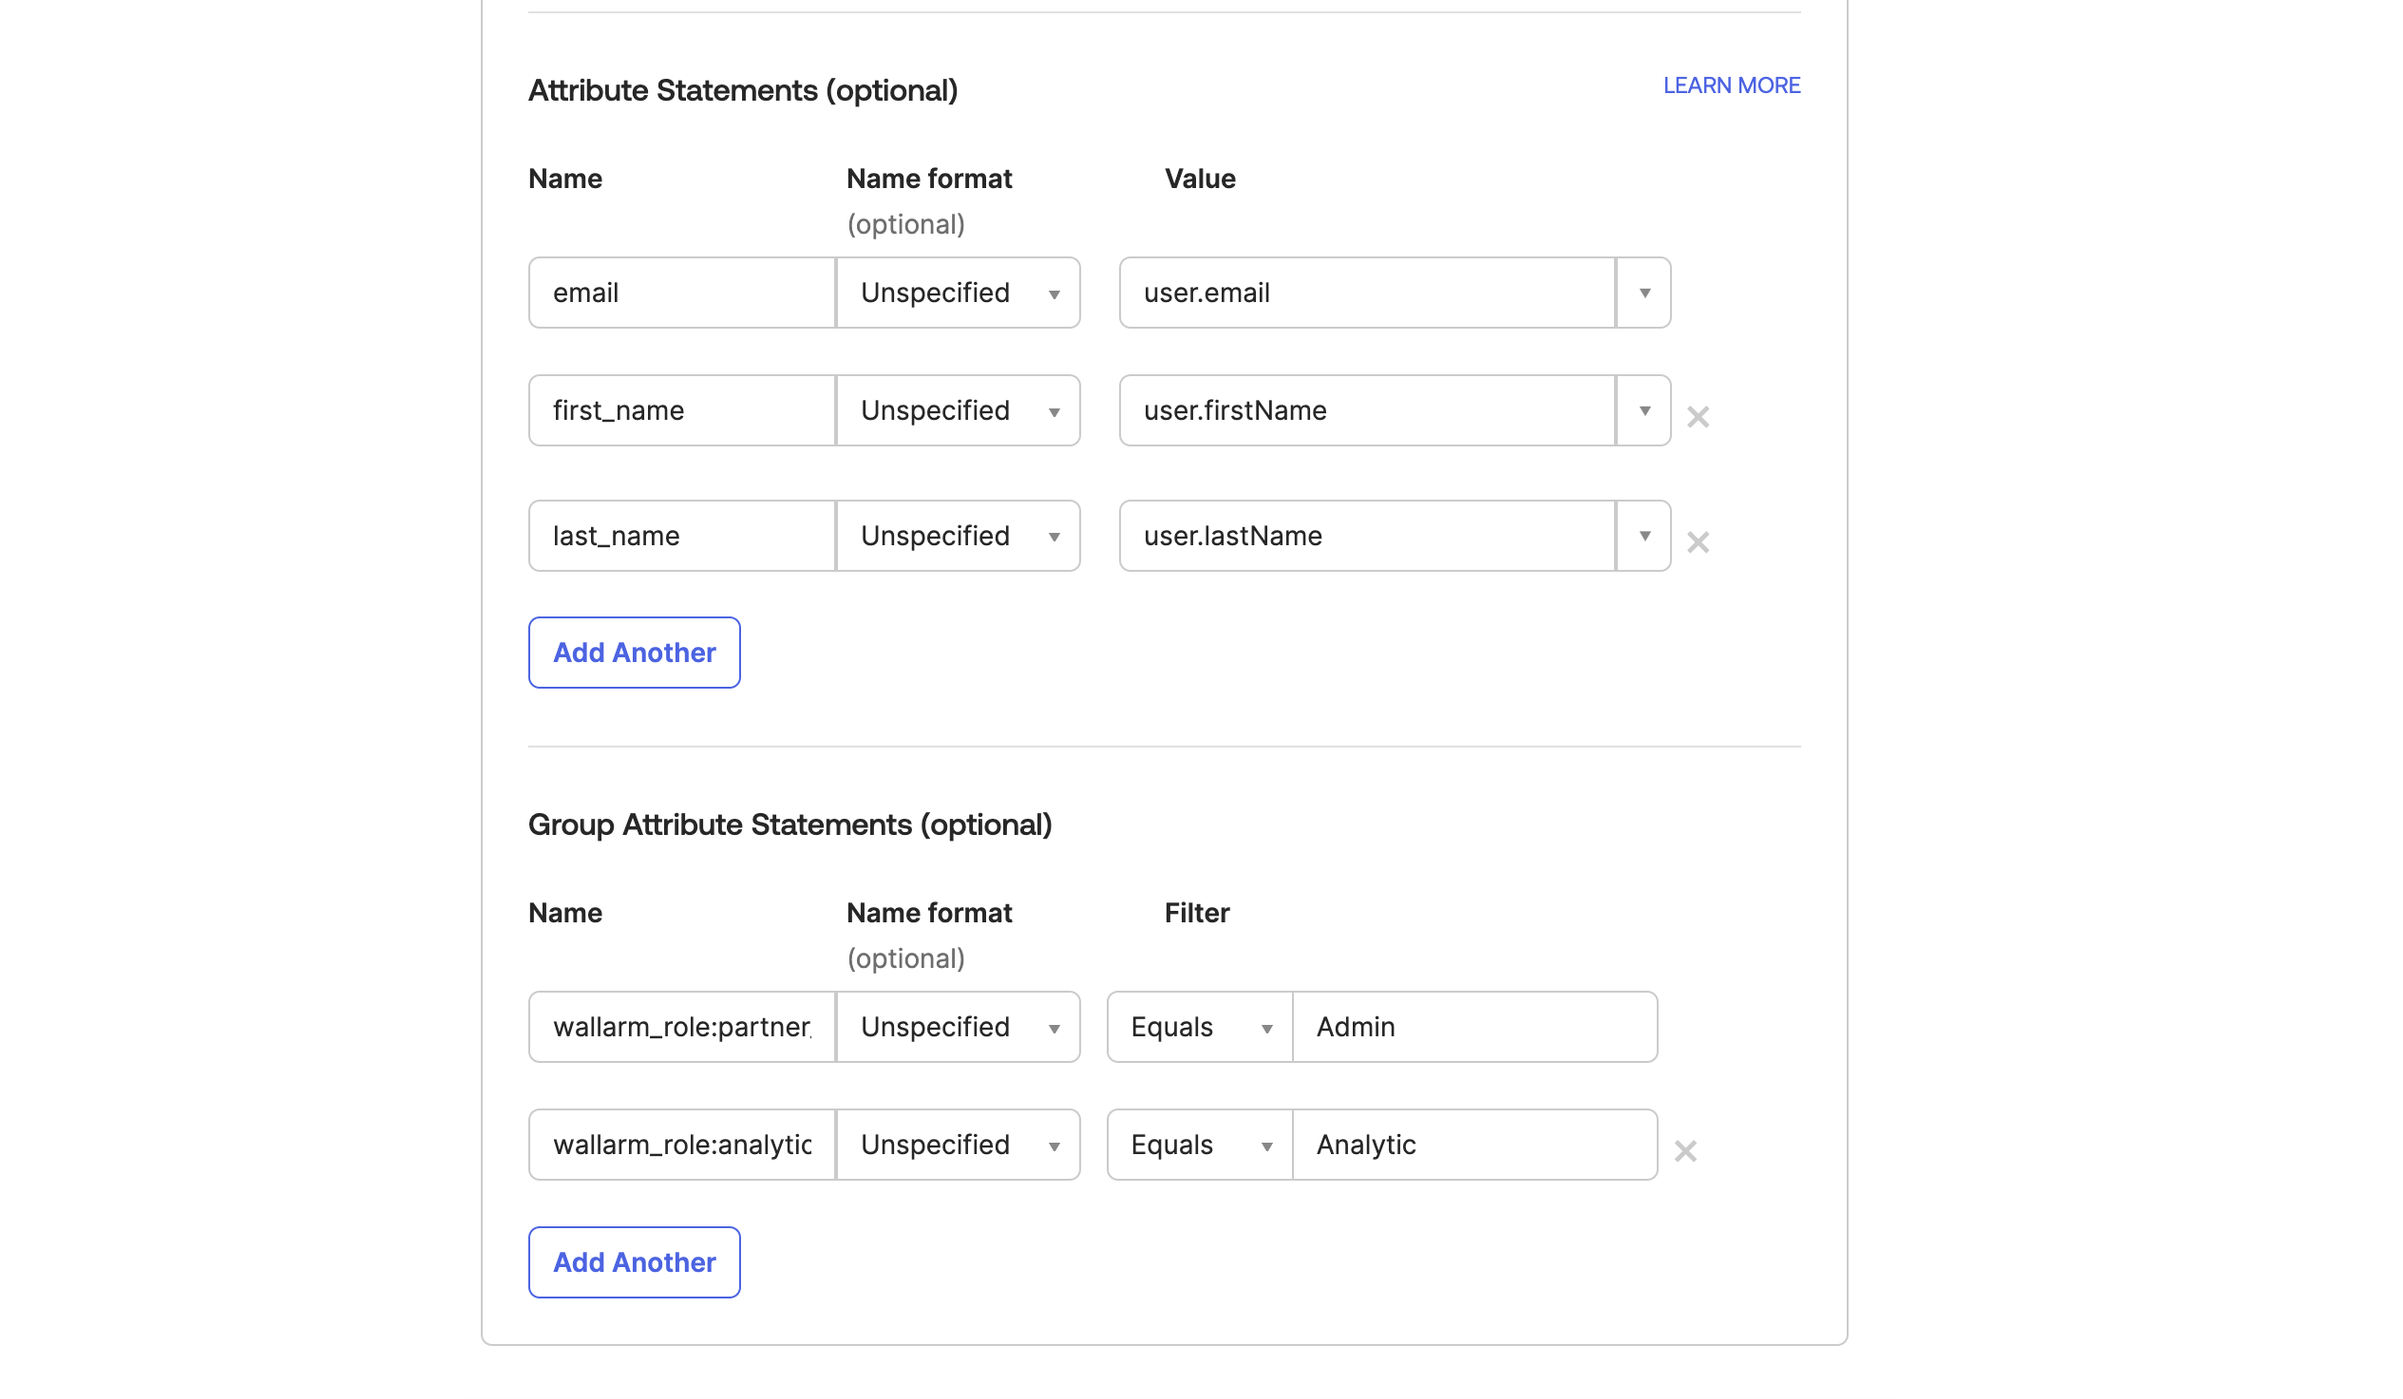
属性ステートメントをマッピングします:
- email - user.email
- first_name - user.firstName
- last_name user.lastName
-
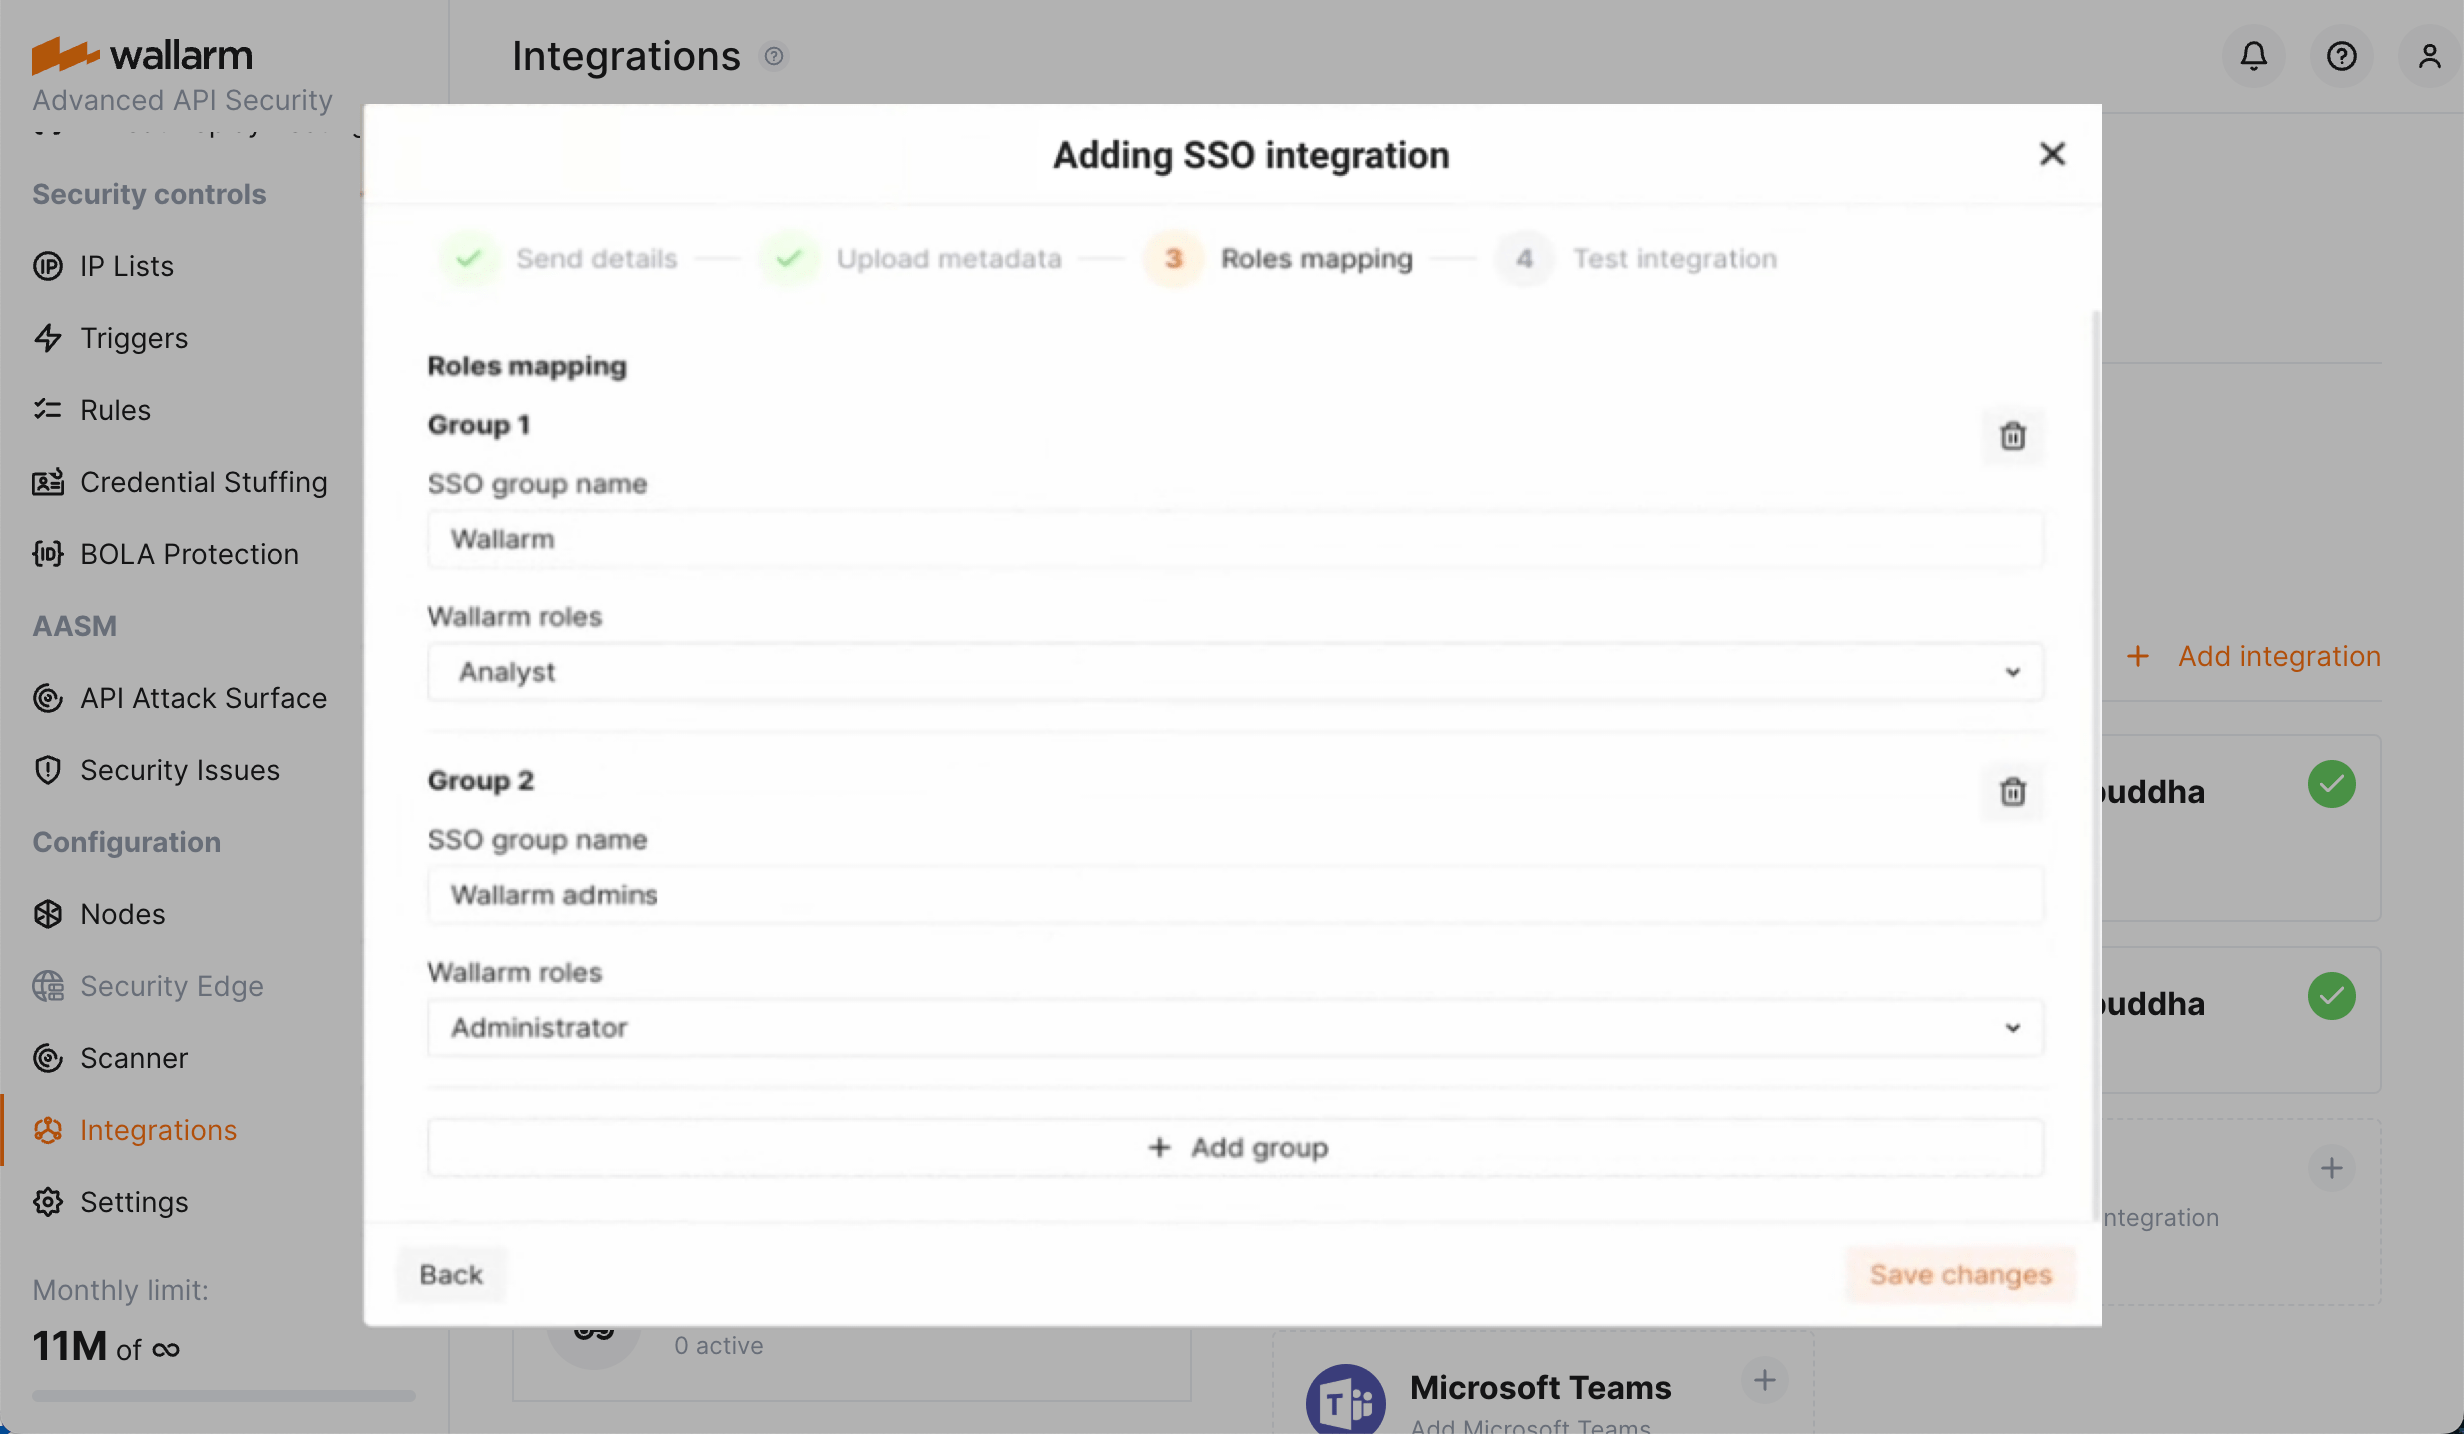
ユーザーグループを
wallarm_role:[role]にマッピングします。ここでroleは次のいずれかです:admin(Administrator)analytic(Analyst)api_developer(API Developer)auditor(Read Only)partner_admin(Global Administrator)partner_analytic(Global Analyst)-
partner_auditor(Global Read Only)すべてのロールの説明はこちらを参照してください。
-
変更を保存します。
手順5 (Wallarm): Oktaメタデータを入力する
-
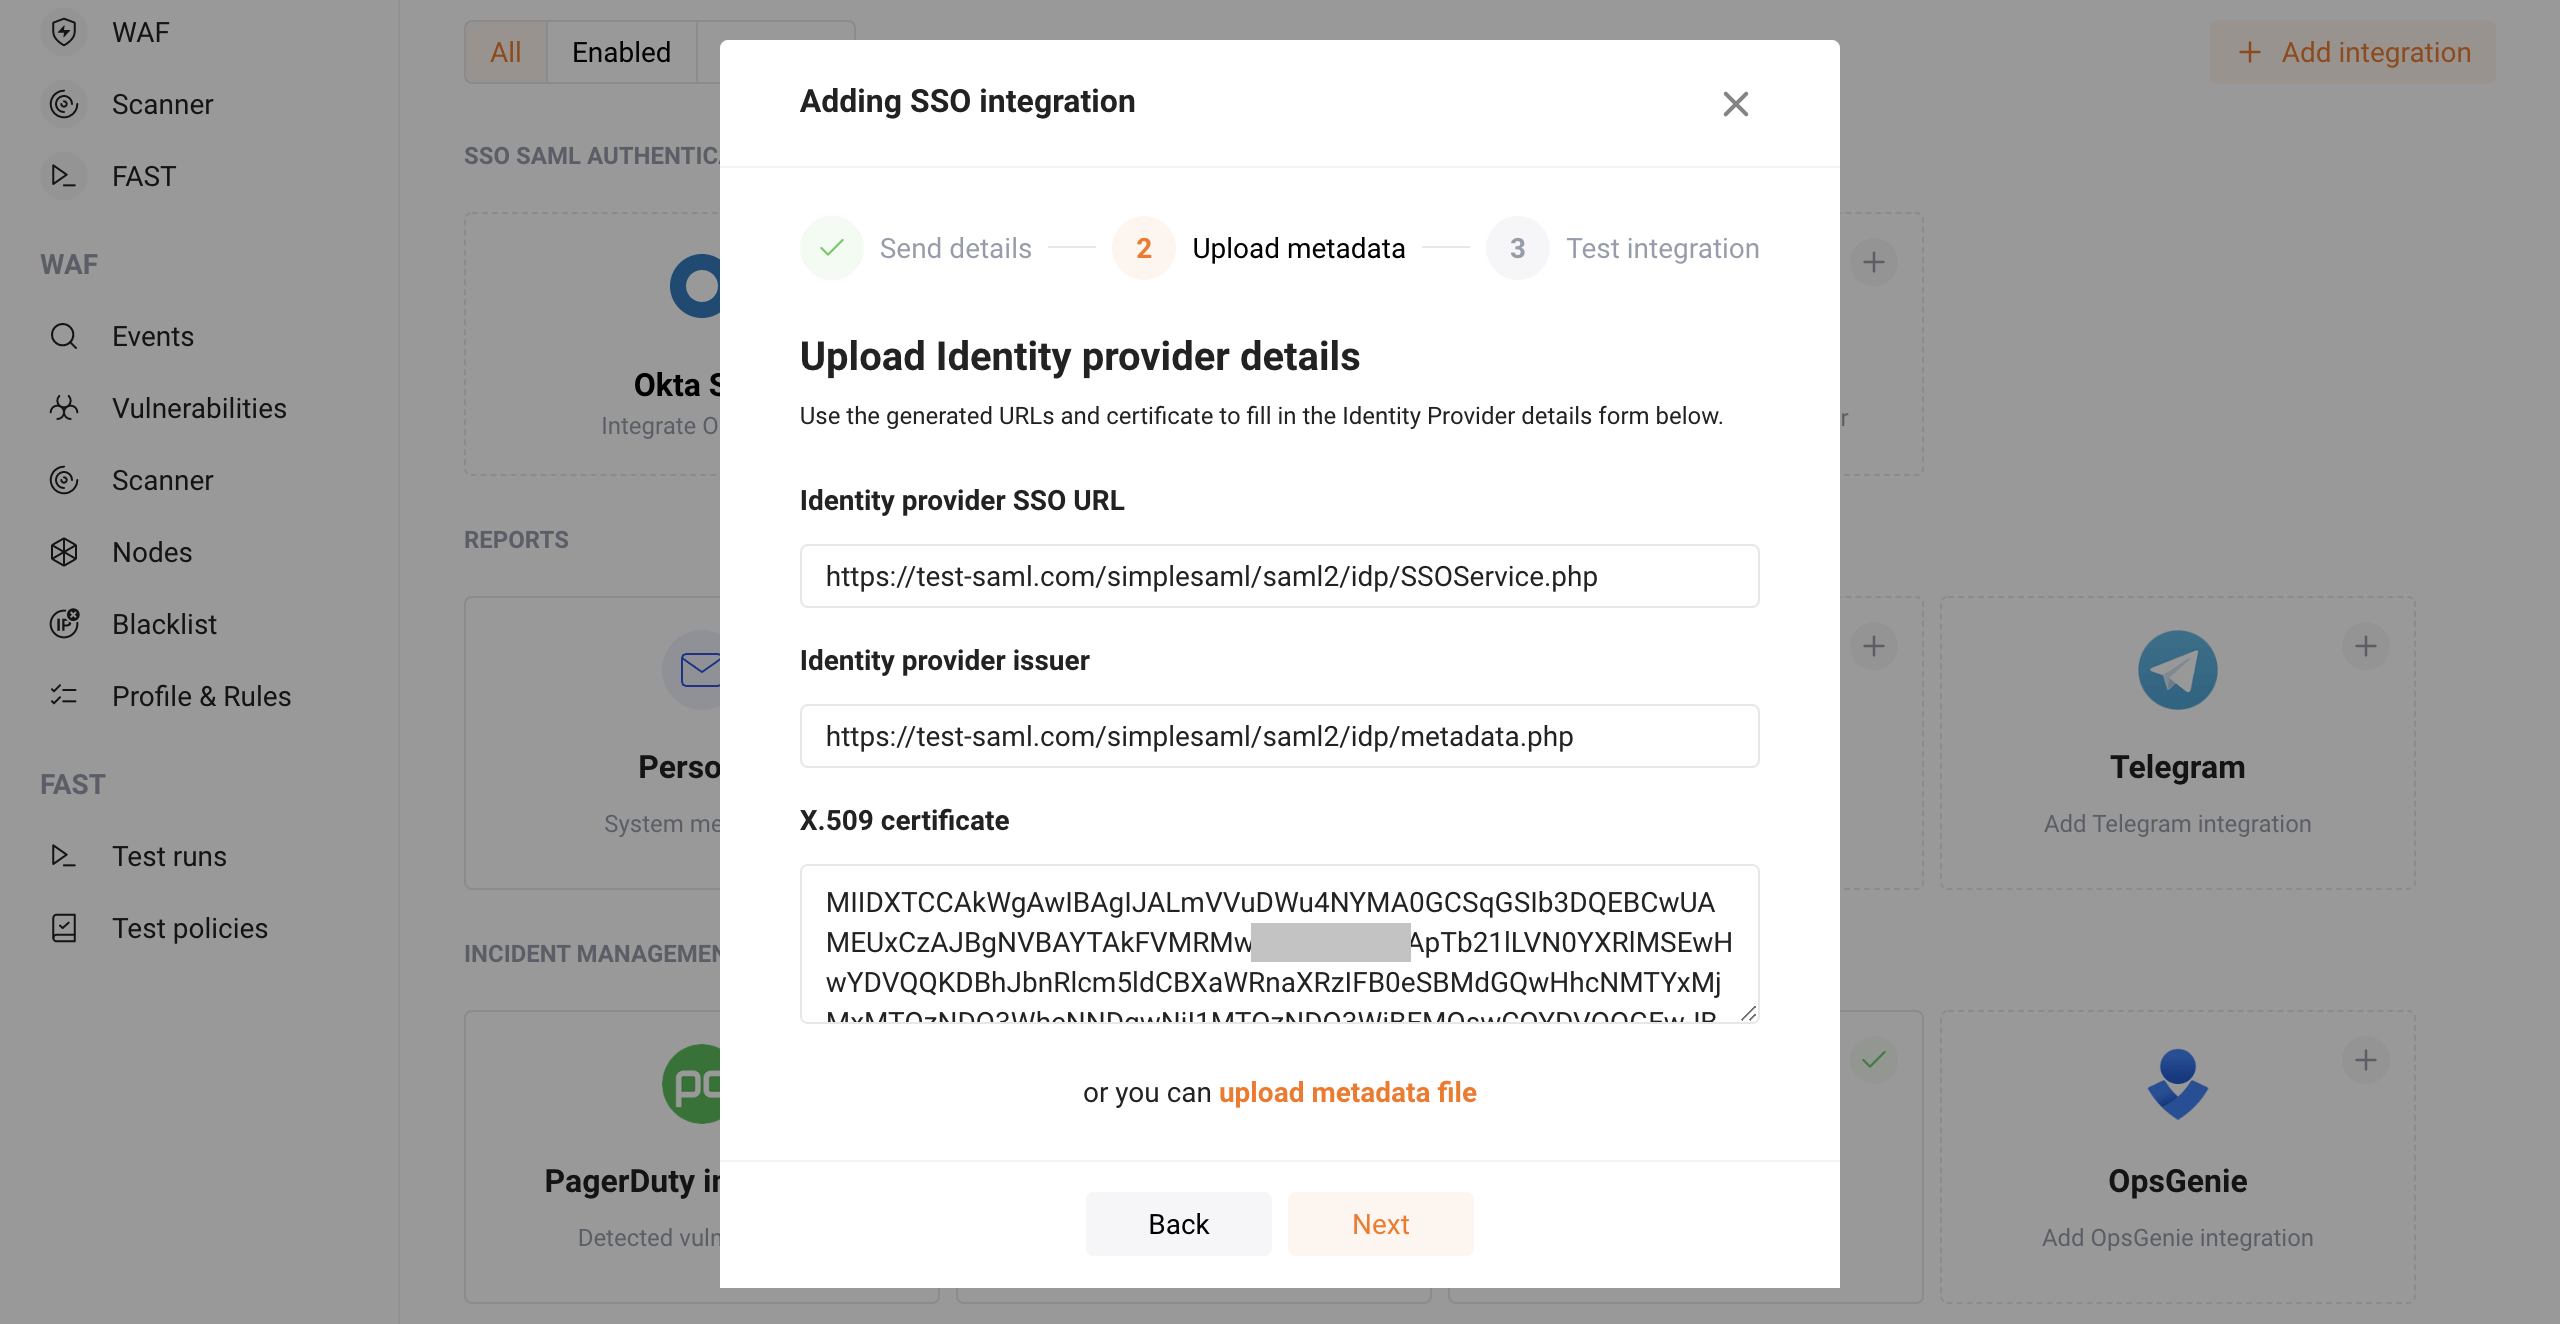
Wallarm ConsoleのSSO構成ウィザードで、Upload metadata手順に進みます。
-
次のいずれかを実行します:
- OktaメタデータをXMLファイルとしてアップロードします。
-
次のようにメタデータを手動で入力します:
- Identity Provider Single Sign‑On URL → Identity provider SSO URL。
- Identity Provider Issuer → Identity provider issuer。
-
X.509 Certificate → X.509 Certificateフィールド。
-
SSO構成ウィザードを完了します。WallarmはOktaとの間でデータを転送できるかをテストします。
手順6 (Wallarm): プロビジョニングを設定する(SKIP)
Oktaの場合、この手順はWallarmではスキップします。
次の手順に進み、SSO構成ウィザードを完了してください。WallarmはSAML SSOソリューションとの間でデータを転送できるかをテストします。