Broadcom Layer7 API Gateways
Broadcom's Layer7 API Gateways provide a robust solution for controlling and securing an organization's API traffic. Wallarm can function as a connector to enhance the security of APIs managed through Broadcom Layer7 API Gateways.
To use Wallarm as a connector for Broadcom Layer7 API Gateway, you need to deploy the Wallarm Node externally and configure Wallarm policies on the gateway to route traffic to the Wallarm Node for analysis.
The Broadcom connector supports only in-line traffic flow.
Use cases
Among all supported Wallarm deployment options, this solution is recommended in case when you manage your APIs with the Layer7 API Gateways.
Limitations
-
Rate limiting by the Wallarm rule is not supported.
-
Multitenancy is not supported yet.
Requirements
To proceed with the deployment, ensure that you meet the following requirements:
-
Understanding of the Broadcom Layer7 API Gateways product.
-
Your application and API are linked and running on Broadcom Layer7 API Gateways.
-
Broadcom Policy Manager is installed and connected to the Broadcom Gateway.
Deployment
1. Deploy a Wallarm Node
The Wallarm Node is a core component of the Wallarm platform that you need to deploy. It inspects incoming traffic, detects malicious activities, and can be configured to mitigate threats.
You need to deploy it in your own infrastructure as a separate service using one of the following artifacts:
-
All-in-one installer for Linux infrastructures on bare metal or VMs
-
Docker image for environments that use containerized deployments
-
AWS AMI for AWS infrastructures
-
Helm chart for infrastructures utilizing Kubernetes
2. Add the Node's SSL/TLS certificate to the Policy Manager
To enable the Broadcom Gateway to route traffic to the Wallarm Node over HTTPS, add the Node's SSL/TLS certificate to the Policy Manager:
-
Open Broadcom Policy Manager → Tasks → Certificates, Keys and Secrets → Manage Certificates.
-
Click Add → Retrieve via SSL and specify the Wallarm Node's address.
3. Obtain and deploy Wallarm policies
To configure the Broadcom Gateway to route traffic through the Wallarm Node:
-
Contact sales@wallarm.com to get the Wallarm policy code bundles.
-
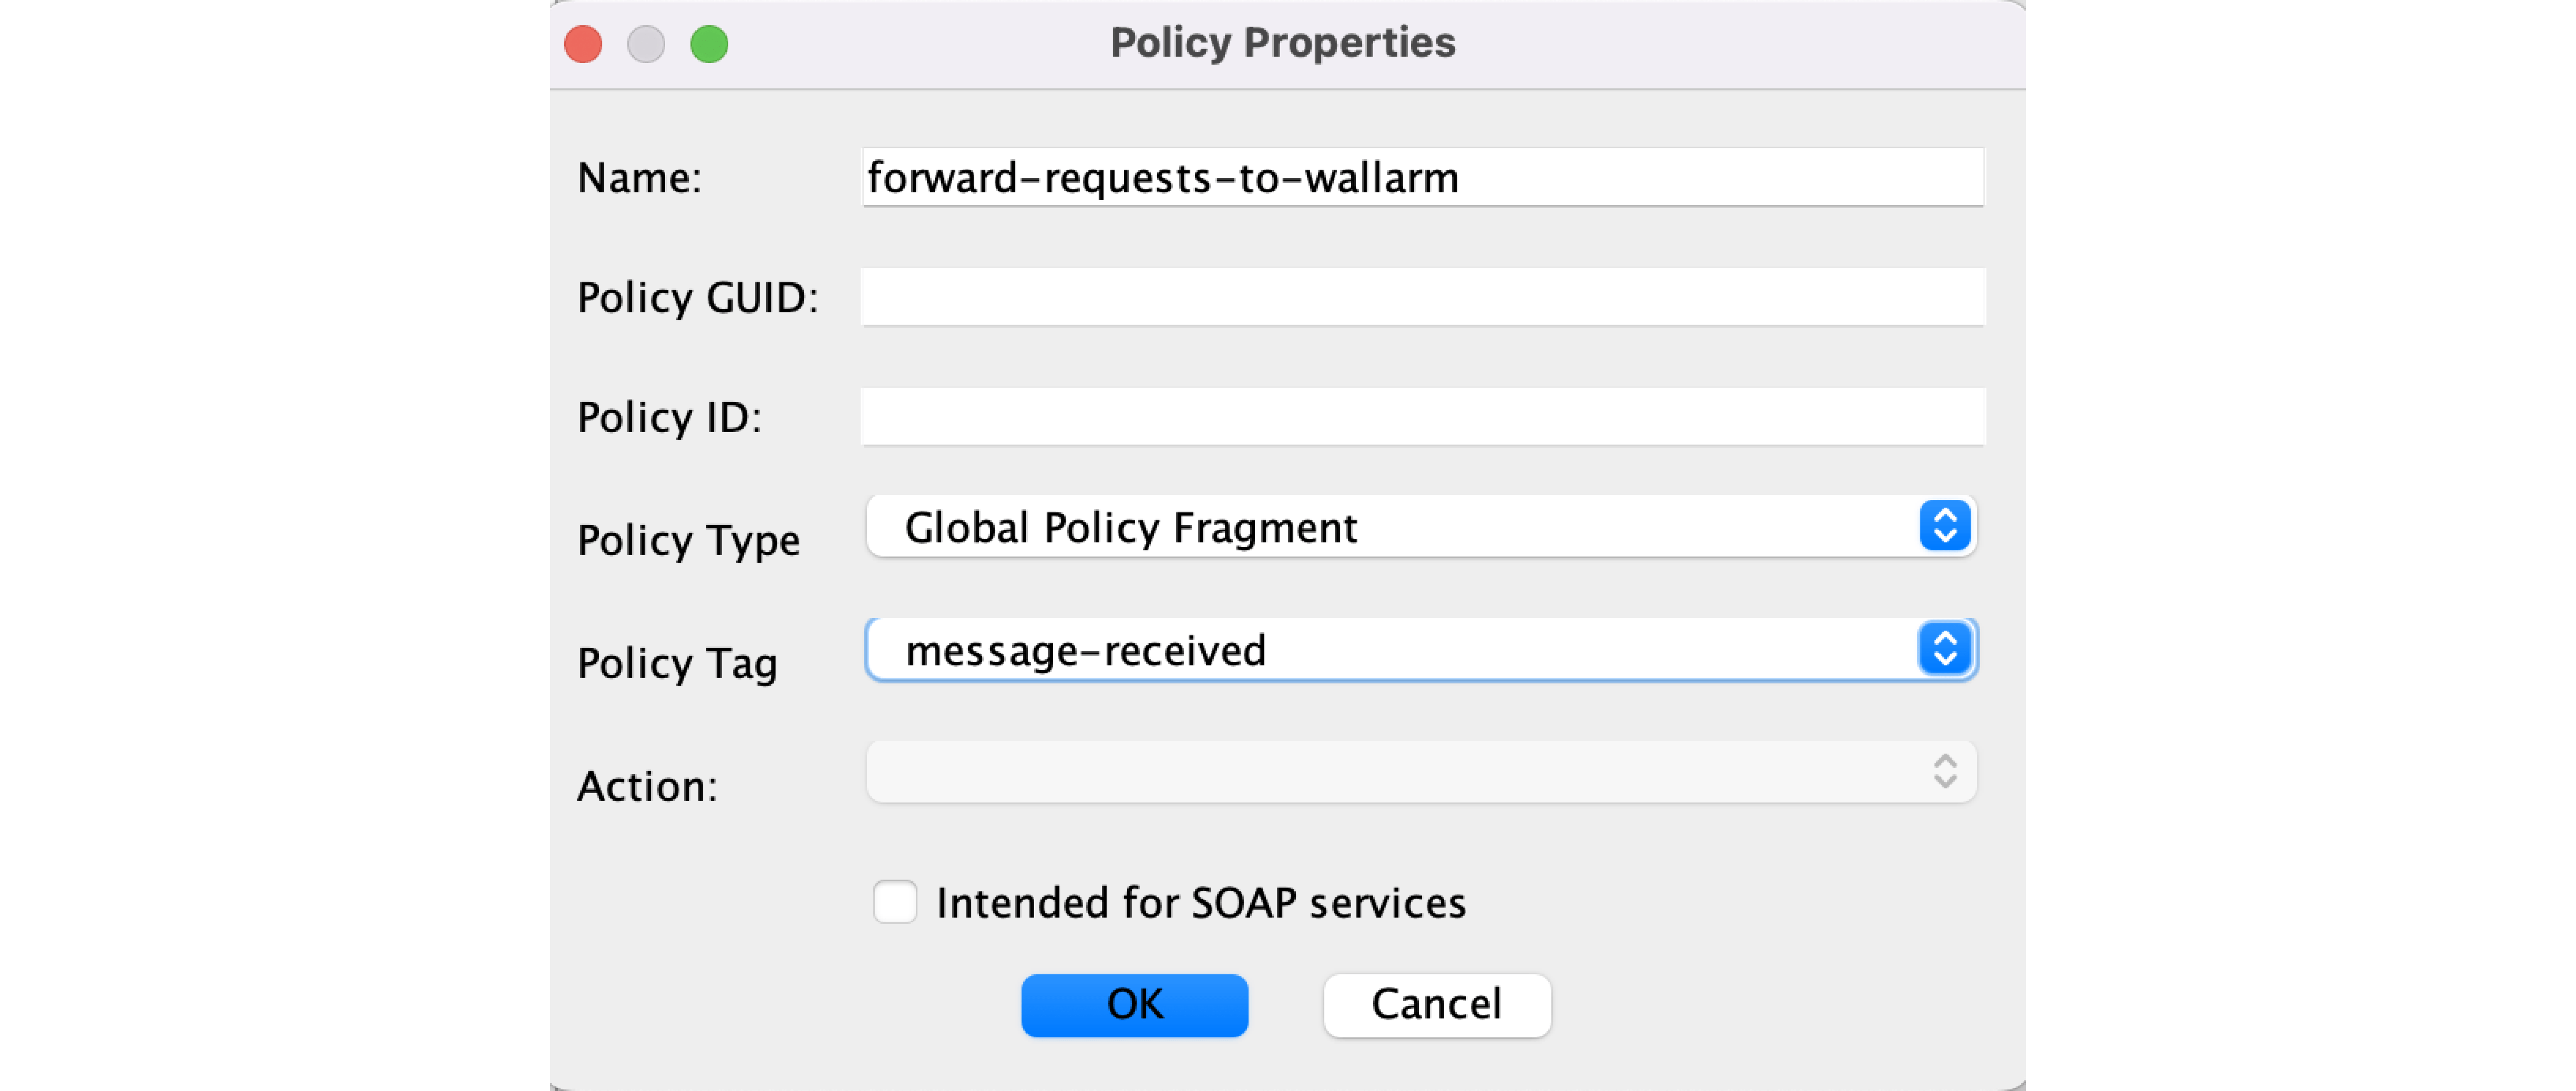
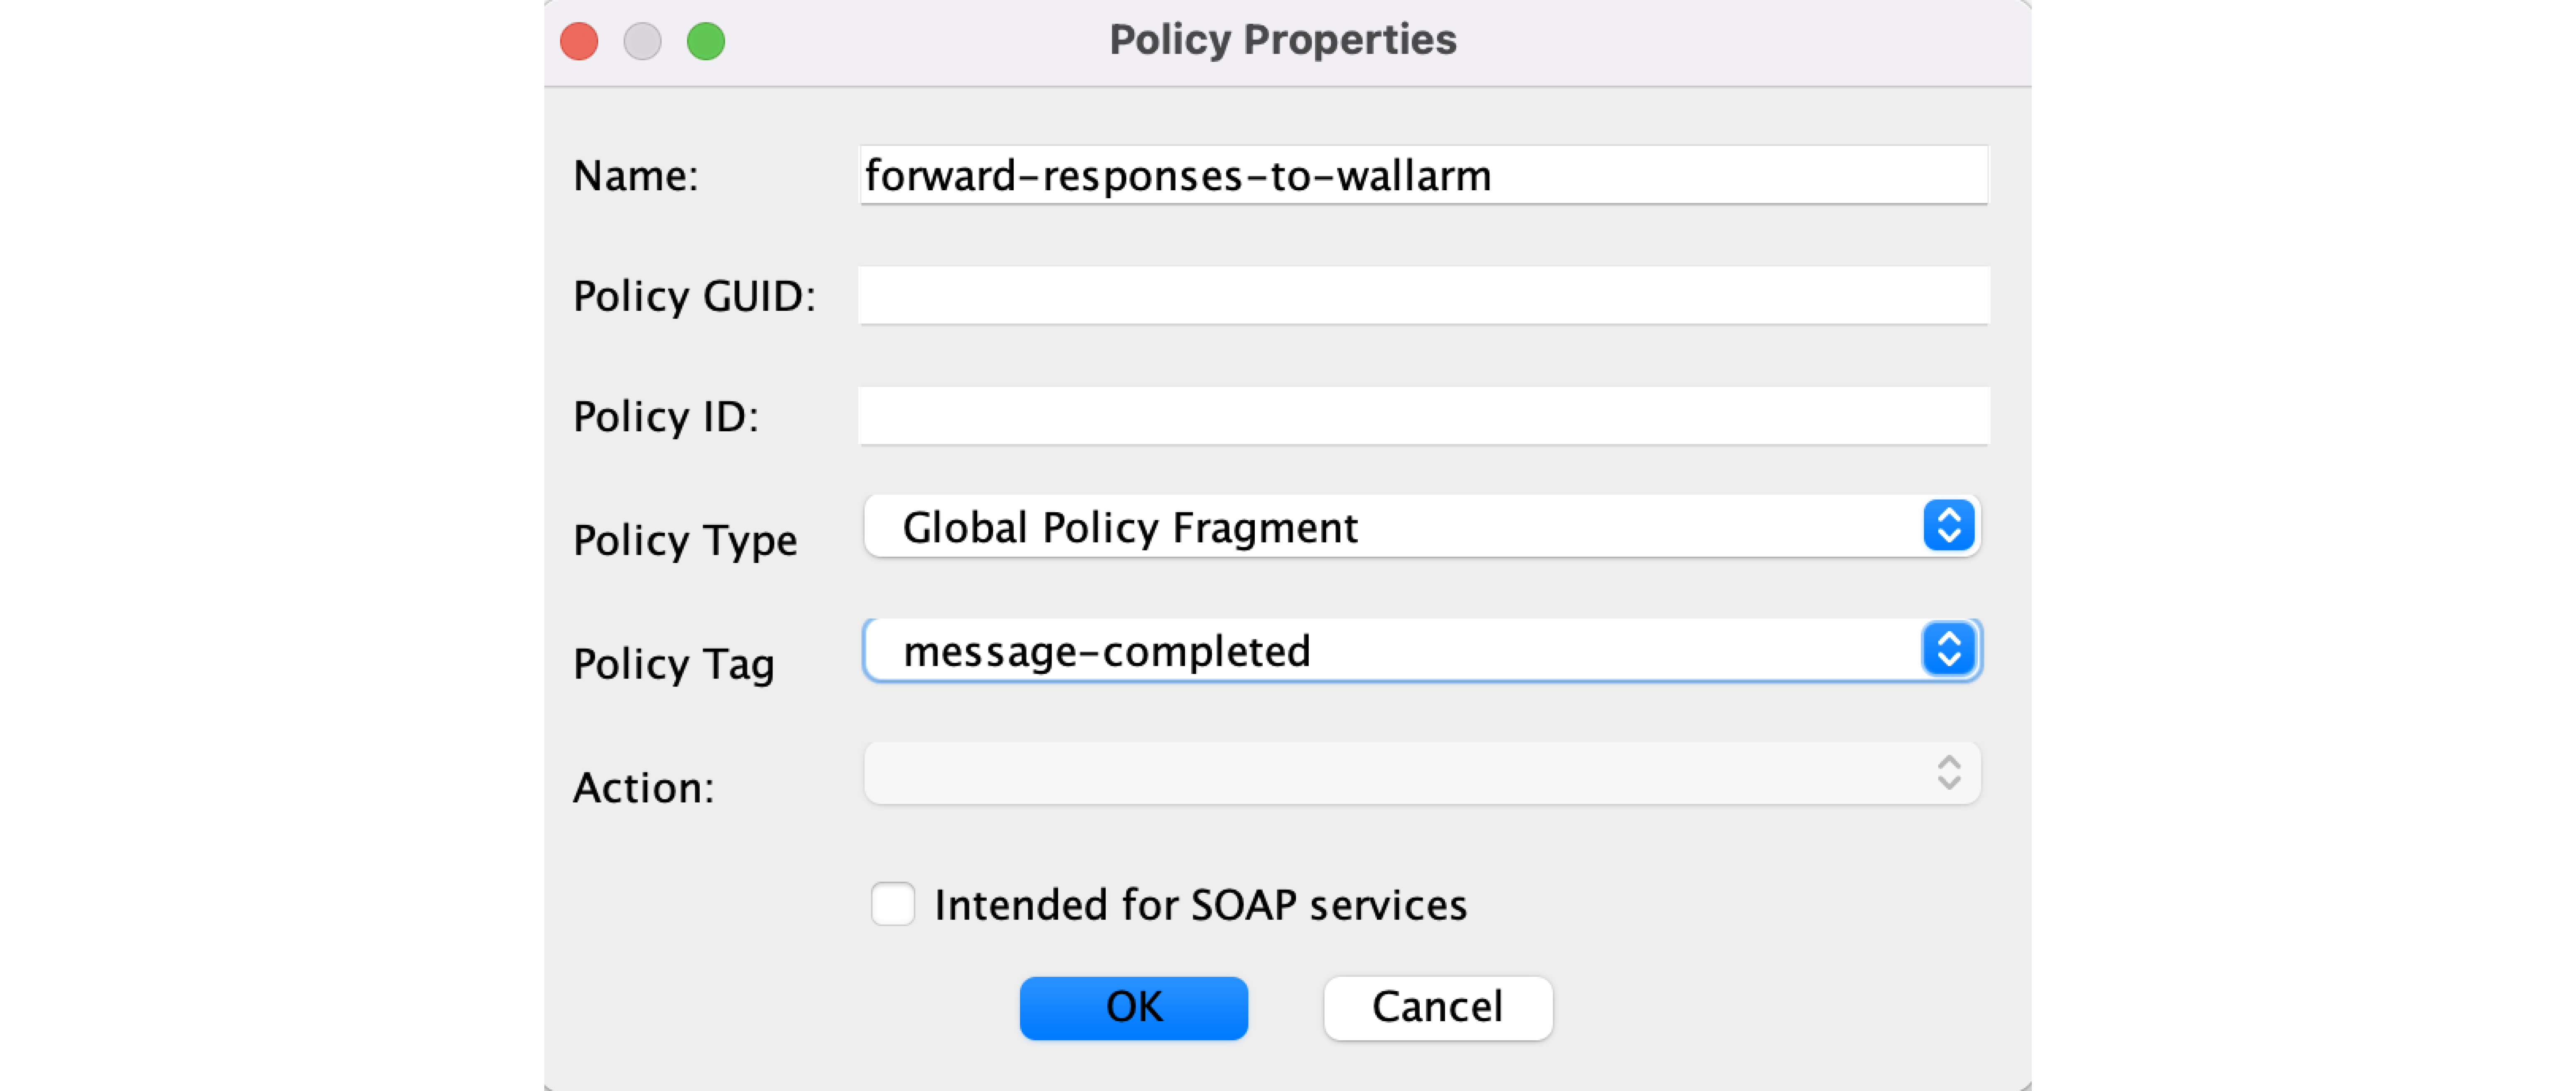
Open Broadcom Policy Manager → your Broadcom Gateway's menu → Create Policy and add 2 policies:
-
For the request forwarding policy (
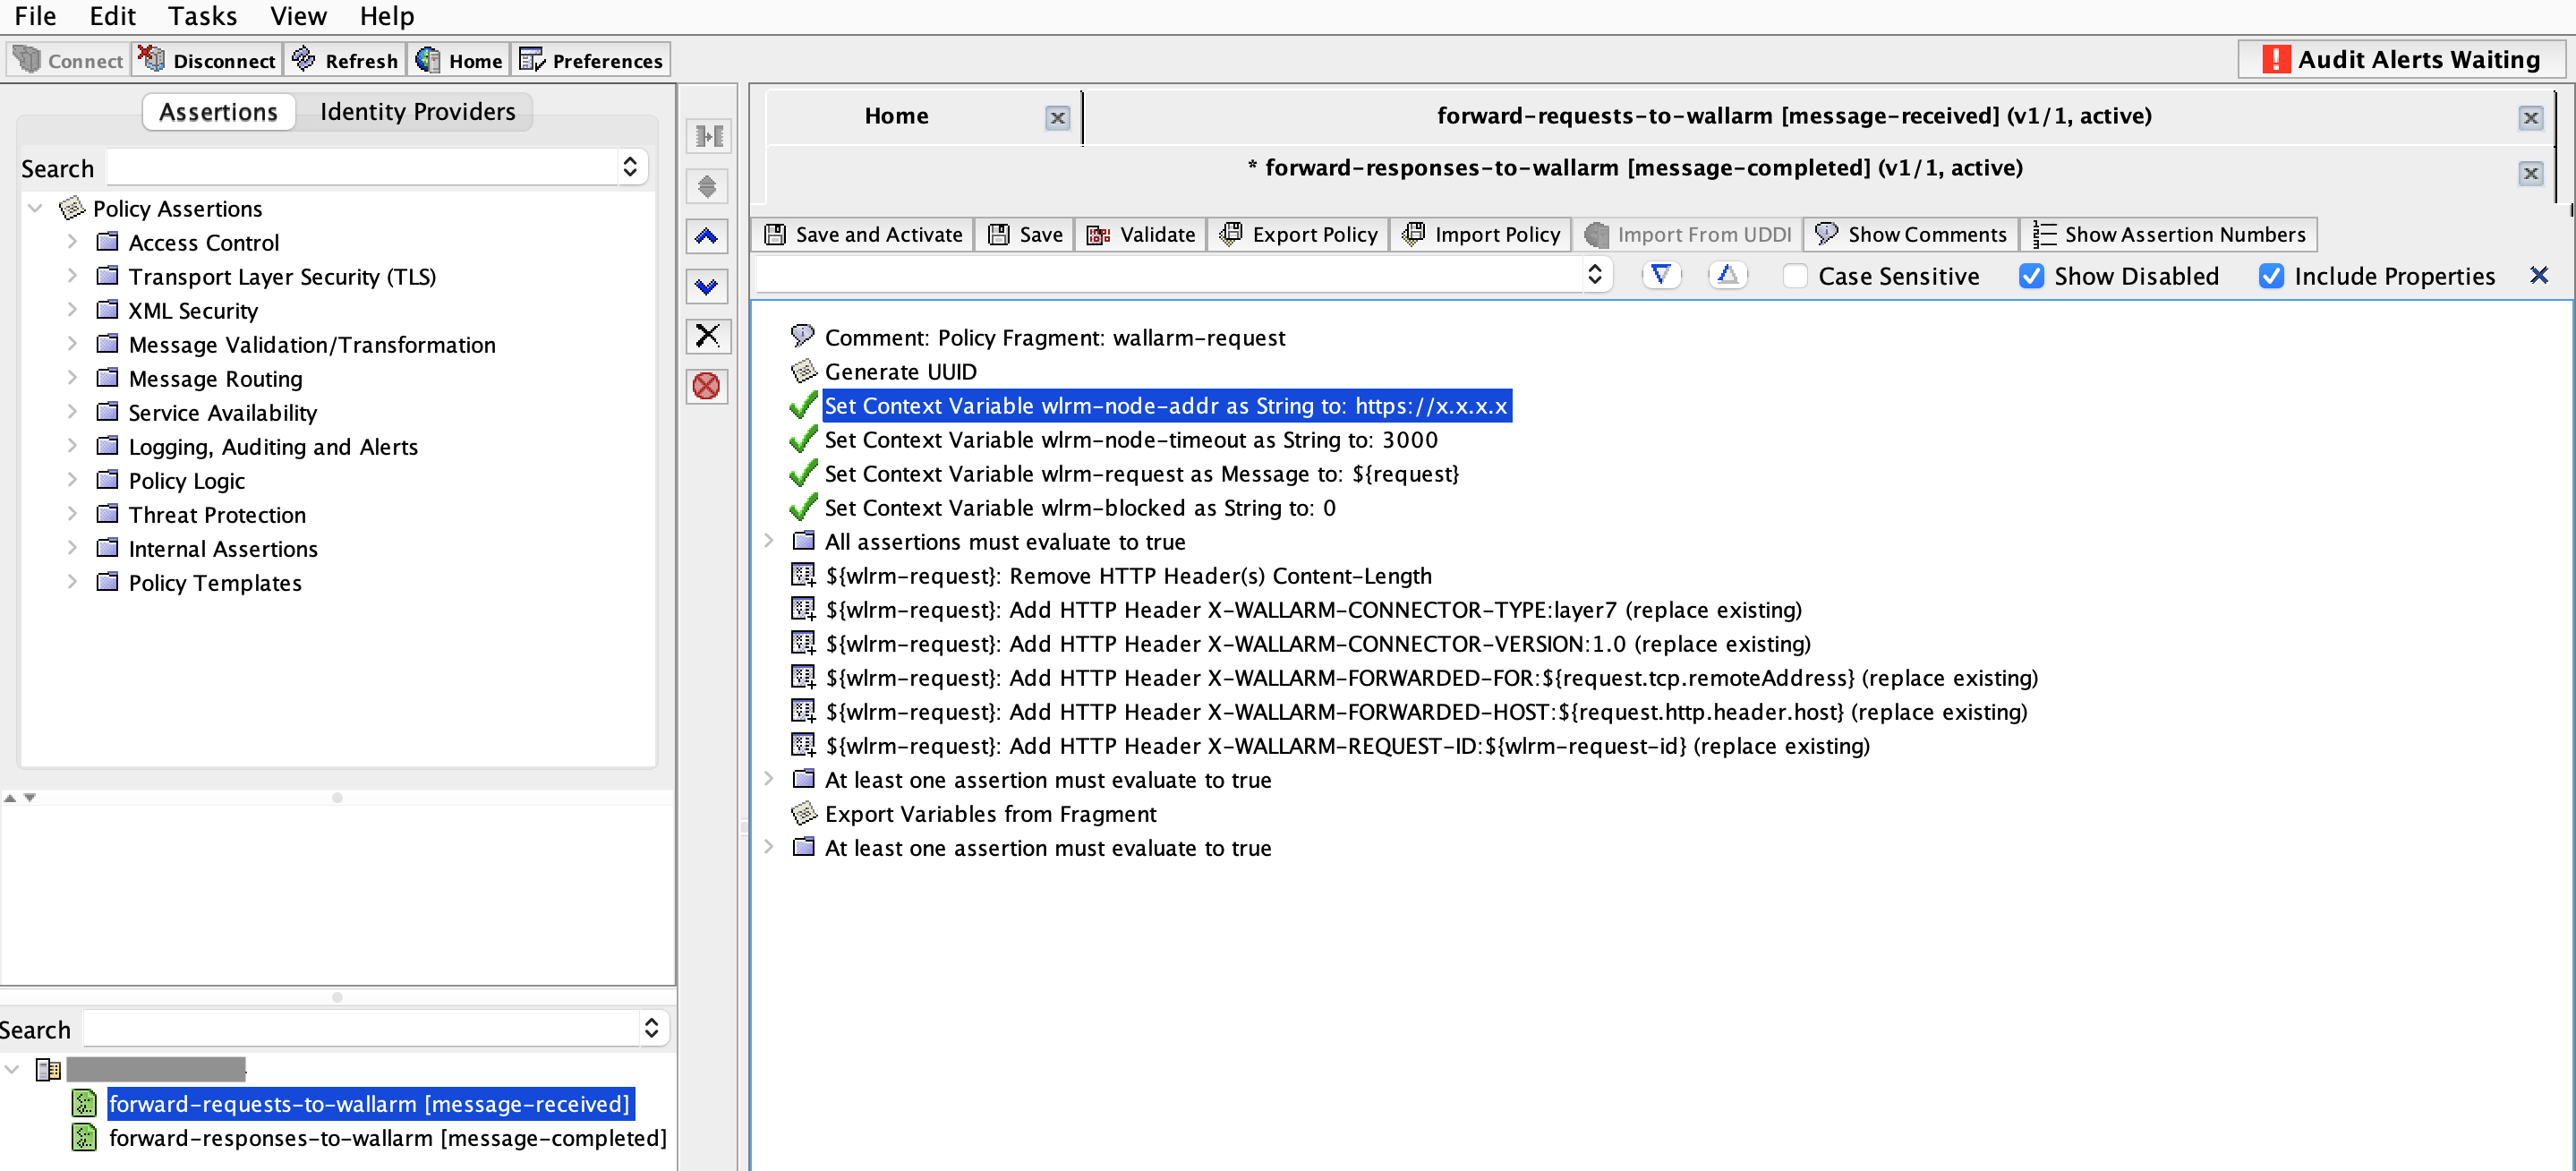
forward-requests-to-wallarmin this example):- Import the
wallarm-request-blocking.xmlfile. - Specify the Wallarm Node instance address in the
wlrm-node-addrparameter. - Save and Active the policy.
- Import the
-
For the response forwarding policy (
forward-responses-to-wallarmin this example):- Import the
wallarm-response.xmlfile. - Save and Active the policy.
- Import the
Testing
To test the functionality of the deployed policy, follow these steps:
-
Send the request with the test Path Traversal attack to your Gateway address:
-
Open Wallarm Console → Attacks section in the US Cloud or EU Cloud and make sure the attack is displayed in the list.
If the Wallarm Node mode is set to blocking, the request will also be blocked.
Upgrading the Wallarm policies
To upgrade the Wallarm policies deployed on Broadcom to a newer version:
-
Contact sales@wallarm.com to get the updated code bundle.
-
Import the updated policy files into the existing policy instances in Policy Manager as described in the deployment steps.
-
Configure the policy parameters with the correct values.
-
Save and Activate the updated policies.
Policy upgrades may require a Wallarm Node upgrade, especially for major version updates. See the Wallarm Native Node changelog for release updates and upgrade instructions. Regular node updates are recommended to avoid deprecation and simplify future upgrades.


