Deployment of the Wallarm Docker Image to Alibaba Cloud
This quick guide provides the steps to deploy the Docker image of the NGINX-based Wallarm node to the Alibaba Cloud platform using the Alibaba Cloud Elastic Compute Service (ECS).
The instructions limitations
These instructions do not cover the configuration of load balancing and node autoscaling. If setting up these components yourself, we recommend that you read the appropriate Alibaba Cloud documentation.
Use cases
Among all supported Wallarm deployment options, Wallarm deployment on Alibaba Cloud ECS using the Docker image is recommended in these use cases:
-
If your applications leverage a microservices architecture, and are already containerized and operational on Alibaba Cloud ECS.
-
If you require fine-grained control over each container, the Docker image excels. It affords a greater level of resource isolation than typically possible with traditional VM-based deployments.
Requirements
-
Access to the Alibaba Cloud Console
-
Access to the account with the Administrator role in Wallarm Console for the US Cloud or EU Cloud
-
Access to the IP addresses and their corresponding hostnames (if any) listed below. This is needed for downloading updates to attack detection rules and API specifications, as well as retrieving precise IPs for your allowlisted, denylisted, or graylisted countries, regions, or data centers
Options for the Wallarm node Docker container configuration
The filtering node configuration parameters should be passed to the deployed Docker container in one of the following ways:
-
In the environment variables. This option allows for the configuration of only basic filtering node parameters. Most directives cannot be configured through environment variables.
-
In the mounted configuration file. This option allows full filtering node configuration via any directives. With this configuration method, environment variables with the filtering node and Wallarm Cloud connection settings are also passed to the container.
Deploying the Wallarm node Docker container configured through environment variables
To deploy the containerized Wallarm filtering node configured only through environment variables, you should create the Alibaba Cloud instance and run the Docker container in this instance. You can perform these steps via the Alibaba Cloud Console or Alibaba Cloud CLI. In these instructions, Alibaba Cloud Console is used.
-
Get Wallarm token of the appropriate type:
-
Open the Alibaba Cloud Console → the list of services → Elastic Compute Service → Instances.
-
Create the instance following the Alibaba Cloud instructions and the guidelines below:
- The instance can be based on the image of any operating system.
- Since the instance should be available for external resources, public IP address or domain should be configured in the instance settings.
- The instance settings should reflect the method used to connect to the instance.
-
Connect to the instance by one of the methods described in the Alibaba Cloud documentation.
-
Install the Docker packages in the instance following the instructions for an appropriate operating system.
-
Set the instance environment variable with the copied Wallarm token to be used to connect the instance to the Wallarm Cloud:
-
Run the Wallarm node Docker container by using the
docker runcommand with passed environment variables and mounted configuration file:-p: port the filtering node listens to. The value should be the same as the instance port.-
-e: environment variables with the filtering node configuration (available variables are listed in the table below). Please note that it is not recommended to pass the value ofWALLARM_API_TOKENexplicitly.Environment variable Description Required WALLARM_API_TOKENWallarm node or API token. Yes WALLARM_LABELSAvailable starting from node 4.6. Works only if
WALLARM_API_TOKENis set to API token with theDeployrole. Sets thegrouplabel for node instance grouping, for example:WALLARM_LABELS="group=<GROUP>"...will place node instance into the
<GROUP>instance group (existing, or, if does not exist, it will be created).Yes (for API tokens) NGINX_BACKENDDomain or IP address of the resource to protect with the Wallarm solution. Yes WALLARM_API_HOSTWallarm API server: us1.api.wallarm.comfor the US Cloudapi.wallarm.comfor the EU Cloud
api.wallarm.com.No WALLARM_MODENode mode: blockto block malicious requestssafe_blockingto block only those malicious requests originated from graylisted IP addressesmonitoringto analyze but not block requestsoffto disable traffic analyzing and processing
monitoring.
Detailed description of filtration modes →No WALLARM_APPLICATIONUnique identifier of the protected application to be used in the Wallarm Cloud. The value can be a positive integer except for 0.
Default value (if the variable is not passed to the container) is-1which indicates the default application displayed in Wallarm Console → Settings → Application.
More details on setting up applications →No SLAB_ALLOC_ARENA(TARANTOOL_MEMORY_GBNGINX Node 5.x and earlier)Amount of memory allocated to wstore. The value can be a float (a dot .is a decimal separator). By default: 1.0 (1 gigabyte).
Note that when passing this variable in Dockerruncommand with the-e, the variable is not recorded in any configuration file within the container, but it is still used whenwstorestarts.No NGINX_PORTSets a port that NGINX will use inside the Docker container.
Starting from the Docker image4.0.2-1, thewallarm-statusservice automatically runs on the same port as NGINX.
Default value (if the variable is not passed to the container) is80.
Syntax isNGINX_PORT='443'.No WALLARM_STATUS_ALLOWCustom CIDRs that are allowed to access the /wallarm-statusendpoint from outside the Docker container. Example value:10.0.0.0/8. If you need to pass several values, use a comma,as a separator. To access the service externally, use the Docker container's IP, specifying the/wallarm-statusendpoint path.No DISABLE_IPV6The variable with any value except for an empty one deletes the listen [::]:80 default_server ipv6only=on;line from the NGINX configuration file which will stop NGINX from IPv6 connection processing.
If the variable is not specified explicitly or has an empty value"", NGINX processes both IPv6 and IPv4 connections.No WALLARM_APIFW_ENABLEThis setting toggles API Specification Enforcement on or off, available from release 4.10 onwards. Please note that activating this feature does not substitute for the required subscription and configuration through the Wallarm Console UI.
Its default value istrue, enabling the functionality.No WALLARM_APID_ONLY(5.3.7 and higher)In this mode, attacks detected in your traffic are blocked locally by the node (if enabled) but not exported to Wallarm Cloud. Meanwhile, API Discovery and some other features remain fully functional, detecting your API inventory and uploading it to the Cloud for visualization. This mode is for those who want to review their API inventory and identify sensitive data first, and plan controlled attack data export accordingly. However, disabling attack export is rare, as Wallarm securely processes attack data and provides sensitive attack data masking if needed. More details
By default:false.No APIFW_METRICS_ENABLED(6.4.1 and higher)Enables Prometheus metrics for the API Specification Enforcement module.
By default:false(disabled).No APIFW_METRICS_HOST(6.4.1 and higher)Defines the host and port on which the API Specification Enforcement exposes metrics.
By default::9010.No APIFW_METRICS_ENDPOINT_NAME(6.4.1 and higher)Defines the HTTP path of the API Specification Enforcement metrics endpoint
By default:metrics.No WALLARM_WSTORE__METRICS__LISTEN_ADDRESSDefines the host and port on which Postanalytics and general system metrics are exposed.
By default:http://localhost:9001/metrics.No WALLARM_WSTORE__SERVICE__PROTOCOL(6.6.0 and higher)Specifies the protocol family that wstore uses for incoming connections. Possible values: "tcp"- dual-stack mode (listens on both IPv4 and IPv6)"tcp4"- IPv4 only"tcp6"- IPv6 only
"tcp4".No WALLARM_WCLI__METRICS__LISTEN_ADDRESSDefines the host and port on which the wcli Controller metrics are exposed.
By default:http://localhost:9003/metrics.No WALLARM_WCLI__METRICS__ENDPOINTDefines the HTTP path for the wcli Controller metrics endpoint.
By default:metrics.No
Deploying the Wallarm node Docker container configured through the mounted file
To deploy the containerized Wallarm filtering node configured through environment variables and mounted file, you should create the Alibaba Cloud instance, locate the filtering node configuration file in this instance file system and run the Docker container in this instance. You can perform these steps via the Alibaba Cloud Console or Alibaba Cloud CLI. In these instructions, Alibaba Cloud Console is used.
-
Get Wallarm token of the appropriate type:
-
Open the Alibaba Cloud Console → the list of services → Elastic Compute Service → Instances.
-
Create the instance following the Alibaba Cloud instructions and the guidelines below:
- The instance can be based on the image of any operating system.
- Since the instance should be available for external resources, public IP address or domain should be configured in the instance settings.
- The instance settings should reflect the method used to connect to the instance.
-
Connect to the instance by one of the methods described in the Alibaba Cloud documentation.
-
Install the Docker packages in the instance following the instructions for an appropriate operating system.
-
Set the instance environment variable with the copied Wallarm token to be used to connect the instance to the Wallarm Cloud:
-
In the instance, create the directory with the file
defaultcontaining the filtering node configuration (for example, the directory can be named asconfigs). An example of the file with minimal settings:server { listen 80 default_server; listen [::]:80 default_server ipv6only=on; #listen 443 ssl; server_name localhost; #ssl_certificate cert.pem; #ssl_certificate_key cert.key; root /usr/share/nginx/html; index index.html index.htm; wallarm_mode monitoring; # wallarm_application 1; location / { proxy_pass http://example.com; include proxy_params; } }Set of filtering node directives that can be specified in the configuration file →
-
Run the Wallarm node Docker container by using the
docker runcommand with passed environment variables and mounted configuration file:<INSTANCE_PATH_TO_CONFIG>: path to the configuration file created in the previous step. For example,configs.-
<DIRECTORY_FOR_MOUNTING>: directory of the container to mount the configuration file to. Configuration files can be mounted to the following container directories used by NGINX:/etc/nginx/conf.d— common settings/etc/nginx/http.d— virtual host settings/var/www/html— static files
The filtering node directives should be described in the
/etc/nginx/http.d/default.conffile. -
-p: port the filtering node listens to. The value should be the same as the instance port. -
-e: environment variables with the filtering node configuration (available variables are listed in the table below). Please note that it is not recommended to pass the value ofWALLARM_API_TOKENexplicitly.Environment variable Description Required WALLARM_API_TOKENWallarm node or API token. Yes WALLARM_API_HOSTWallarm API server: us1.api.wallarm.comfor the US Cloudapi.wallarm.comfor the EU Cloud
api.wallarm.com.No WALLARM_LABELSAvailable starting from node 4.6. Works only if
WALLARM_API_TOKENis set to API token with theDeployrole. Sets thegrouplabel for node instance grouping, for example:WALLARM_LABELS="group=<GROUP>"...will place node instance into the
<GROUP>instance group (existing, or, if does not exist, it will be created).Yes (for API tokens) SLAB_ALLOC_ARENA(TARANTOOL_MEMORY_GBNGINX Node 5.x and earlier)Amount of memory allocated to wstore. The value can be a float (a dot .is a decimal separator). By default: 1.0 (1 gigabyte).No WALLARM_APID_ONLY(5.3.7 and higher)In this mode, attacks detected in your traffic are blocked locally by the node (if enabled) but not exported to Wallarm Cloud. Meanwhile, API Discovery and some other features remain fully functional, detecting your API inventory and uploading it to the Cloud for visualization. This mode is for those who want to review their API inventory and identify sensitive data first, and plan controlled attack data export accordingly. However, disabling attack export is rare, as Wallarm securely processes attack data and provides sensitive attack data masking if needed. More details
By default:false.No APIFW_METRICS_ENABLED(6.4.1 and higher)Enables Prometheus metrics for the API Specification Enforcement module.
By default:false(disabled).No APIFW_METRICS_HOST(6.4.1 and higher)Defines the host and port on which the API Specification Enforcement exposes metrics.
By default::9010.No APIFW_METRICS_ENDPOINT_NAME(6.4.1 and higher)Defines the HTTP path of the API Specification Enforcement metrics endpoint
By default:metrics.No WALLARM_WSTORE__METRICS__LISTEN_ADDRESSDefines the host and port on which Postanalytics and general system metrics are exposed.
By default:http://localhost:9001/metrics.No WALLARM_WSTORE__SERVICE__PROTOCOL(6.6.0 and higher)Specifies the protocol family that wstore uses for incoming connections. Possible values: "tcp"- dual-stack mode (listens on both IPv4 and IPv6)"tcp4"- IPv4 only"tcp6"- IPv6 only
"tcp4".No WALLARM_WCLI__METRICS__LISTEN_ADDRESSDefines the host and port on which the wcli Controller metrics are exposed.
By default:http://localhost:9003/metrics.No WALLARM_WCLI__METRICS__ENDPOINTDefines the HTTP path for the wcli Controller metrics endpoint.
By default:metrics.No
Testing the filtering node operation
-
Open the Alibaba Cloud Console → the list of services → Elastic Compute Service → Instances and copy the public IP address of the instance from the IP address column.
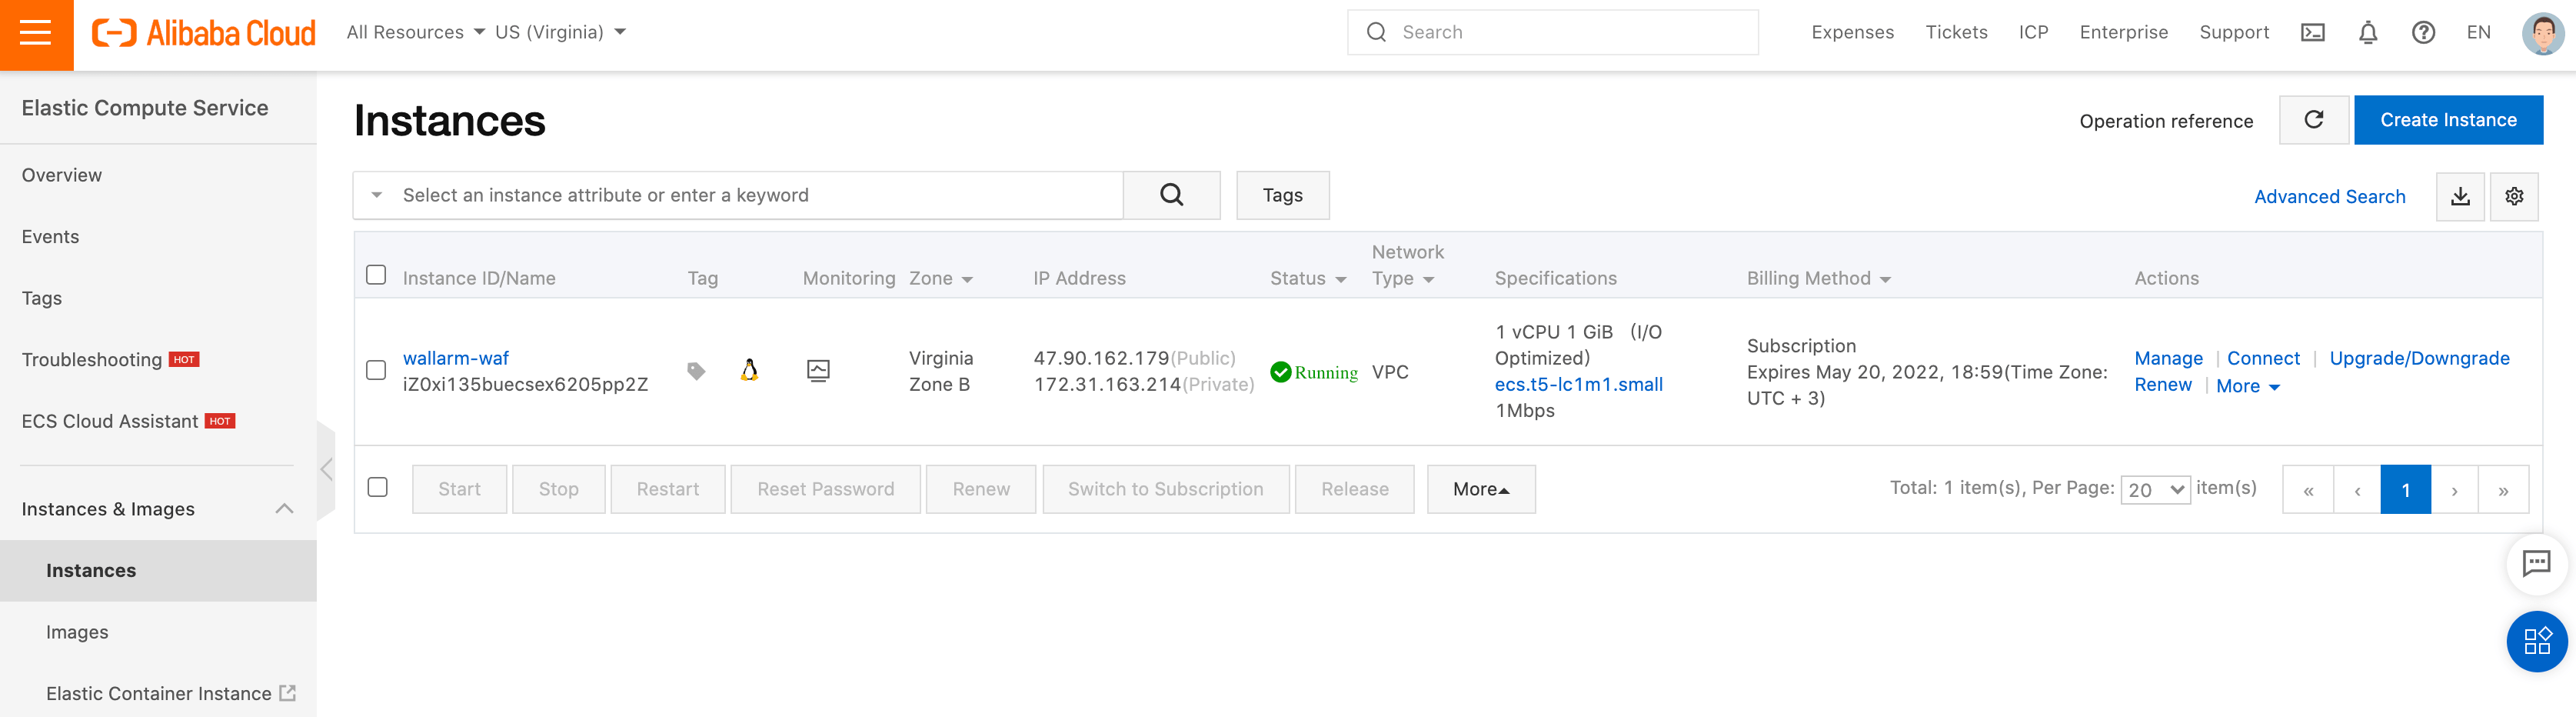
If the IP address is empty, please ensure the instance is in the Running status.
-
Send the request with the test Path Traversal attack to the copied address:
-
Open Wallarm Console → Attacks in the US Cloud or EU Cloud and make sure the attack is displayed in the list.

-
Optionally, test other aspects of the node functioning.
To view details on errors that occurred during the container deployment, please connect to the instance by one of the methods and review the container logs. If the instance is unavailable, please ensure required filtering node parameters with correct values are passed to the container.