FAST Node Self-signed SSL-certificate Installation for Microsoft Internet Explorer 11
To install the certificate for the Internet Explorer 11 browser, do the following:
-
Make sure that you have set up your browser to use the FAST node as the HTTP and HTTPS proxy.
-
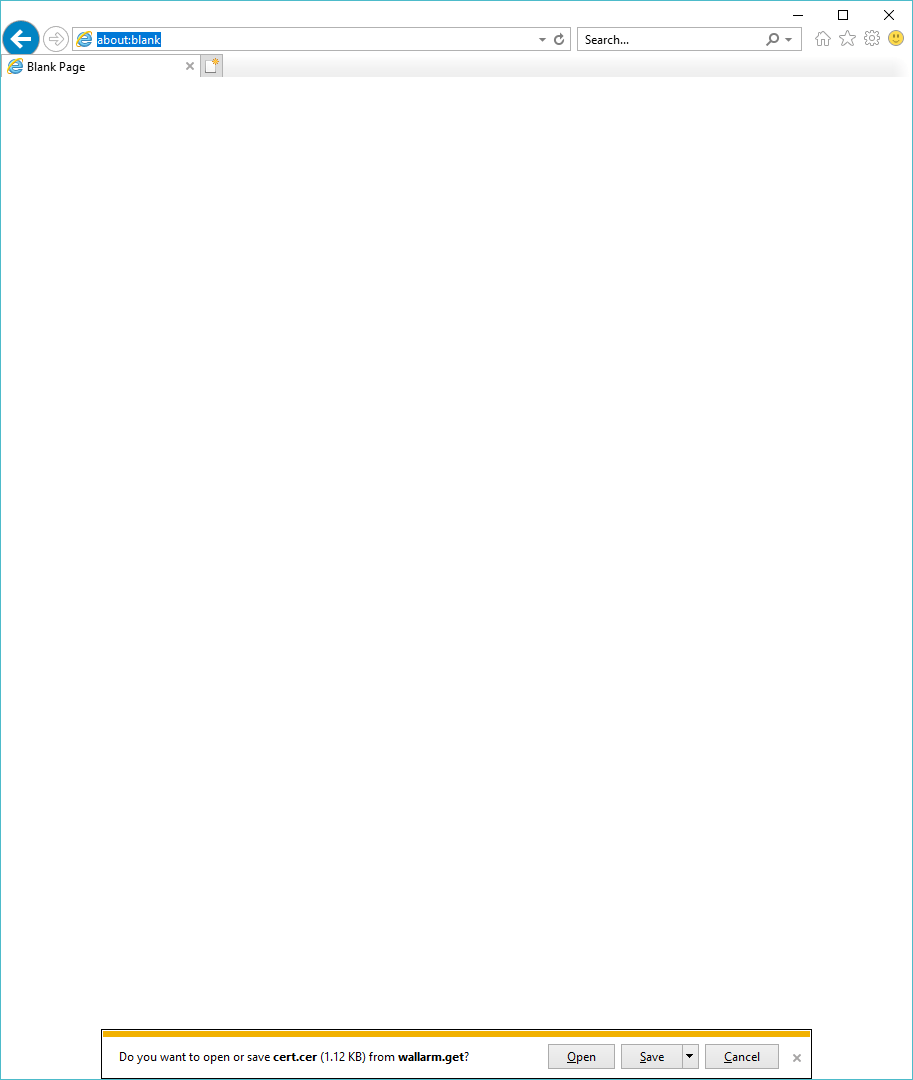
Request the file
cert.derfrom any domain via HTTP using the browser.For example, you can use one of the following links:
The browser will give you the choice to open the certificate file or to save it. Select the Open button.
-
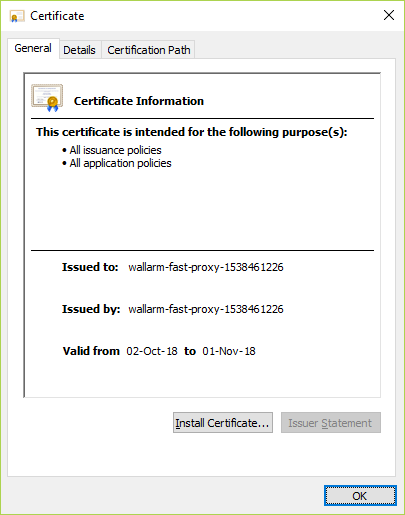
A window will open containing information about the certificate. Notice that the name and expiration date of your certificate will differ from those shown in the image. Select the Install Certificate button.
-
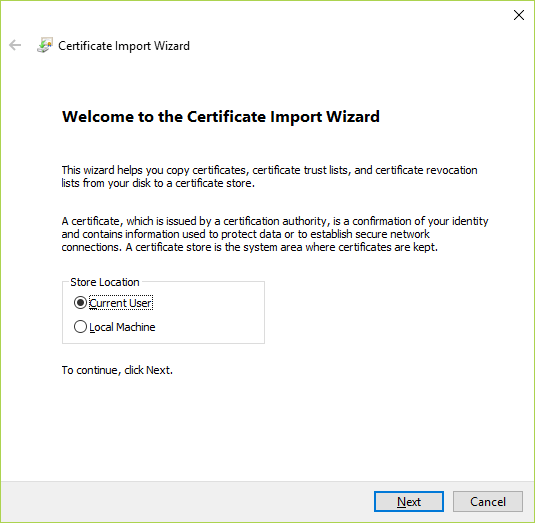
Select the suitable certificate installation option in the opened window. You can install the certificate either for the current user or for all users. Choose the appropriate option and select the Next button.
-
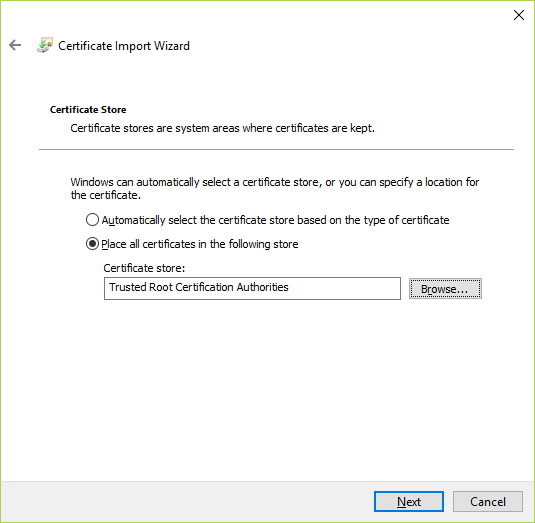
You will be asked to choose a certificate store. Select the option “Place all certificates in the following store” and set “Trusted Root Certification Authorities” as the store. Select the Next button.
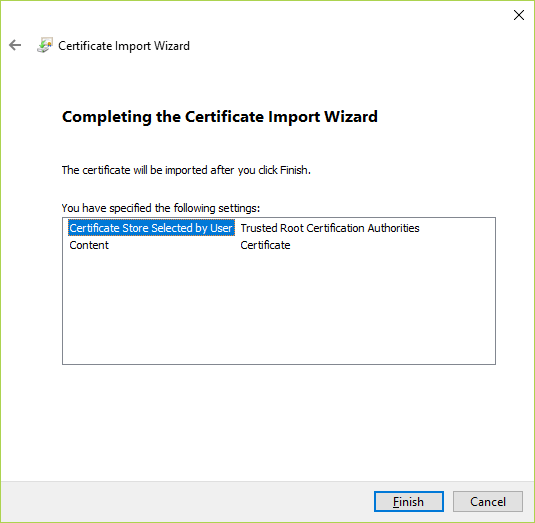
Make sure that you have selected the appropriate store for the certificate and start the import process by selecting the Finish button.
-
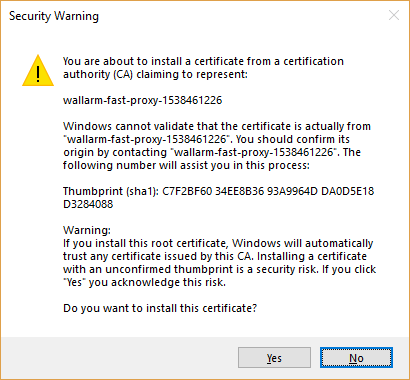
You will be presented with a warning message about the inability to validate the fingerprint of the certificate being imported. Select the Yes button in order to complete the import process.
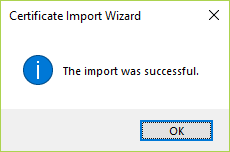
Given that the import is successsful, “The import was successful” informational message will appear.
-
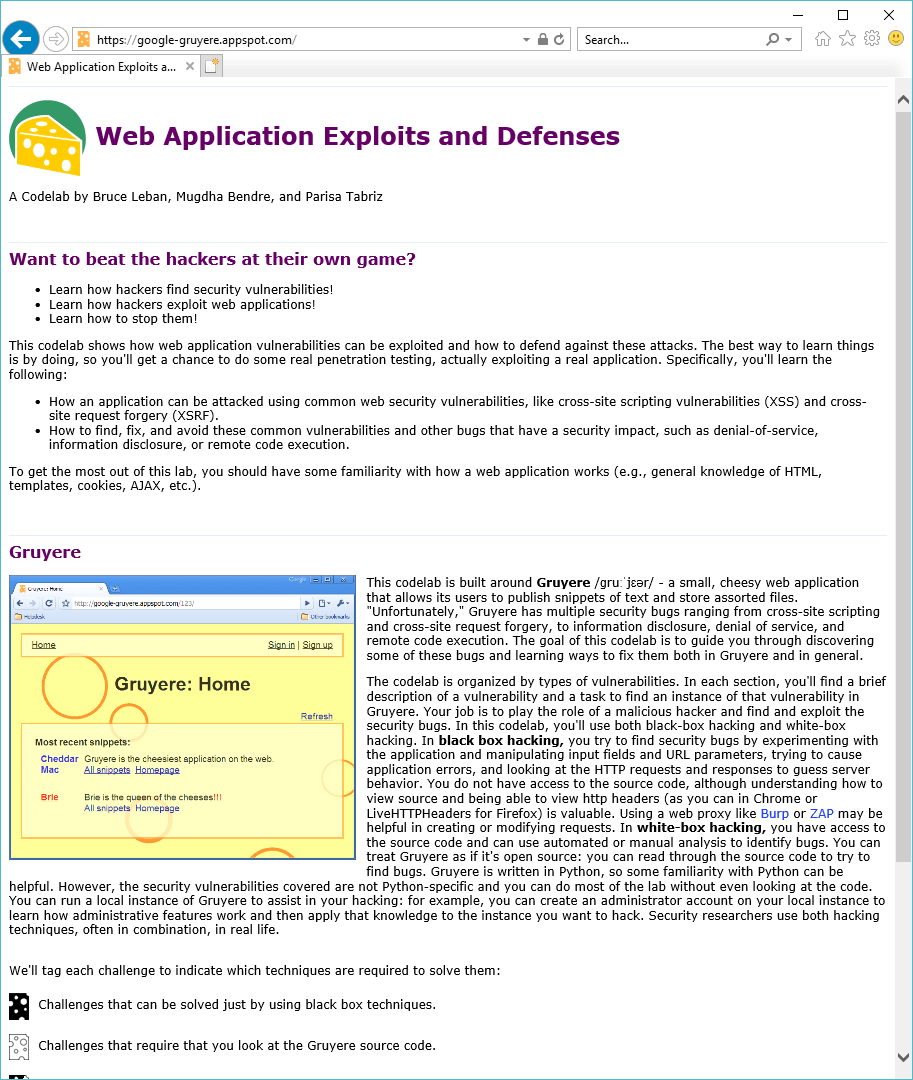
Check that the certificate was installed correctly. To do that, go to any site via HTTPS. You should be redirected to the HTTPS version of the site without any warning messages about untrusted certificate.
For example, you could browse to the HTTPS version of the Google Gruyere site:
https://google-gruyere.appspot.com
