FAST Onboarding
A note about Wallarm clouds
FAST interacts with one of the available Wallarm clouds.
All information from the documentation is equally applicable to all the clouds, unless stated otherwise.
For the sake of simplicity, it is assumed throughout the documentation that FAST interacts with the American Wallarm cloud. If you need to interact with another cloud, use the corresponding addresses of the Wallarm portal and the API server.
On your very first login to a Wallarm portal you will have the opportunity to gain familiarity with FAST by taking a five-step onboarding process.
Controlling the onboarding process
You can stop the onboarding process by clicking the ✕ button in the onboarding panel at any time.
You will be presented with the option to either skip the onboarding completely or resume the process later from the step you are on.
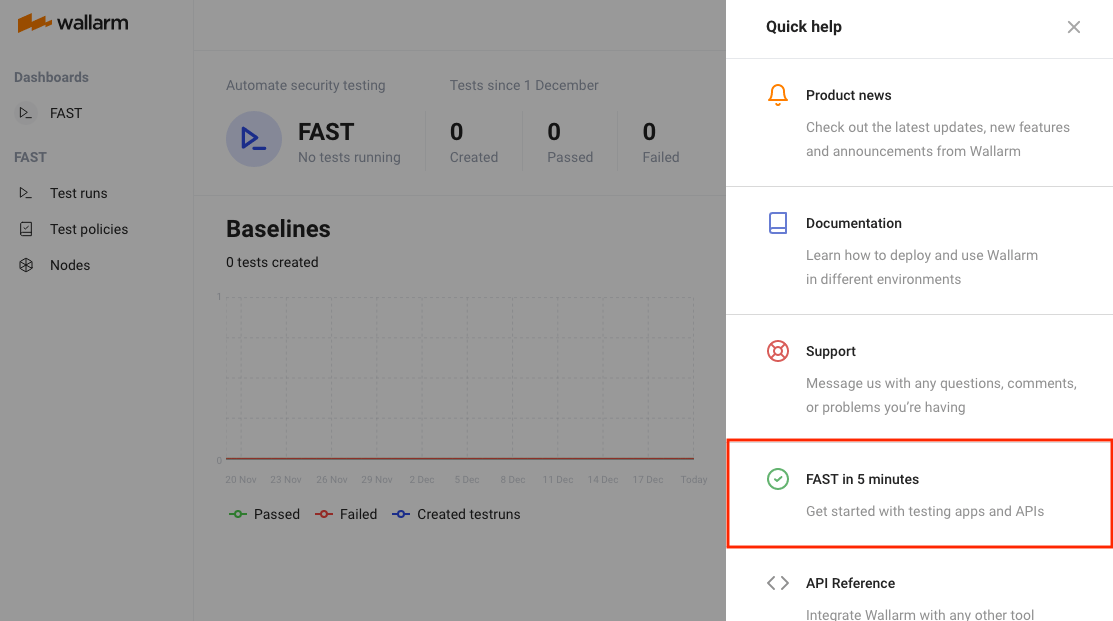
If you have skipped the onboarding and wish to start it, press the question mark in the top right corner of the Wallarm portal and choose the “FAST in 5 minutes” item in the opened sidebar:
If you want to resume the onboarding process you delayed earlier, then click on the “FAST in 5 minutes” button in the bottom right corner of the Wallarm portal:
To get a quick introduction to FAST, do the following:
-
Read about the FAST solution.
Click the “Deploy FAST Node →” button to go to the next step.
-
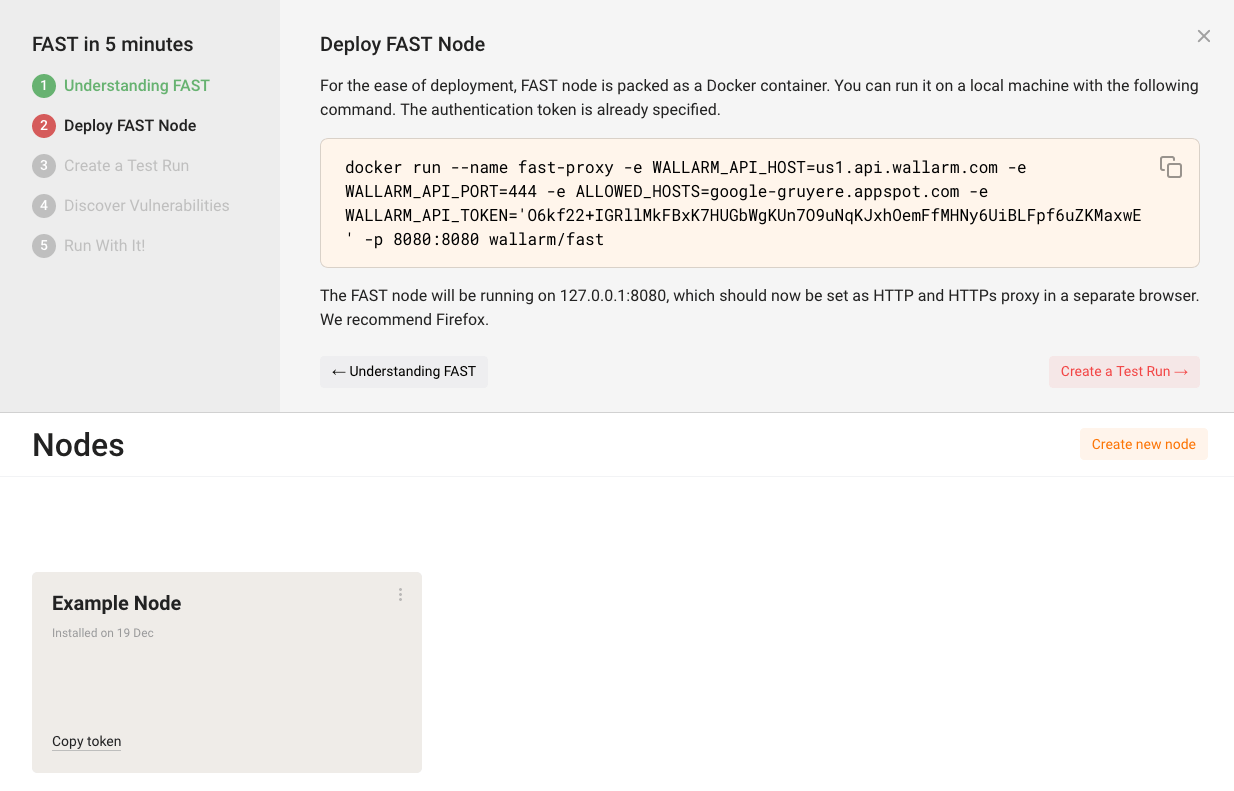
Deploy a Docker container with the FAST node on your machine. To do so, copy and execute the
docker runcommand shown to you in this step. The command is already filled in with all necessary parameters.Installing Docker
If you do not have Docker, then install it. Either Docker edition is considered suitable—Community Edition or Enterprise Edition.
FAST node will listen to incoming connections on
127.0.0.1:8080after it starts.Configure a browser on your machine to use
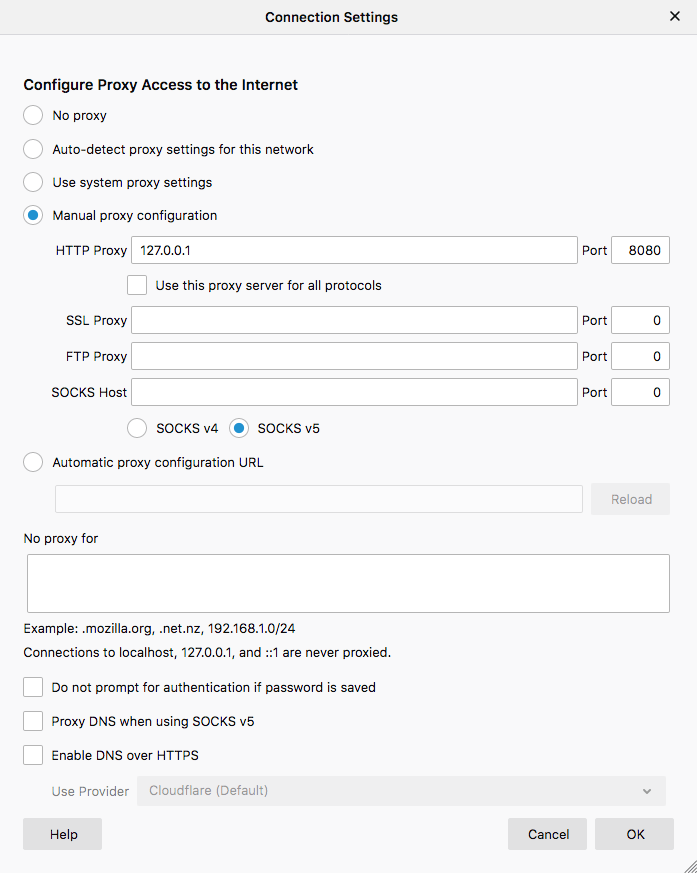
127.0.0.1:8080as its HTTP proxy. You may use any browser except the one the Wallarm portal is opened in. We recommend Mozilla Firefox (see the instructions on how to configure Firefox to use proxy).Using a different port number
If you do not want to provide the
8080port to the FAST node (e.g., there is another service listening on that port), you can set another port number to be used by FAST. To do so, pass the desired port number via the-pparameter of thedocker runcommand. For example, to use port9090you would write the following:-p 9090:8080.Click the “Create a Test Run →” button to go to the next step.
Returning to the previous step
Note that you can always go back to the previous step by clicking the button with the previous step’s name (e.g., “← Understanding FAST”).
-
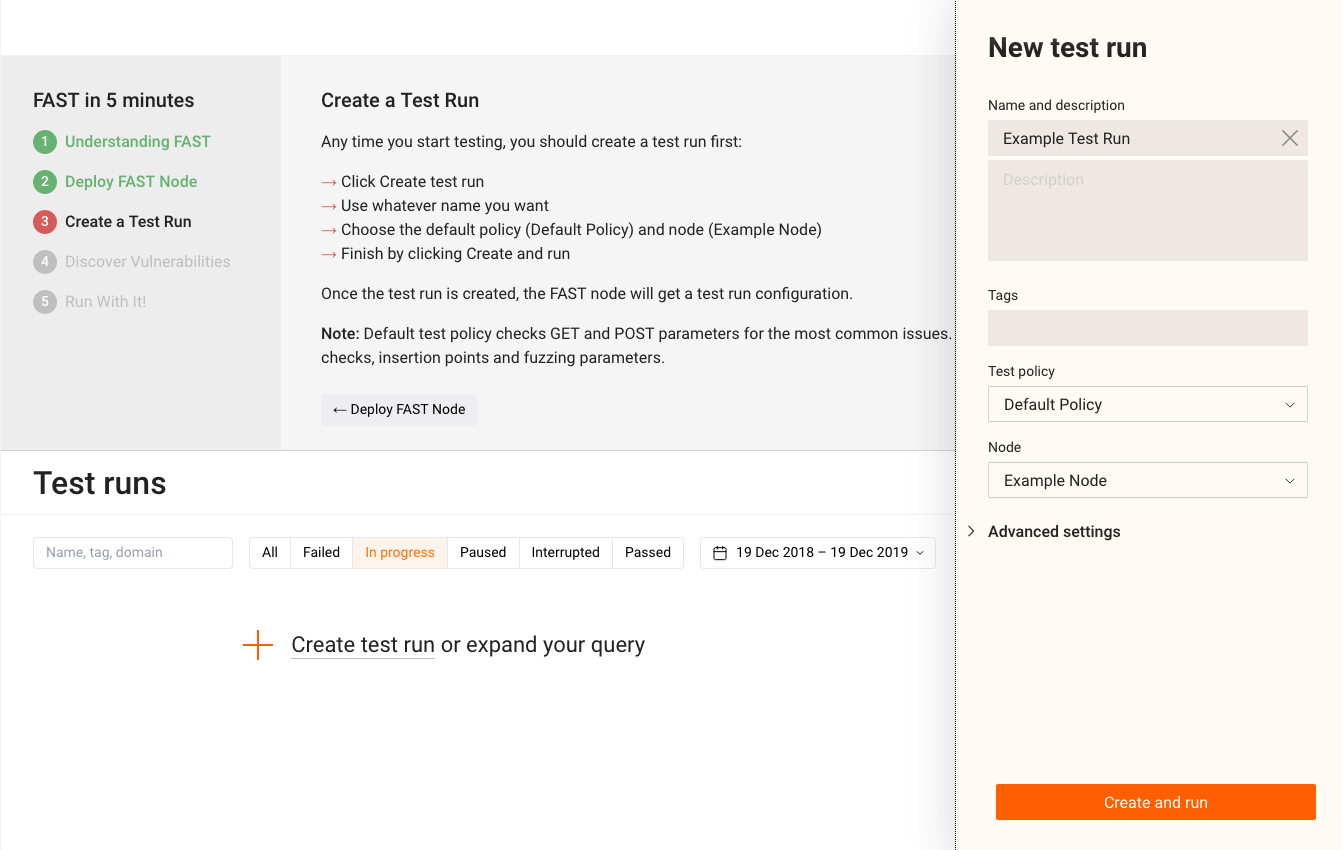
Create a test run by clicking the “Create test run” button. Select a name for the test run and then choose the necessary test policy and node from the drop-down lists as stated in the onboarding hint:
Press the “Create and run” button to complete the test run’s creation process.
Click the “Discover Vulnerabilities →” button to go to the next step.
-
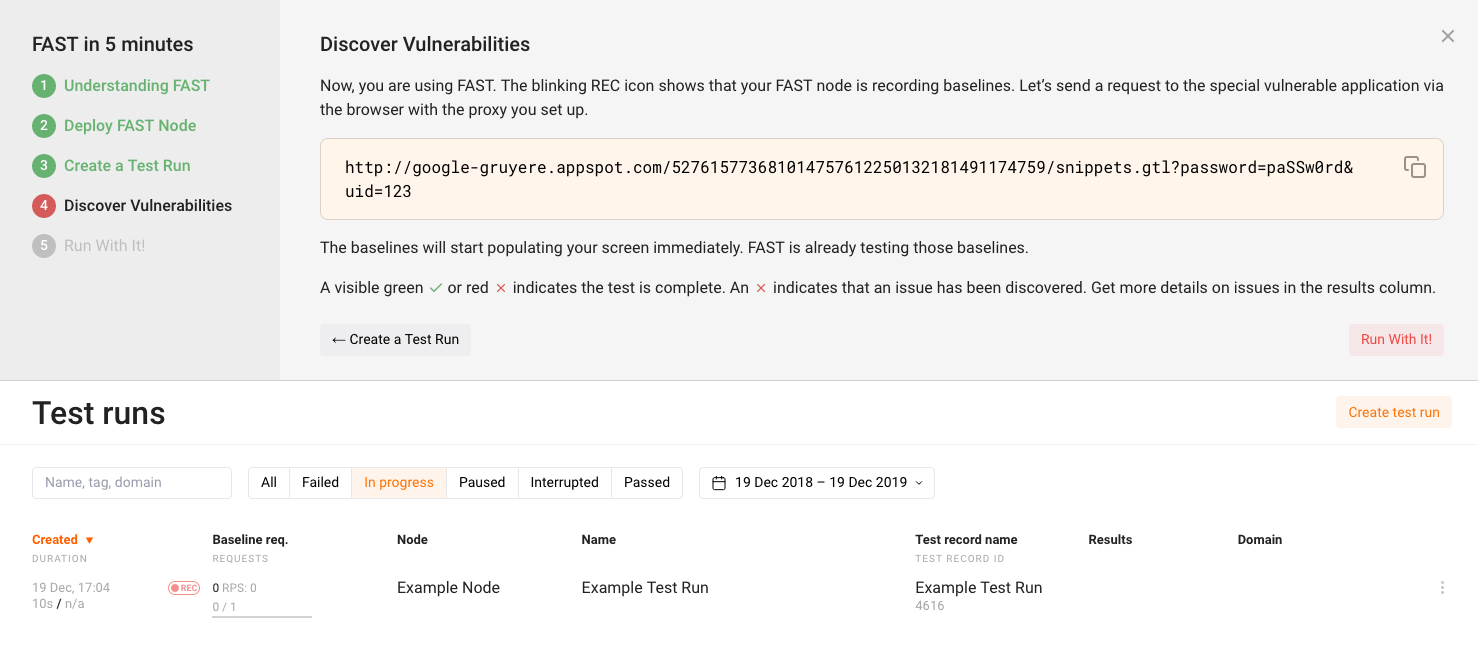
Make sure that the
Recording baselines for TestRun...message is displayed in the FAST node’s console:Then send a request to the vulnerable application named Google Gruyere to begin the process of testing for vulnerabilities with FAST.
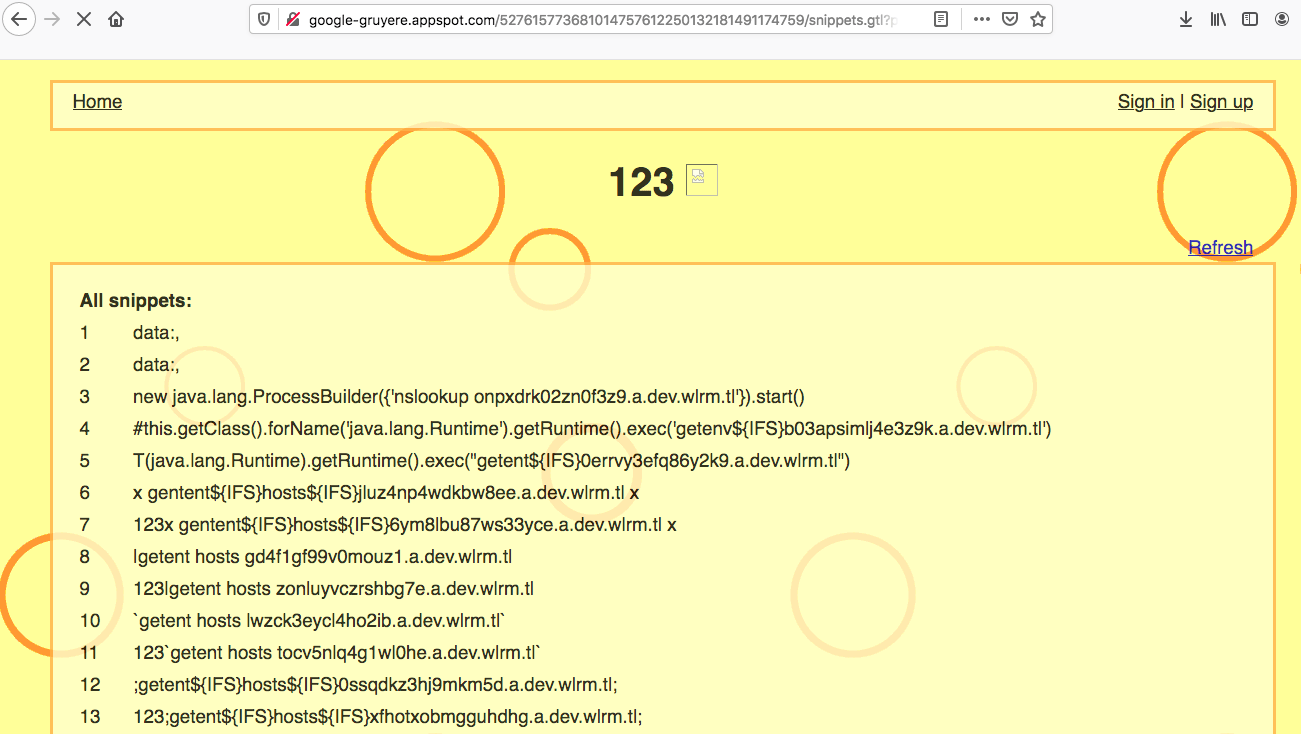
To do so, copy the HTTP request that is provided in the onboarding hint, paste it to the address bar of the browser that you earlier set up to use FAST node as a proxy, and execute the request:
After the request is sent, stop the request recording process by selecting the “Stop recording” entry in the “Actions” drop-down menu. Confirm the action by pressing the “Yes” button:
Wait until the testing is complete. FAST should detect an XSS vulnerability in the Google Gruyere application. The vulnerability identifier and type should be displayed in the “Results” column of the test run:
Analyzing the vulnerability
You can click on the value in the “Results” column of the test run to get some insights into the discovered vulnerability:
Click the “Run With It!” button to go to the next step.
-
By this step, you have successfully familiarized yourself with FAST and discovered a vulnerability in a web application.
Navigate to the “Quick Start guide” to get more detailed information about how to start with FAST.
Click the “Finish” button to complete the onboarding process.
Additional actions to take
You can shut down the FAST node’s Docker container and disable proxying in the browser upon successful detection of the vulnerability.
