Using the FAST Extensions
Connecting Extensions
To use the created extensions, you need to connect them to the FAST node.
You can do this in either of the following ways:
-
Place the extensions in a directory and mount this directory into the FAST node Docker container using the
-voption of thedocker runcommand.sudo docker run --name <container name> --env-file=<file with environment variables> -v <directory with extensions>:/opt/custom_extensions -p <target port>:8080 wallarm/fastExample:
Run the command below to launch the FAST node in the Docker container with the following arguments:
- The name of the container:
fast-node. - The environment variables file:
/home/user/fast.cfg. - The FAST extensions directory path:
/home/user/extensions. - The port to which the
8080port of the container is published:9090.
- The name of the container:
-
Place the extensions into a public Git repository and define the environment variable, which refers to the necessary repository, in the FAST node Docker container.
To do this, perform the following:
-
Add the
GIT_EXTENSIONSvariable into the file that contains the environment variables.Example:
If your extensions are in the
https://github.com/wallarm/fast-detectsGit repository, define the following environment variable: -
Run the FAST node Docker container using the file containing the environment variables as follows:
sudo docker run --name <container name> --env-file=<file with environment variables> -p <target port>:8080 wallarm/fastExample:
Run the command below to launch the FAST node in the Docker container with the following arguments:
- The name of the container:
fast-node. - The environment variables file:
/home/user/fast.cfg. - The port to which the
8080port of the container is published:9090.
- The name of the container:
-
Connecting FAST node to one of the Wallarm clouds
A FAST node interacts with one of the available Wallarm clouds. By default, a FAST node works with the Wallarm API server that is located in the American cloud.
To instruct a FAST node to use the API server from another cloud, pass to the node container the WALLARM_API_HOST environment variable that points to the address of the necessary Wallarm API server.
Example (for a FAST node using the API server located in the European Wallarm cloud):
If the FAST node launches successfully, it writes to the console the following output that informs about the successful connection to the Wallarm Cloud and the number of extensions loaded:
[info] Node connected to Wallarm Cloud
[info] Loaded 1 custom extensions for fast scanner
[info] Loaded 30 default extensions for fast scanner
[info] Waiting for TestRun to check...
If an error occurs during the node launch, the error information is written to the console. The message about the extension syntax error is shown in the following example:
[info] Node connected to Wallarm Cloud
[error] Invalid custom extension 'my-extension.yaml': (<unknown>): did not find expected key while parsing a block mapping at line 2 column 3
[info] Loaded 0 custom extensions for fast scanner
Extensions location requirements
The extensions from the nested directories will not be connected (for example, if the extension is placed into the extensions/level-2/ directory). Depending on the chosen method of connection, the extensions should be placed either into the root of the directory that is mounted into the FAST node Docker container or into the root of the Git repository.
Checking Operation of Extensions
To check the operation of the mod-extension.yaml and non-mod-extension.yaml extensions that were created earlier, perform the following actions:
-
Connect the extensions to the FAST node by following the aforementioned steps.
-
Create the testing policy. This will be used by all FAST extensions that are connected to the FAST node. Detailed information about how test policies work is located here.
Let us remind you that the connected modifying extension changes the
POST_JSON_DOC_HASH_email_valuepoint in a baseline request, and the non-modifying extension requires the permissions to work with theURIpoint.Therefore, to make both extensions execute during a single test run, a test policy should allow working with:
- POST parameters
- the URI parameter
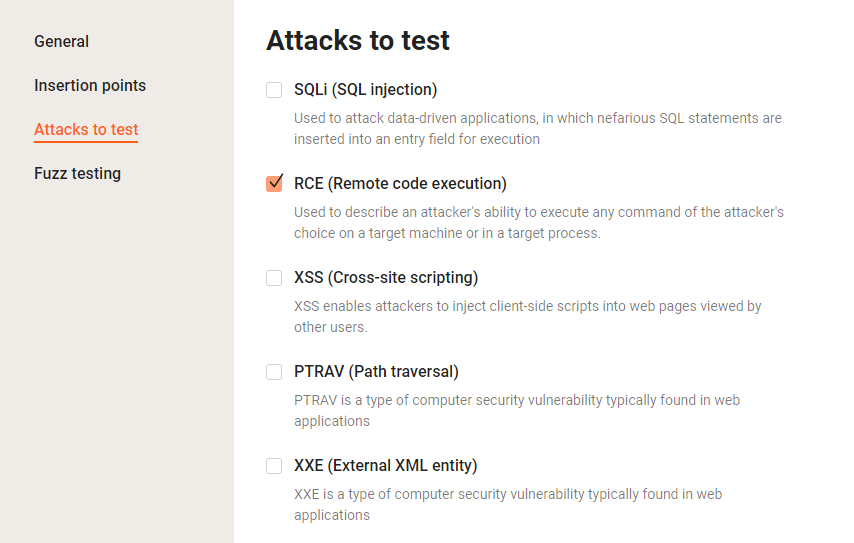
Also, the extensions check if the application is vulnerable to an SQLi attack; therefore it may be convenient to check the application for other vulnerabilities with the Wallarm FAST detects (e.g., RCE). This will help you to confirm that the SQLi vulnerability is being detected with the created extensions rather than built-in FAST detects.
The resulting test policy should look like:
-
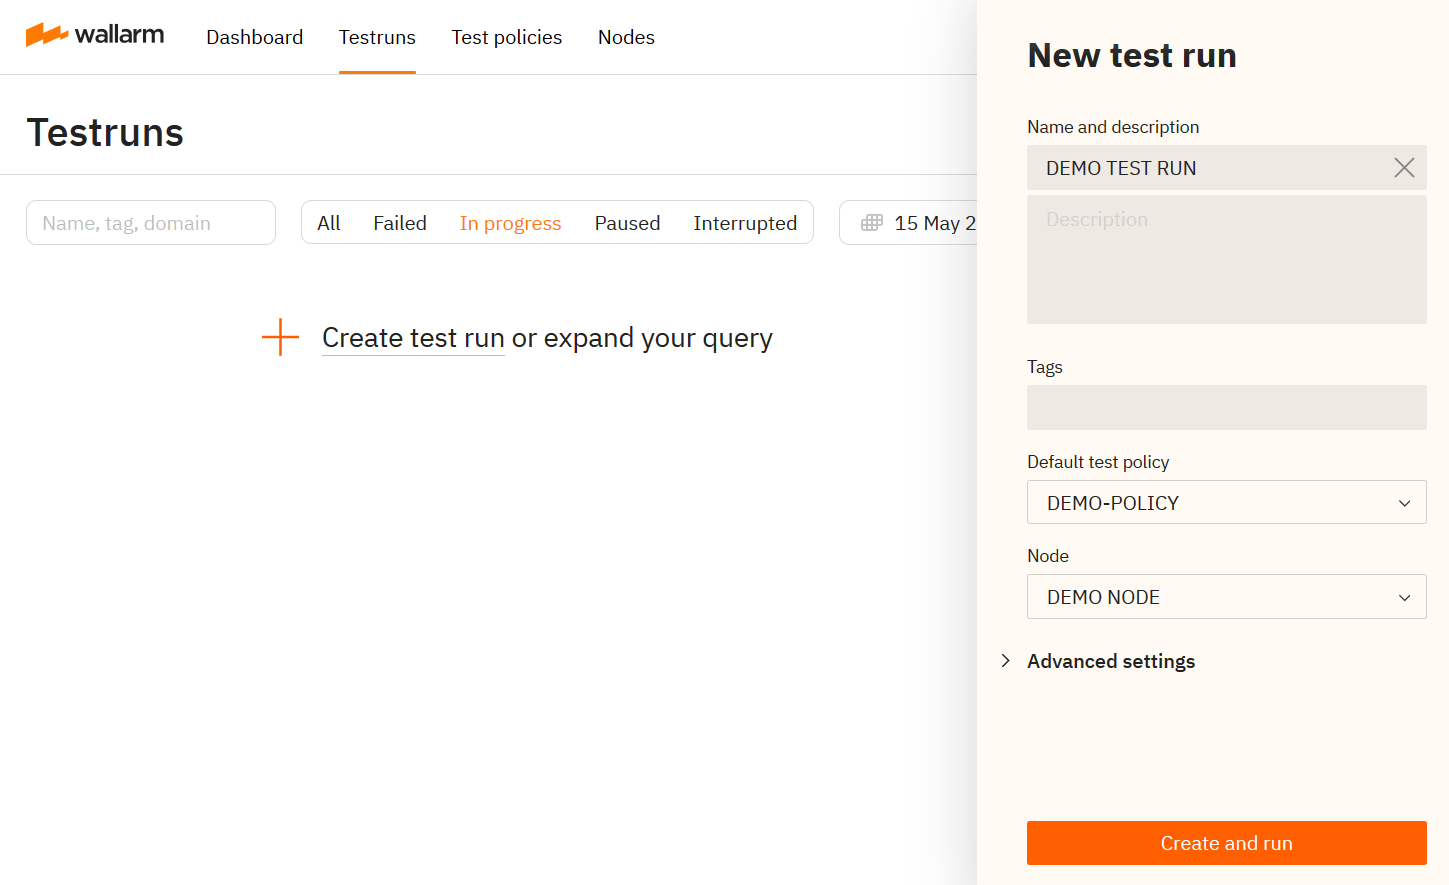
Create a test run for your FAST node based on the created testing policy.
-
Wait until the FAST node writes an informational message to the console similar to the following:
Recording baselines for TestRun#. This means that the FAST node is ready to record the baseline requests.
-
Create and send a POST request with random parameters to the OWASP Juice Shop login page through the FAST node, as shown in the following example:
curl --proxy http://<FAST node IP address> \
    --request POST \
    --url http://ojs.example.local/rest/user/login \
    --header 'accept-language: en-US,en;q=0.9' \
    --header 'content-type: application/json' \
    --header 'host: ojs.example.local' \
    --data '{"email":"test@example.com", "password":"12345"}'
You may use
curlor other tools to send the request.Stopping the baseline request recording process
After sending the baseline request, it is recommended to stop the recording process. This procedure is described here.
-
In the FAST node console output you will see how:
- the target application is tested using the built-in FAST detects,
- the modifying FAST extension executes for the POST parameters in the baseline request, and
- the non-modifying FAST extension executes for the URI parameter in the baseline request.
[info] Waiting for TestRun to check...
[info] Recording baselines for TestRun#N 'DEMO TEST RUN'
[info] Started new TestRun#N 'DEMO TEST RUN'
[info] Proxy request POST http://ojs.example.local/rest/user/login
[info] Running a test set for the baseline #X
...
[info] Running default extension 'rce-dotnet-jackson' tests for the parameter 'POST_value'
...
[info] Running default extension 'spel-oob' tests for the parameter 'POST_JSON_DOC_HASH_email_value'
[info] Running custom extension 'mod-extension' tests for the parameter 'POST_JSON_DOC_HASH_email_value'
[info] SQLI vulnerability found at host ojs.example.local ...
...
[info] Running default extension 'spel-oob' tests for the parameter 'URI_value'
Running custom extension 'non-mod-extension' tests for the parameter 'URI_value'
[info] SQLI vulnerability found at host ojs.example.local ...
...
[info] Found 2 vulnerabilities, marking the test set for baseline #X as failed
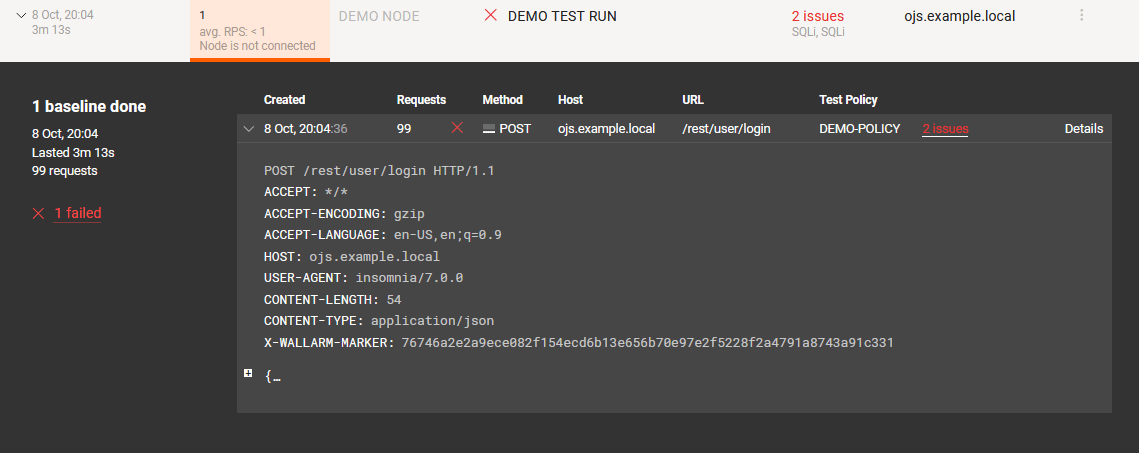
You can see the full log of request processing by opening the test run information on the Wallarm web interface and clicking the “Details” link.
-
You can also see information about the detected vulnerabilities by clicking the link that contains the number of detected issues, e.g., “2 issues.” The “Vulnerabilities” page will open.
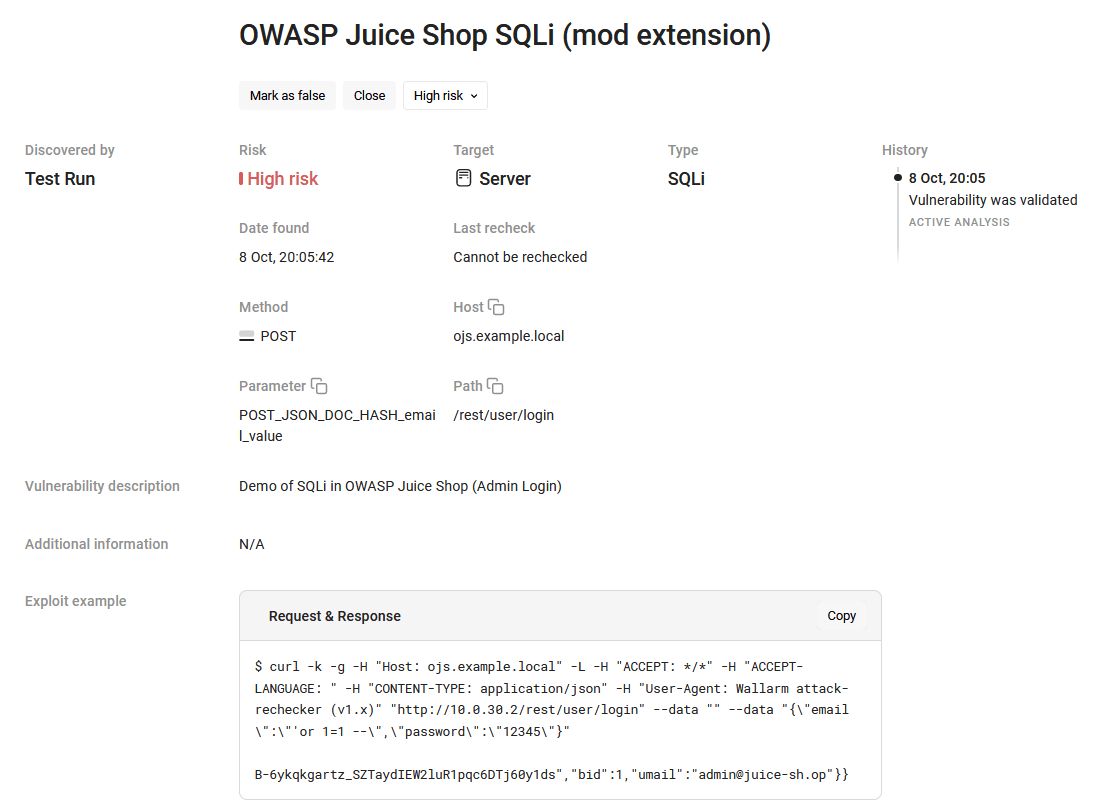
The “Risk,” “Type,” and “Title” columns will contain the values that were specified in the
meta-infosection of the extensions for those vulnerabilities that were detected with the help of the FAST extensions. -
You can click a vulnerability to view detailed information about it, including its description (from the
meta-infosection of the extension file) and an example of the request that exploits it.Example of the information about a vulnerability (detected with the modifying extension):


