ترقية الوحدة النمطية postanalytics
يرجى اتباع هذه الإرشادات لترقية وحدة postanalytics النمطية الإصدار 4.x المركبة على الخادم المستقل. يكون عليك ترقية الوحدة النمطية postanalytics قبل ترقية وحدات Wallarm NGINX.
لترقية الوحدة النمطية التي بلغت نهاية العمر (3.6 أو أقل )، يرجى استخدام التعليمات الأخرى.
طرق الترقية
You can upgrade in two different ways:
-
Migrate to the all-in-one installer usage during the upgrade procedure. This is the recommended approach as it automates various node installation and upgrade activities, such as NGINX and OS version identification, adding appropriate Wallarm repositories, installing packages, and others.
-
Keep using the current manual installation method via individual DEB/RPM packages. However, it's important to note that in further upgrades this approach will require additional effort and manual configuration in comparison to the new method.
ترقية باستخدام المثبت الشامل
استخدم الإجراء أدناه لتحديث وحدة postanalytics النمطية 4.x المركبة على الخادم المستقل إلى الإصدار 4.10 باستخدام المثبت الشامل.
متطلبات ترقية باستخدام المثبت الشامل
-
Access to the account with the Administrator role in Wallarm Console for the US Cloud or EU Cloud.
-
Access to
https://meganode.wallarm.comto download all-in-one Wallarm installer. Ensure the access is not blocked by a firewall. -
Access to
https://us1.api.wallarm.comfor working with US Wallarm Cloud or tohttps://api.wallarm.comfor working with EU Wallarm Cloud. If access can be configured only via the proxy server, then use the instructions. -
Executing all commands as a superuser (e.g.
root). -
Access to the IP addresses and their corresponding hostnames (if any) listed below. This is needed for downloading updates to attack detection rules and API specifications, as well as retrieving precise IPs for your allowlisted, denylisted, or graylisted countries, regions, or data centers.
الخطوة 1: إعداد الجهاز النظيف
When upgrading modules with all-in-one installer, you cannot upgrade an old package installation - instead you need to use a clean machine. Thus, as step 1, prepare a machine with one of the supported OS:
-
Debian 10, 11 and 12.x
-
Ubuntu LTS 18.04, 20.04, 22.04
-
CentOS 7, 8 Stream, 9 Stream
-
Alma/Rocky Linux 9
-
RHEL 8.x
-
Oracle Linux 8.x
-
Oracle Linux 9.x
-
Redox
-
SuSe Linux
-
Others (the list is constantly widening, contact Wallarm support team to check if your OS is in the list)
Using new clean machine will lead to that at some moment you will have both old and new node, which is good: you can test the new one working properly without stopping the old one.
الخطوة 2: إعداد الرمز المميز لـ Wallarm
To install node, you will need a Wallarm token of the appropriate type. To prepare a token:
الخطوة 3: تنزيل المثبت الشامل لـ Wallarm
Wallarm suggests all-in-one installations for the following processors:
-
x86_64
-
ARM64
To download all-in-one Wallarm installation script, execute the command:
الخطوة 4: تشغيل المثبت الشامل لـ Wallarm لتثبيت postanalytics
To install postanalytics separately with all-in-one installer, use:
If using the x86_64 version:
If using the ARM64 version:
The WALLARM_LABELS variable sets group into which the node will be added (used for logical grouping of nodes in the Wallarm Console UI).
الخطوة 5: ترقية وحدة NGINX-Wallarm على الخادم المستقل
بمجرد تثبيت وحدة postanalytics على الخادم المستقل، قم بترقية وحدة NGINX-Wallarm المرتبطة بها التي تعمل على خادم آخر.
دمج طرق الترقية
يمكن استخدام الأساليب اليدوية والتلقائية لترقية الوحدة النمطية NGINX-Wallarm المرتبطة.
الخطوة 6: إعادة ربط وحدة NGINX-Wallarm بوحدة postanalytics
On the machine with the NGINX-Wallarm module, in the NGINX configuration file, specify the postanalytics module server address:
upstream wallarm_tarantool {
    server <ip1>:3313 max_fails=0 fail_timeout=0 max_conns=1;
    server <ip2>:3313 max_fails=0 fail_timeout=0 max_conns=1;

    keepalive 2;
    }

    # omitted

wallarm_tarantool_upstream wallarm_tarantool;
-
max_connsvalue must be specified for each of the upstream Tarantool servers to prevent the creation of excessive connections. -
keepalivevalue must not be lower than the number of the Tarantool servers. -
The
# wallarm_tarantool_upstream wallarm_tarantool;string is commented by default - please delete#.
Once the configuration file changed, restart NGINX/NGINX Plus on the NGINX-Wallarm module server:
الخطوة 7: التحقق من تفاعل وحدات NGINX‑Wallarm وpostanalytics المستقلة
To check the NGINX‑Wallarm and separate postanalytics modules interaction, you can send the request with test attack to the address of the protected application:
If the NGINX‑Wallarm and separate postanalytics modules are configured properly, the attack will be uploaded to the Wallarm Cloud and displayed in the Attacks section of Wallarm Console:

If the attack was not uploaded to the Cloud, please check that there are no errors in the services operation:
-
Analyze the postanalytics module logs
If there is the record like
SystemError binary: failed to bind: Cannot assign requested address, make sure that the server accepts connection on specified address and port. -
On the server with the NGINX‑Wallarm module, analyze the NGINX logs:
If there is the record like
[error] wallarm: <address> connect() failed, make sure that the address of separate postanalytics module is specified correctly in the NGINX‑Wallarm module configuration files and separate postanalytics server accepts connection on specified address and port. -
On the server with the NGINX‑Wallarm module, get the statistics on processed requests using the command below and make sure that the value of
tnt_errorsis 0Description of all parameters returned by the statistics service →
الخطوة 8: إزالة وحدة postanalytics القديمة
-
Delete old postanalytics module in Wallarm Console → Nodes by selecting your postanalytics module node and clicking Delete.
-
Confirm the action.
When the postanalytics module node is deleted from Cloud, it will stop participation in filtration of requests to your applications. Deleting cannot be undone. The postanalytics module node will be deleted from the list of nodes permanently.
-
Delete machine with the old postanalytics module or just clean it from Wallarm postanalytics module components:
الترقية اليدوية
استخدم الإجراء أدناه لترقية الوحدة النمطية postanalytics 4.x المثبتة على الخادم المستقل إلى الإصدار 4.8 يدويًا.
الدعم لـ 4.10
لم يتم تحديث حزم DEB/RPM لتثبيت العقدة يدويًا إلى الإصدار 4.10 بعد.
متطلبات
-
الوصول إلى الحساب بدور المدير في واجهة Wallarm عبر السحابة الأمريكية أو السحابة الأوروبية
-
الوصول إلى
https://us1.api.wallarm.comعند العمل مع سحابة Wallarm الأمريكية أو إلىhttps://api.wallarm.comعند العمل مع سحابة Wallarm الأوروبية. يُرجى التأكد من عدم حجب الوصول بواسطة جدار الحماية
الخطوة 1: إضافة مستودع Wallarm الجديد
قم بحذف عنوان مستودع Wallarm السابق وأضف مستودعًا به حزم نسخة العُقدة Wallarm الجديدة. يرجى استخدام الأوامر المناسبة للبرنامج المناسب.
CentOS و Amazon Linux 2.0.2021x وأقل
Debian و Ubuntu
-
افتح الملف الذي يُطابق عنوان المستودع Wallarm في المحرر النصي المثبت. vim يُستخدم في هذا التعليم.
-
علق على عنوان المستودع السابق أو احذفه.
-
أضف عنوان المستودع الجديد:
غير مدعوم من قبل NGINX stable و NGINX Plus
لا يمكن تثبيت الإصدارات الرسمية لـ NGINX (المستقرة و Plus) و، على التوالي، العُقدة Wallarm 4.4 وما فوق على Debian 10.x (buster). الرجاء استخدم هذا OS فقط إذا تم تثبيت NGINX من مستودعات Debian/CentOS.
الخطوة 2: ترقية حزم Tarantool
The error "signatures couldn't be verified"
If added GPG keys expired, the following error would be returned:
W: GPG error: https://repo.wallarm.com/ubuntu/wallarm-node focal/4.8/ Release:The following
signatures couldn't be verified because the public key is not available: NO_PUBKEY 1111FQQW999
E: The repository 'https://repo.wallarm.com/ubuntu/wallarm-node focal/4.8/ Release' is not signed.
N: Updating from such a repository can't be done securely, and is therefore disabled by default.
N: See apt-secure(8) manpage for repository creation and user configuration details.
To fix the problem, please import new GPG keys for the Wallarm packages and then upgrade the packages using the following commands:
Upgrading Wallarm dependencies
The sudo apt dist-upgrade command upgrades both the Wallarm packages and filtering node dependencies. It is the recommended upgrade option providing correct operation of the newer filtering node version.
الخطوة 3: تحديث نوع العقدة
فقط للعقد التي تم تثبيتها باستخدام نص البرنامج النصي addnode
اتبع هذه الخطوة فقط إذا كانت عقدة نسخة سابقة متصلة بـ Cloud Wallarm باستخدام النص البرنامجي addnode. تم إزالة هذا النص البرنامجي واستبدل بـ register-node ، الذي يتطلب رمزًا لتسجيل العقدة في السحابة.
-
تأكد من أن حسابك Wallarm لديه دور المشرف عن طريق الانتقال إلى قائمة المستخدمين في سحابة الولايات المتحدة أو سحابة الاتحاد الأوروبي.

-
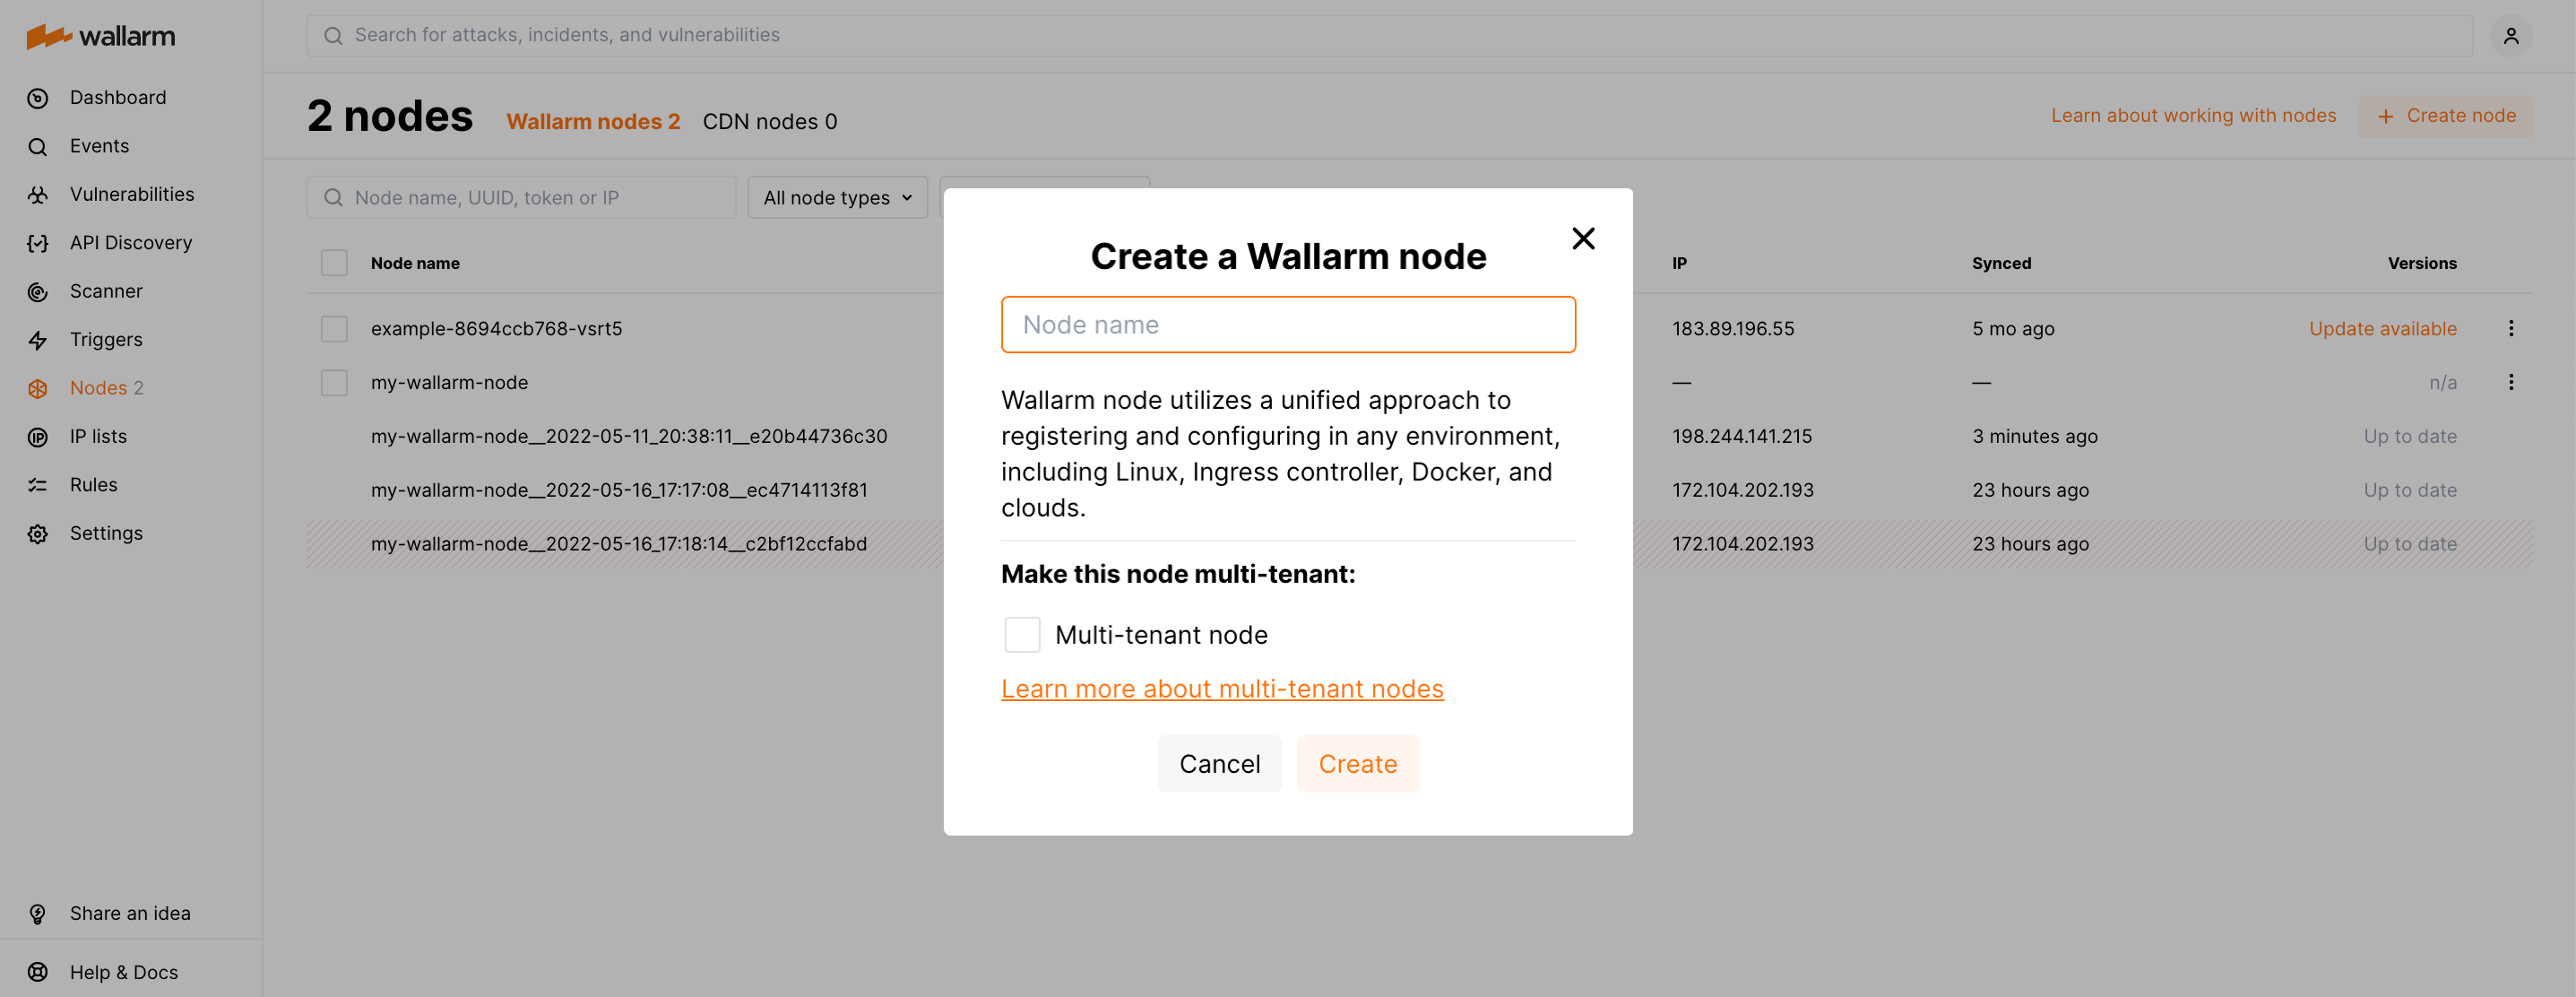
افتح Wallarm Console → العقد في السحابة الأمريكية أو السحابة الأوروبية وأنشئ عقدة من نوع عقدة Wallarm.
-
انسخ الرمز المميز الذي تم إنشاؤه.
-
نفذ النص البرنامجي
register-nodeلتشغيل العقدة:<TOKEN>هو القيمة المنسوخة من الرمز المميز للعقدة أو الرمز المميز لواجهة برمجة التطبيقات ذو طابع "إنشاء".- خيار
--forceيجبر التحديث لبيانات الاعتماد الخاصة بـ Wallarm Cloud المنصوص عليها في الملف/etc/wallarm/node.yaml.