[wallarm-status-instr]: ../admin-en/configure-statistics-service.md
[ptrav-attack-docs]: ../attacks-vulns-list.md#path-traversal
[attacks-in-ui-image]: ../images/admin-guides/test-attacks-quickstart.png
[waf-mode-instr]: ../admin-en/configure-wallarm-mode.md
[blocking-page-instr]: ../admin-en/configuration-guides/configure-block-page-and-code.md
[logging-instr]: ../admin-en/configure-logging.md
[proxy-balancer-instr]: ../admin-en/using-proxy-or-balancer-en.md
[process-time-limit-instr]: ../admin-en/configure-parameters-en.md#wallarm_process_time_limit
[configure-selinux-instr]: ../admin-en/configure-selinux.md
[configure-proxy-balancer-instr]: ../admin-en/configuration-guides/access-to-wallarm-api-via-proxy.md
[install-postanalytics-instr]: ../admin-en/installation-postanalytics-en.md
[dynamic-dns-resolution-nginx]: ../admin-en/configure-dynamic-dns-resolution-nginx.md
[img-wl-console-users]: ../images/check-users.png
[img-create-wallarm-node]: ../images/user-guides/nodes/create-cloud-node.png
[nginx-process-time-limit-docs]: ../admin-en/configure-parameters-en.md#wallarm_process_time_limit
[nginx-process-time-limit-block-docs]: ../admin-en/configure-parameters-en.md#wallarm_process_time_limit_block
[overlimit-res-rule-docs]: ../user-guides/rules/configure-overlimit-res-detection.md
[graylist-docs]: ../user-guides/ip-lists/overview.md
[wallarm-token-types]: ../user-guides/nodes/nodes.md#api-and-node-tokens-for-node-creation
[oob-docs]: ../installation//oob/overview.md
[sqli-attack-docs]: ../attacks-vulns-list.md#sql-injection
[xss-attack-docs]: ../attacks-vulns-list.md#crosssite-scripting-xss
[web-server-mirroring-examples]: ../installation/oob/web-server-mirroring/overview.md#examples-of-web-server-configuration-for-traffic-mirroring
ترقية وحدات Wallarm NGINX
تصف هذه التعليمات الخطوات لترقية وحدات Wallarm NGINX 4.x المثبتة من الحزم الفردية إلى الإصدار 4.10. هذه هي الوحدات المثبتة وفقًا لواحدة من التعليمات التالية:
لترقية النود القديم (3.6 أو أقل)، يرجى استخدام التعليمات المختلفة.
طرق الترقية
You can upgrade in two different ways:
-
Migrate to the all-in-one installer usage during the upgrade procedure. This is the recommended approach as it automates various node installation and upgrade activities, such as NGINX and OS version identification, adding appropriate Wallarm repositories, installing packages, and others.
-
Keep using the current manual installation method via individual DEB/RPM packages. However, it's important to note that in further upgrades this approach will require additional effort and manual configuration in comparison to the new method.
الترقية باستخدام المثبت الشامل
استخدم الإجراء أدناه لترقية وحدات Wallarm NGINX 4.x إلى الإصدار 4.10 باستخدام المثبت الشامل.
متطلبات الترقية باستخدام المثبت الشامل
-
Access to the account with the Administrator role in Wallarm Console for the US Cloud or EU Cloud.
-
Access to
https://meganode.wallarm.comto download all-in-one Wallarm installer. Ensure the access is not blocked by a firewall. -
Access to
https://us1.api.wallarm.comfor working with US Wallarm Cloud or tohttps://api.wallarm.comfor working with EU Wallarm Cloud. If access can be configured only via the proxy server, then use the [instructions][configure-proxy-balancer-instr]. -
Executing all commands as a superuser (e.g.
root). -
Access to the IP addresses and their corresponding hostnames (if any) listed below. This is needed for downloading updates to attack detection rules and API specifications, as well as retrieving precise IPs for your allowlisted, denylisted, or graylisted countries, regions, or data centers.
إجراء الترقية
-
إذا تم تثبيت وحدات النود التصيفية و postanalytics على نفس الخادم، فاتبع الإرشادات أدناه لترقية الكل.
ستحتاج إلى تشغيل نود من الإصدار الأحدث باستخدام المثبت الشامل على جهاز نظيف، اختبر أنه يعمل بشكل جيد وأوقف الأول وقم بتهيئة حركة المرور لتمر عبر الجهاز الجديد بدلاً من الجهاز السابق.
-
إذا تم تثبيت وحدات النود التصيفية و postanalytics على خوادم مختلفة، قم أولا بترقية وحدة postanalytics و بعد ذلك وحدة التصفية باستخدام هذه الإرشادات.
الخطوة 1: إعداد الجهاز النظيف
When upgrading modules with all-in-one installer, you cannot upgrade an old package installation - instead you need to use a clean machine. Thus, as step 1, prepare a machine with one of the supported OS:
-
Debian 10, 11 and 12.x
-
Ubuntu LTS 18.04, 20.04, 22.04
-
CentOS 7, 8 Stream, 9 Stream
-
Alma/Rocky Linux 9
-
RHEL 8.x
-
Oracle Linux 8.x
-
Oracle Linux 9.x
-
Redox
-
SuSe Linux
-
Others (the list is constantly widening, contact Wallarm support team to check if your OS is in the list)
Using new clean machine will lead to that at some moment you will have both old and new node, which is good: you can test the new one working properly without stopping the old one.
الخطوة 2: تثبيت NGINX والتبعيات
Install the latest NGINX version of:
-
NGINX
stable(the latest supported version is v1.28.1) - see how to install it in the NGINX documentation. -
NGINX Mainline (the latest supported version is v1.27.5) - see how to install it in the NGINX documentation.
-
NGINX Plus (the latest supported version is NGINX Plus R33) - see how to install it in the NGINX documentation.
-
Distribution-Provided NGINX - to install, use the following commands:
الخطوة 3: تحضير الرمز الشريطي لـ Wallarm
To install node, you will need a Wallarm token of the [appropriate type][wallarm-token-types]. To prepare a token:
الخطوة 4: تنزيل المثبت الشامل لـ Wallarm
Wallarm suggests all-in-one installations for the following processors:
-
x86_64
-
ARM64
To download all-in-one Wallarm installation script, execute the command:
الخطوة 5: تشغيل المثبت الشامل لـ Wallarm
وحدة التصنيف (Filtering node) وpostanalytics على نفس الخادم
-
Run downloaded script:
If using the x86_64 version:
If using the ARM64 version:
The
WALLARM_LABELSvariable sets group into which the node will be added (used for logical grouping of nodes in the Wallarm Console UI). -
Enter Wallarm token.
وحدة التصنيف (Filtering node) وpostanalytics على خوادم مختلفة
تسلسل الخطوات لترقية وحدات التصنيف وpostanalytics
إذا تم تثبيت وحدات التصنيف وpostanalytics على خوادم مختلفة، فيجب عليك ترقية حزم postanalytics قبل تحديث حزم التصنيف.
-
قم بترقية وحدة postanalytics باتباع هذه الإرشادات.
-
ترقية وحدة التصنيف (Filtering node):
# إذا كنت تستخدم الإصدار x86_64:
sudo env WALLARM_LABELS='group=<المجموعة>' sh wallarm-4.10.2.x86_64-glibc.sh filtering

# إذا كنت تستخدم الإصدار ARM64:
sudo env WALLARM_LABELS='group=<المجموعة>' sh wallarm-4.10.2.aarch64-glibc.sh filtering
تضبط النسق
WALLARM_LABELSللمجموعة التي ستضاف إليها النود (تعتمد لتجميع النود منطقياً في واجهة المستخدم لـ Wallarm Console).
الخطوة 6: نقل تكوين NGINX و postanalytics من محترف النود القديم إلى الجديد
قم بنقل تكوين النود المتعلق بـ NGINX و postanalytics من الملفات التكوينية على الجهاز القديم إلى الملفات على الجهاز الجديد. يمكنك أن تفعل ذلك بنسخ التوجيهات المطلوبة.
ملفات المصدر
على الجهاز القديم، حسب نظام التشغيل وإصدار NGINX، قد تكون ملفات التكوين NGINX موجودة في دلائل مختلفة ولها أسماء مختلفة. الأكثر شيوعا هي:
-
/etc/nginx/conf.d/default.confمع إعدادات NGINX -
/etc/nginx/conf.d/wallarm-status.confمع إعدادات مراقبة نود Wallarm. الوصف التفصيلي متاح ضمن [الرابط][wallarm-status-instr]
وعادةً ما يكون تكوين وحدة postanalytics (إعدادات قاعدة البيانات Tarantool) موجودًا هنا:
-
/etc/default/wallarm-tarantoolأو -
/etc/sysconfig/wallarm-tarantool
ملفات الهدف
بما أن المثبت الشامل يعمل مع مجموعات مختلفة من نظام التشغيل و إصدارات NGINX، قد يكون على جهاز الجديد لديك ملفات الهدف لها أسماء مختلفة وتقع في دلائل مختلفة.
الخطوة 7: إعادة تشغيل NGINX
Restart NGINX using the following command:
الخطوة 8: اختبار تشغيل نود Wallarm
لاختبار تشغيل النود الجديد:
-
أرسل الطلب مع اختبار [SQLI][sqli-attack-docs] و [XSS][xss-attack-docs] هجمات إلى عنوان المورد المحمي:
-
افتح واجهة Wallarm Console → قسم الهجمات في السحابة الأمريكية أو السحابة الأوروبية وتأكد من أن الهجمات تظهر في القائمة.
-
بمجرد مزامنة بيانات السحابة المخزنة الخاصة بك (القواعد، قوائم IP) إلى النود الجديد، قم بإجراء بعض الهجمات الاختبارية للتأكد من أن قواعدك تعمل كما هو متوقع.
الخطوة 9: تكوين إرسال حركة المرور إلى نود Wallarm
اعتمادًا على النهج الذي تم تنفيذه للتشغيل، قم بتنفيذ الإعدادات التالية:
تحديث أهداف التوازن الخاصة بك لإرسال الحركة إلى عينة Wallarm. للتفاصيل، يرجى الرجوع إلى وثائق التوازن الخاصة بك.
قبل إعادة توجيه الحركة بشكل كامل إلى النود الجديد، يوصى أولا بإعادة توجيهها جزئيا والتحقق من أن النود الجديد يتصرف وفقًا للتوقعات.
قم بتكوين خادم الويب أو الخادم الوكيل (مثل NGINX، Envoy) لمرآة حركة المرور الواردة إلى نود Wallarm. قم بالرجوع إلى وثائق خادم الويب أو خادم الوكيل للحصول على تفاصيل التكوين.
داخل [الرابط][web-server-mirroring-examples]، ستجد تكوين النموذج لأكثر خوادم الويب وأجهزة توجيه الوكيل شهرة (NGINX, Traefik, Envoy).
الخطوة 10: حذف النود القديم
-
حذف النود القديم في Wallarm Console → Nodes بتحديد نود الخاص بك والنقر على Delete.
-
تأكيد الإجراء.
عند حذف النود من السحابة، سوف يتوقف عن ترشيح الطلبات إلى التطبيقات الخاصة بك. لا يمكن التراجع عن حذف النود التصفية. سيتم حذف النود من قائمة النود نهائيًا.
-
حذف الجهاز مع النود القديم أو فقط تنظيفه من مكونات نود Wallarm:
الترقية اليدوية
استخدم الإجراء أدناه لترقية وحدات Wallarm NGINX 4.x إلى الإصدار 4.8 يدويًا.
الدعم لـ 4.10
لم يتم تحديث حزم الـ DEB/RPM لتثبيت النود اليدوي إلى الإطلاق 4.10 بعد
متطلبات الترقية اليدوية
-
الوصول إلى الحساب بدور المدير في واجهة Wallarm عبر السحابة الأمريكية أو السحابة الأوروبية
-
الوصول إلى
https://us1.api.wallarm.comعند العمل مع سحابة Wallarm الأمريكية أو إلىhttps://api.wallarm.comعند العمل مع سحابة Wallarm الأوروبية. يُرجى التأكد من عدم حجب الوصول بواسطة جدار الحماية
إجراء الترقية
-
إذا تم تثبيت وحدات النود التصيفية و postanalytics على نفس الخادم، فاتبع الإرشادات أدناه لترقية الحزم الكل.
-
إذا تم تثبيت وحدات النود التصيفية و postanalytics على خوادم مختلفة، قم أولا بترقية وحدة postanalytics باتباع هذه الإرشادات ثم تنفيذ الخطوات أدناه لوحدات النود التصيفية.
الخطوة 1: ترقية NGINX إلى الإصدار الأخير
ترقية NGINX إلى الإصدار الأخير باستخدام التعليمات ذات الصلة:
بالنسبة لـ NGINX Plus، يرجى اتباع التعليمات الرسمية .
بالنسبة لـ NGINX مثبتة من مستودعات Debian/CentOS، يرجى تخطي هذه الخطوة. سيتم ترقية الإصدار الحالي لـ NGINX في وقت لاحق جنبا إلى جنب مع وحدات Wallarm.
إذا كانت بنيتك تحتاج إلى استخدام إصدار محدد من NGINX، يرجى الاتصال بـ دعم فنيWallarm لبناء وحدة Wallarm لإصدار مخصص من NGINX.
الخطوة 2: أضف مستودع Wallarm الجديد
حذف عنوان مستودع Wallarm السابق وأضف مستودعًا مع حزمة نسخة النود Wallarm الجديدة. يرجى استخدام الأوامر المناسبة للمنصة الخاصة بك
CentOS و Amazon Linux 2.0.2021x وأقل
ديبيان وأوبونتو
-
افتح الملف المحتوي على عنوان مستودع Wallarm في المحرر النصي المثبت. في هذه التعليمات، يتم استخدام vim.
-
اعتبرها غير فعالة أو حذف عنوان المستودع السابق.
-
أضف عنوان المستودع الجديد:
غير مدعومة من قبل NGINX مستقر و NGINX Plus
الإصدارات الرسمية لـ NGINX (مستقرة و Plus) و، على النتيجة، لا يمكن تثبيت النود الخاصة بـ Wallarm 4.4 وما فوق على ديبيان 10.x (Buster). يرجى استخدام هذا نظام التشغيل فقط إذا كان NGINX يتم تثبيته من مستودعات Debian/CentOS.
الخطوة 3: ترقية حزم Wallarm
وحدة التصنيف (Filtering node) وpostanalytics على نفس الخادم
-
نفذ الأمر التالي لترقية وحدات وحدة التصنيف وpostanalytics:
The error "signatures couldn't be verified"
If added GPG keys expired, the following error would be returned:
W: GPG error: https://repo.wallarm.com/ubuntu/wallarm-node focal/4.8/ Release:The following
signatures couldn't be verified because the public key is not available: NO_PUBKEY 1111FQQW999
E: The repository 'https://repo.wallarm.com/ubuntu/wallarm-node focal/4.8/ Release' is not signed.
N: Updating from such a repository can't be done securely, and is therefore disabled by default.
N: See apt-secure(8) manpage for repository creation and user configuration details.
To fix the problem, please import new GPG keys for the Wallarm packages and then upgrade the packages using the following commands:
Upgrading Wallarm dependencies
The
sudo apt dist-upgradecommand upgrades both the Wallarm packages and filtering node dependencies. It is the recommended upgrade option providing correct operation of the newer filtering node version.The error "signatures couldn't be verified"
If added GPG keys expired, the following error would be returned:
W: GPG error: https://repo.wallarm.com/ubuntu/wallarm-node focal/4.8/ Release:The following
signatures couldn't be verified because the public key is not available: NO_PUBKEY 1111FQQW999
E: The repository 'https://repo.wallarm.com/ubuntu/wallarm-node focal/4.8/ Release' is not signed.
N: Updating from such a repository can't be done securely, and is therefore disabled by default.
N: See apt-secure(8) manpage for repository creation and user configuration details.
To fix the problem, please import new GPG keys for the Wallarm packages and then upgrade the packages using the following commands:
Upgrading Wallarm dependencies
The
sudo apt dist-upgradecommand upgrades both the Wallarm packages and filtering node dependencies. It is the recommended upgrade option providing correct operation of the newer filtering node version. -
إذا طلب مدير الحزم تأكيد لإعادة كتابة محتوى ملف التكوين
/etc/cron.d/wallarm-node-nginx، أرسل الخيارY.يجب تحديث محتوى
/etc/cron.d/wallarm-node-nginxلتنزيل البرنامج النصي الجديد الذي يعد RPS.افتراضيًا، يستخدم مدير الحزم الخيار
Nولكن هناك حاجة للخيارYلحساب RPS بشكل صحيح.
وحدة التصنيف (Filtering node) وpostanalytics على خوادم مختلفة
تسلسل الخطوات لترقية وحدات التصنيف وpostanalytics
إذا تم تثبيت وحدات التصنيف وpostanalytics على خوادم مختلفة، فيجب ترقية حزم postanalytics قبل تحديث حزم وحدة التصنيف.
-
قم بترقية حزم postanalytics باتباع هذه الإرشادات.
-
قم بترقية حزم نود Wallarm:
The error "signatures couldn't be verified"
If added GPG keys expired, the following error would be returned:
W: GPG error: https://repo.wallarm.com/ubuntu/wallarm-node focal/4.8/ Release:The following
signatures couldn't be verified because the public key is not available: NO_PUBKEY 1111FQQW999
E: The repository 'https://repo.wallarm.com/ubuntu/wallarm-node focal/4.8/ Release' is not signed.
N: Updating from such a repository can't be done securely, and is therefore disabled by default.
N: See apt-secure(8) manpage for repository creation and user configuration details.
To fix the problem, please import new GPG keys for the Wallarm packages and then upgrade the packages using the following commands:
Upgrading Wallarm dependencies
The
sudo apt dist-upgradecommand upgrades both the Wallarm packages and filtering node dependencies. It is the recommended upgrade option providing correct operation of the newer filtering node version.The error "signatures couldn't be verified"
If added GPG keys expired, the following error would be returned:
W: GPG error: https://repo.wallarm.com/ubuntu/wallarm-node focal/4.8/ Release:The following
signatures couldn't be verified because the public key is not available: NO_PUBKEY 1111FQQW999
E: The repository 'https://repo.wallarm.com/ubuntu/wallarm-node focal/4.8/ Release' is not signed.
N: Updating from such a repository can't be done securely, and is therefore disabled by default.
N: See apt-secure(8) manpage for repository creation and user configuration details.
To fix the problem, please import new GPG keys for the Wallarm packages and then upgrade the packages using the following commands:
Upgrading Wallarm dependencies
The
sudo apt dist-upgradecommand upgrades both the Wallarm packages and filtering node dependencies. It is the recommended upgrade option providing correct operation of the newer filtering node version. -
إذا طلب مدير الحزم تأكيد لإعادة كتابة محتوى ملف التكوين
/etc/cron.d/wallarm-node-nginx، أرسل الخيارY.يجب تحديث محتوى
/etc/cron.d/wallarm-node-nginxلتنزيل البرنامج النصي الجديد الذي يعد RPS.افتراضيًا، يستخدم مدير الحزم الخيار
Nولكن هناك حاجة للخيارYلحساب RPS بشكل صحيح.
الخطوة 4: تحديث نوع النود
فقط للعقد المثبتة باستخدام النصي 'addnode'
فقط قم باتباع هذه الخطوة إذا كانت نود الإصدار السابق متصلة بـ Wallarm Cloud باستخدام نصي 'addnode'. تم إزالة هذا النص واستبدل بـ 'register-node'، الذي يحتاج إلى رمز لتسجيل النود في السحابة.
-
تأكد من أن حساب Wallarm الخاص بك لديه دور المشرف بالانتقال إلى قائمة المستخدمين في السحابة الأمريكية أو السحابة الأوروبية.
![قائمة المستخدمين في واجهة Wallarm console][img-wl-console-users]
-
افتح واجهة Wallarm Console → Nodes في السحابة الأمريكية أو السحابة الأوروبية وأنشئ نود من النوع Wallarm node.
![إنشاء Wallarm node][img-create-wallarm-node]
إذا تم تثبيت وحدة postanalytics على خادم مستقل
إذا تم تثبيت وحدات معالجة حركة المرور الأولية وpostanalytics على خوادم مستقلة، يوصى بتوصيل هذه الوحدات بـ Wallarm Cloud باستخدام نفس رمز النود. ستعرض واجهة المستخدم لـ Wallarm Console كل وحدة بوصفها نموذج نود مستقل، مثال على ذلك:
تم إنشاء نود Wallarm بالفعل خلال ترقية postanalytics module المنفصل. لتوصيل وحدة معالجة حركة المرور الأولية بالسحابة باستخدام نفس بيانات التفويض الخاصة بالنود:
- انسخ رمز النود المُولد خلال ترقية postanalytics module المنفصل.
- استمر في الخطوة الرابعة في القائمة أدناه.
-
انسخ الرمز المولد.
-
أوقف خدمة NGINX لتقليل خطر حساب RPS غير صحيح:
-
نفذ النصي
register-nodeلتشغيل Wallarm node:<الرمز المشفر>هو القيمة المنسوخة من الرمز الشريطي للنود أو رمز API بدور 'Deploy'.- خيار
--forceيفرض إعادة كتابة بيانات الوصول إلى السحابة المحددة في الملف/etc/wallarm/node.yaml.
الخطوة 5: تحديث صفحة الحظر لـ Wallarm
في النسخة الجديدة من النود، غيرت صفحة Wallarm sample blocking تم تغييرها. الشعار ورسالة الدعم على الصفحة الآن فارغة بشكل افتراضي.
إذا تم تكوين الصفحة &/usr/share/nginx/html/wallarm_blocked.html لتعود في الرد على الطلبات المحظورة، انسخ وقم بتخصيص النسخة الجديدة من الصفحة العينة.
الخطوة 6: إعادة تشغيل NGINX
الخطوة 7: اختبار تشغيل نود Wallarm
-
Send the request with test [Path Traversal][ptrav-attack-docs] attack to a protected resource address:
If traffic is configured to be proxied to
example.com, include the-H "Host: example.com"header in the request. -
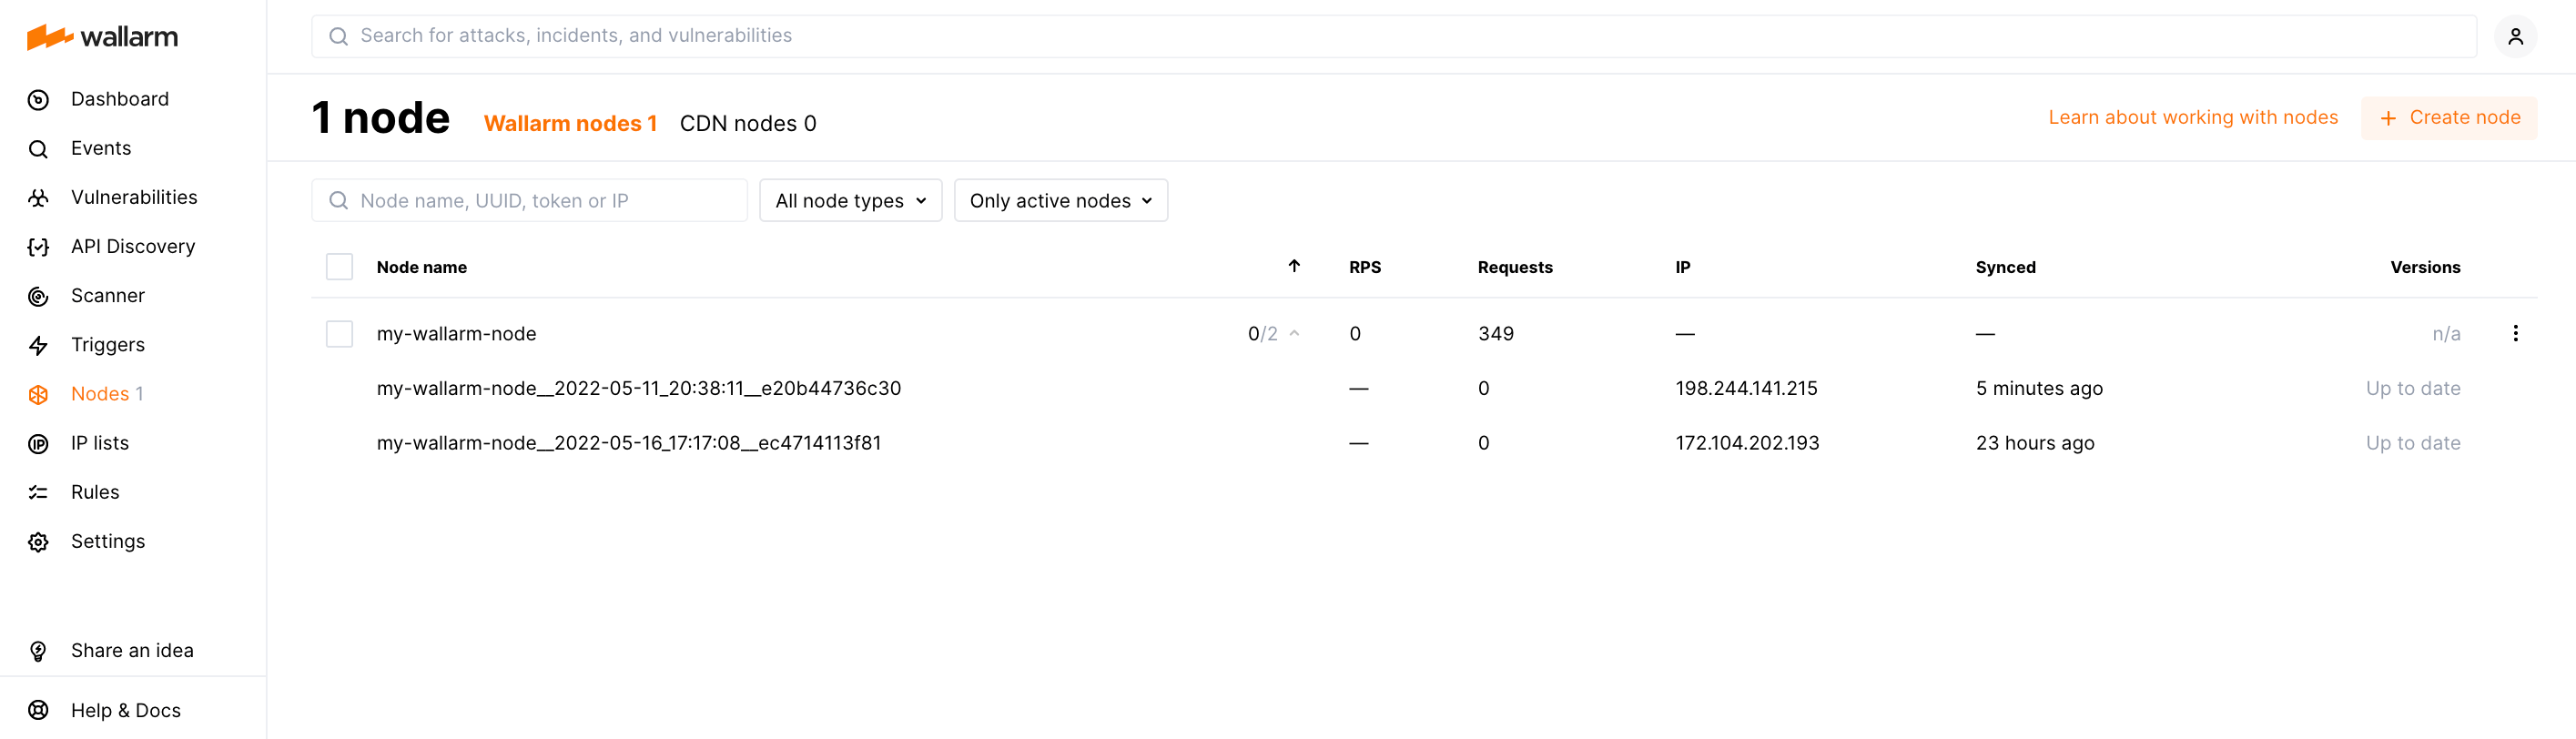
Open Wallarm Console → Attacks section in the US Cloud or EU Cloud and make sure the attack is displayed in the list.
![Attacks in the interface][attacks-in-ui-image]
-
Optionally, test other aspects of the node functioning.
تخصيص الإعدادات
تم تحديث وحدات Wallarm إلى الإصدار 4.8. ستتم تطبيق إعدادات النود التصفية السابقة تلقائيًا على الإصدار الجديد. لإجراء إعدادات إضافية، استخدم التوجيهات المتاحة.
Common customization options:
-
[Configuration of the filtration mode][waf-mode-instr]
-
[Logging Wallarm node variables][logging-instr]
-
[Using the balancer of the proxy server behind the filtering node][proxy-balancer-instr]
-
[Limiting the single request processing time in the directive
wallarm_process_time_limit][process-time-limit-instr] -
Limiting the server reply waiting time in the NGINX directive
proxy_read_timeout -
Limiting the maximum request size in the NGINX directive
client_max_body_size -
[Configuring dynamic DNS resolution in NGINX][dynamic-dns-resolution-nginx]