ترقية صورة Docker المستندة إلى NGINX أو Envoy
تصف هذه التعليمات الخطوات لترقية صورة Docker المستندة إلى NGINX أو Envoy الجارية من إصدار 4.x إلى الإصدار 4.10.
استخدام بيانات اعتماد العقدة Wallarm الموجودة مسبقًا
ننصح بعدم استخدام العقدة Wallarm القائمة من الإصدار السابق. يرجى اتباع هذه التعليمات لإنشاء عقدة تصفية جديدة من الإصدار 4.10 ونشرها كحاوية Docker.
لترقية العقدة ذات النهاية المحددة للخدمة (3.6 أو أقل)، يُرجى استخدام تعليمات مختلفة.
المتطلبات
-
Docker installed on your host system
-
Access to
https://hub.docker.com/r/wallarm/nodeto download the Docker image. Please ensure the access is not blocked by a firewall -
Access to the account with the Administrator role in Wallarm Console in the US Cloud or EU Cloud
-
Access to
https://us1.api.wallarm.comif working with US Wallarm Cloud or tohttps://api.wallarm.comif working with EU Wallarm Cloud. Please ensure the access is not blocked by a firewall -
Access to the IP addresses below for downloading updates to attack detection rules, as well as retrieving precise IPs for your [allowlisted, denylisted, or graylisted][ip-lists-docs] countries, regions, or data centers
الخطوة 1: تنزيل صورة العقدة التصفية المُحدثة
الخطوة 2: مراجعة التحديثات الهندسية الأخيرة (لصورة Docker المستندة إلى NGINX)
قدمت آخر تحديث تغييرات هندسية قد تؤثر على المستخدمين، خاصةً أولئك الذين يركبون ملفات التكوين المخصصة أثناء بدء تشغيل الحاوية بسبب التغييرات في مسارات بعض الملفات. يرجى التعرف على هذه التغييرات لضمان التكوين والاستخدام الصحيحين للصورة الجديدة.
الخطوة 3: إيقاف تشغيل الحاوية الجارية
الخطوة 4: تشغيل الحاوية باستخدام الصورة الجديدة
-
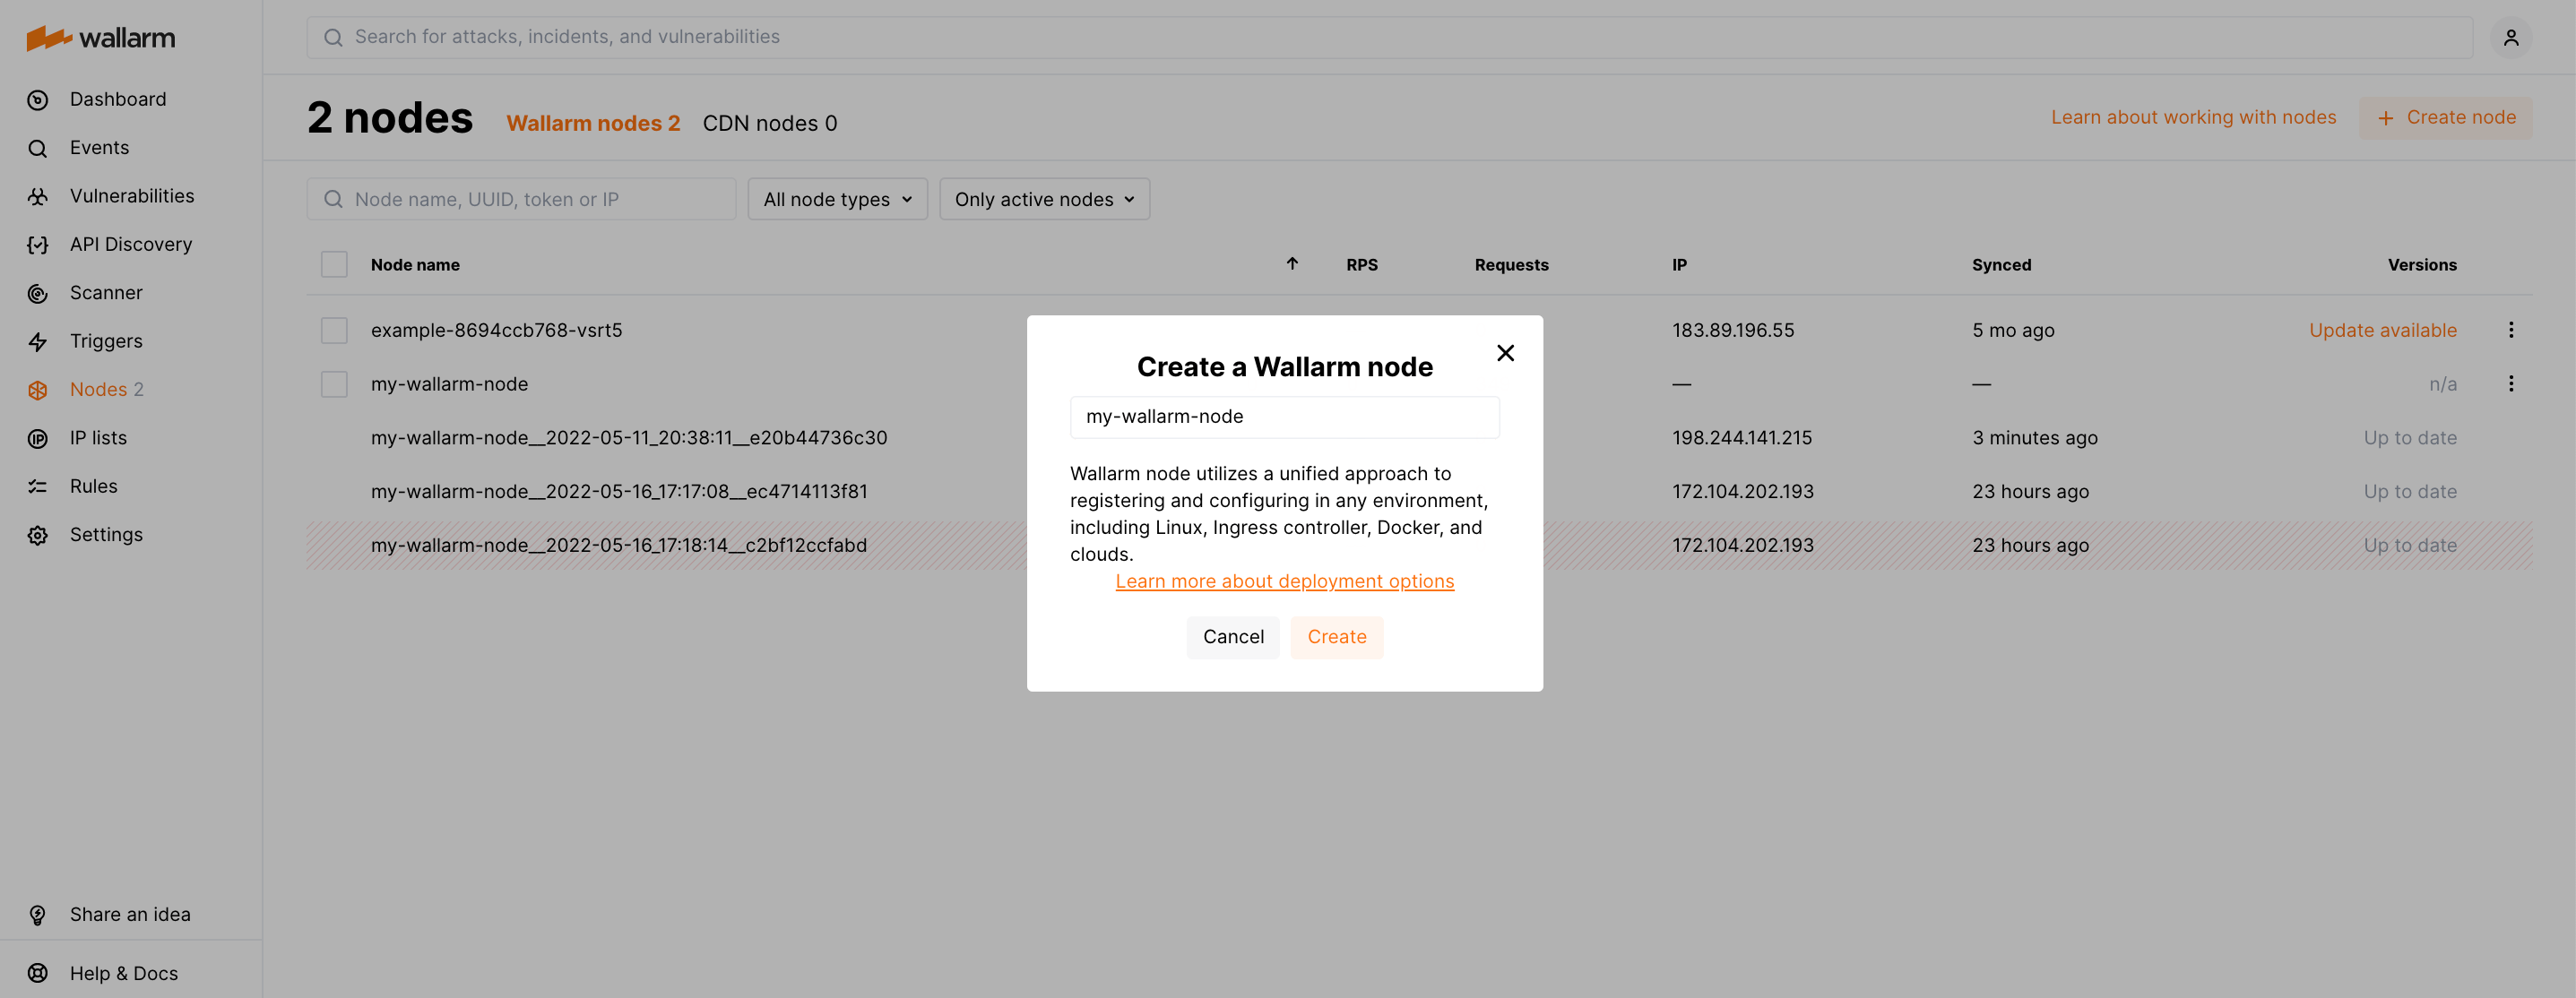
انتقل إلى Wallarm Console → Nodes وأنشئ عقدة Wallarm.
-
انسخ الرمز المُنشأ.
-
قم بتشغيل الصورة المُحدثة باستخدام الرمز المنسوخ وقم بإجراء التعديلات اللازمة على مسارات الملفات المُركبة إذا لزم الأمر بسبب التغييرات الأخيرة في الصورة.
هناك خياران لتشغيل الحاوية باستخدام الصورة المُحدثة:
- باستخدام المتغيرات البيئية التي تحدد تكوين عقدة التصفية الأساسية
- في ملف التكوين المُركب الذي يحدد تكوين عقدة التصفية المتقدمة
الخطوة 5: اختبار تشغيل عقدة التصفية
-
Send the request with test [Path Traversal][ptrav-attack-docs] attack to a protected resource address:
If traffic is configured to be proxied to
example.com, include the-H "Host: example.com"header in the request. -
Open Wallarm Console → Attacks section in the US Cloud or EU Cloud and make sure the attack is displayed in the list.
![Attacks in the interface][attacks-in-ui-image]
-
Optionally, test other aspects of the node functioning.
الخطوة 6: حذف عقدة التصفية من الإصدار السابق
إذا كانت الصورة المنشورة من الإصدار 4.10 تعمل بشكل صحيح، يمكنك حذف عقدة التصفية من الإصدار السابق في Wallarm Console → Nodes.