Access Control Lists (ACL) in Security Edge Inline  
An access control list (ACL) is a set of rules that defines which IP addresses can access specific hosts and locations of your APIs protected by Security Edge Inline.
The Wallarm Node checks each incoming request against the ACL rules. If a request matches a deny rule, it gets blocked. This prevents unauthorized activity and potential attacks.
Requirements
Access control lists (ACL) are supported starting from Edge Node version 6.6.0.
Creating an ACL
ACLs provide targeted control by applying rules to specific hosts and locations of your API. You first create an ACL with the required rules and then assign it to the hosts or locations you want to protect.
You can create an ACL either during or after Edge Node deployment.
-
Go to Wallarm Console → Security Edge → Inline → Configure → Access control lists and click Create ACL.
-
Give your ACL a recognizable name.
-
Define which IPs will be allowed and/or denied access to your hosts and locations. To do so, click Add rule and select the configuration type:
-
If you choose "Allow" or "Deny", specify an IPv4 address in one of the following formats:
- A single IP address (e.g.,
192.0.2.1) - A block of IPs using CIDR notation (e.g.,
192.0.2.0/20)
- A single IP address (e.g.,
-
If you choose "Allow all" or "Deny all", no IP address is required. The rule applies to all IP addresses.
Configuration notice
The "Deny all" configuration blocks all traffic. To avoid blocking legitimate requests, add allow rules or change the configuration type.
-
-
To add multiple rules, repeat the step above. To reorder rules, use drag and drop. Rules are checked from top to bottom - access is based on the first match.
-
Once you have created the desired configuration, click Save.
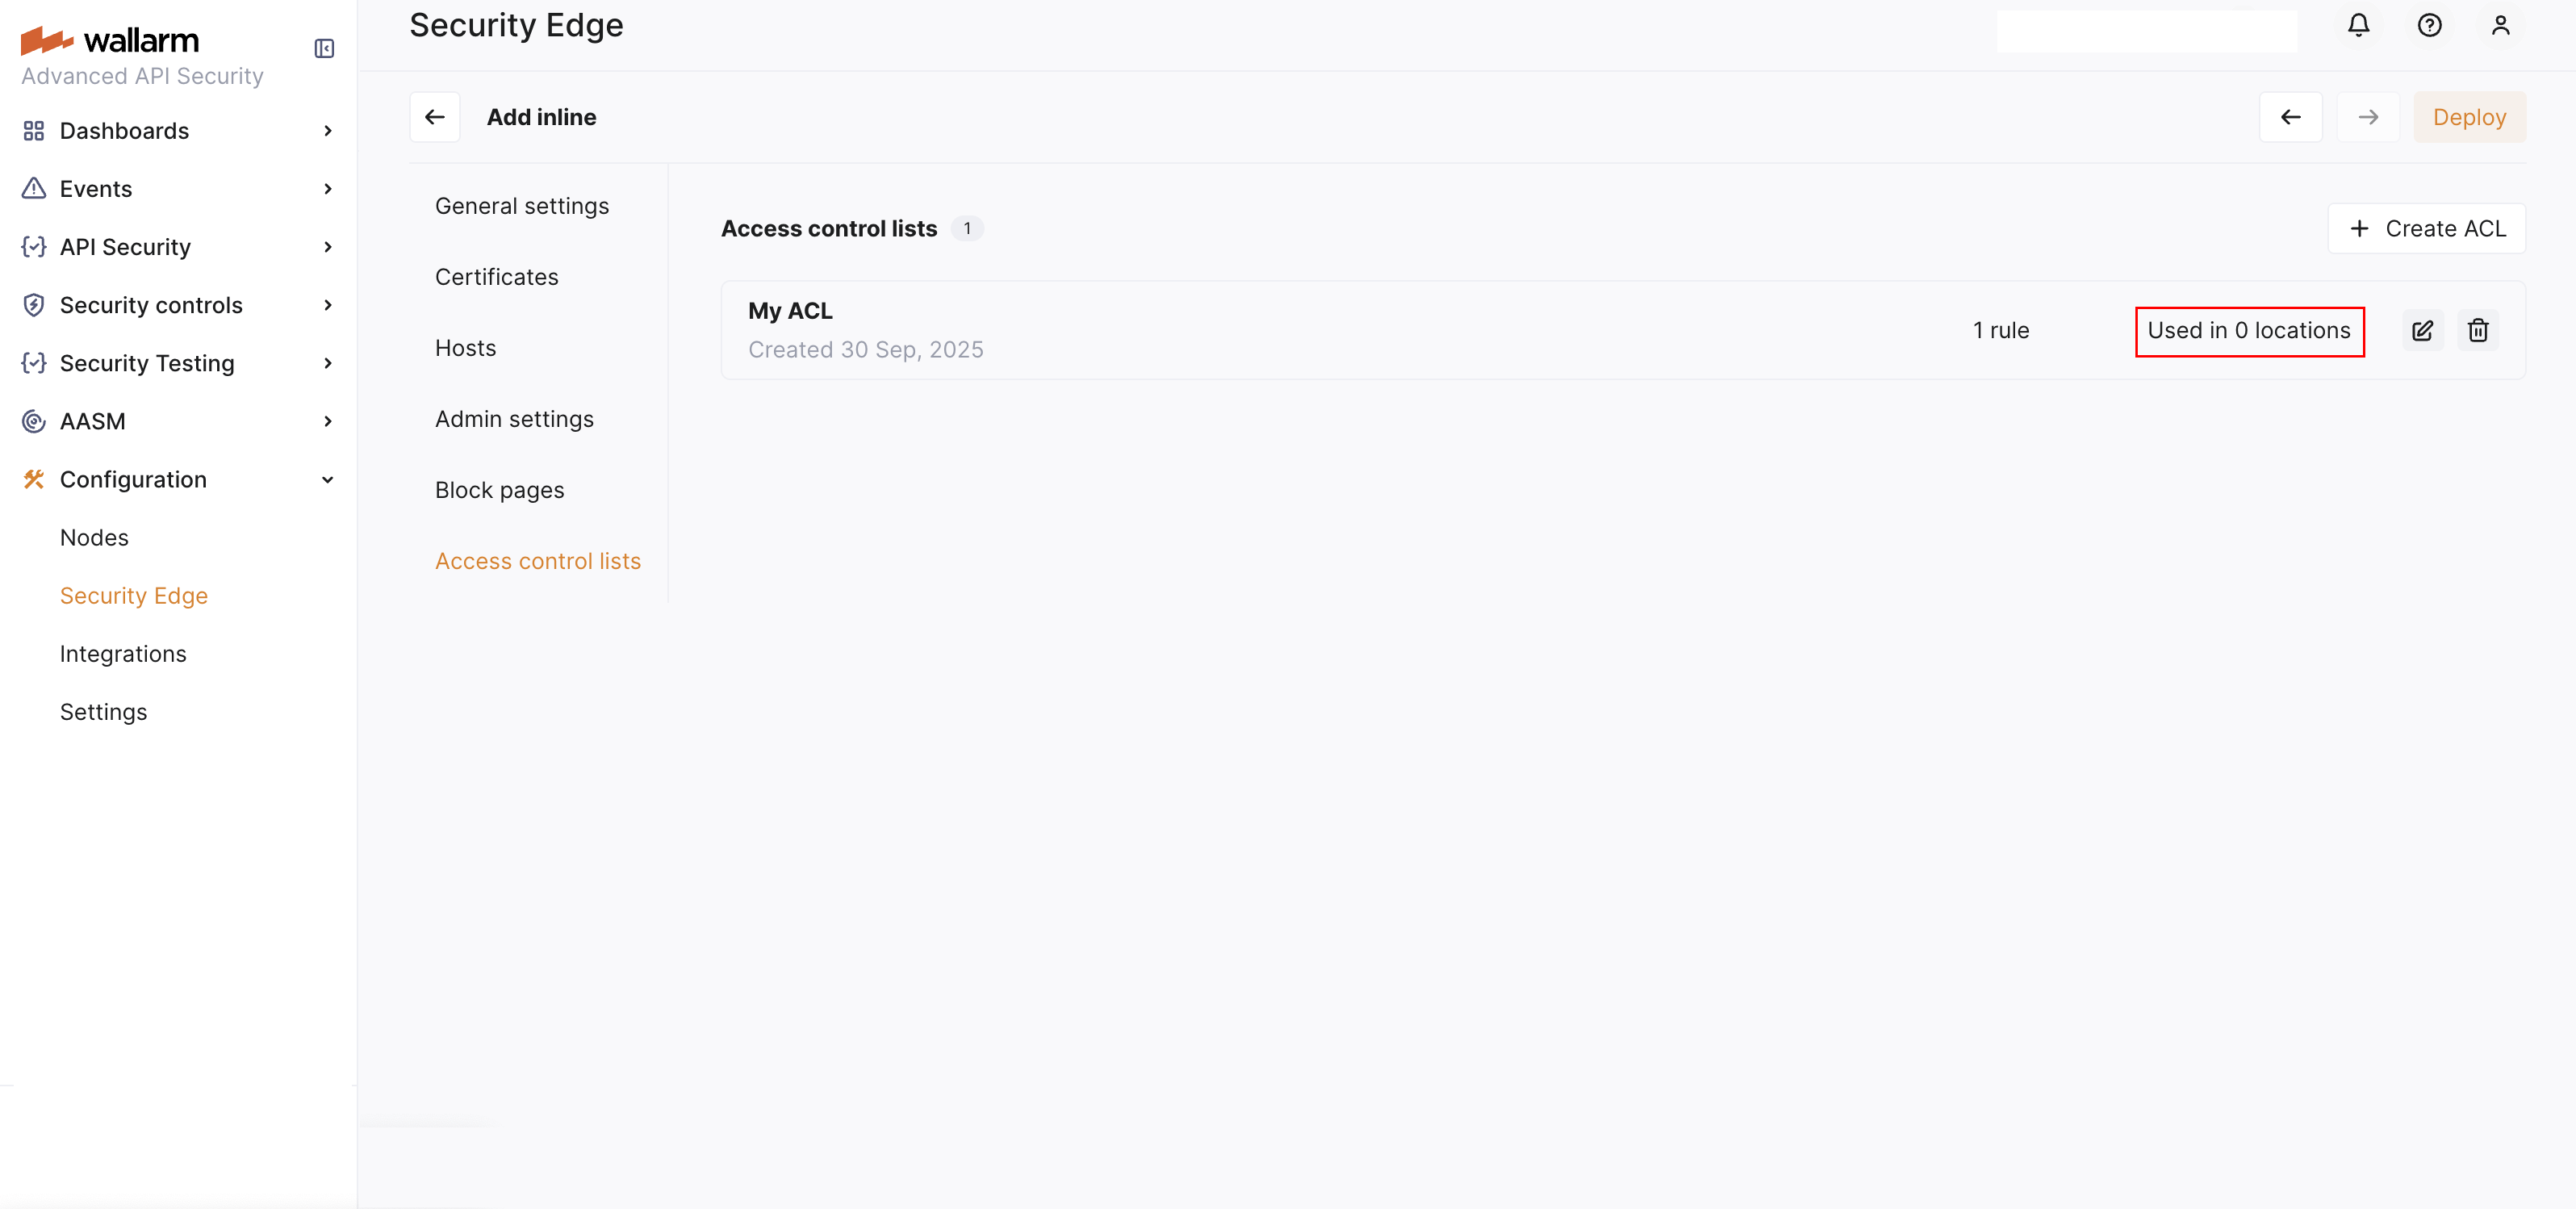
The created ACL appears in the list. You can see how many rules it contains and how many locations it secures.
The newly created ACL is used in 0 hosts and locations. To secure hosts or locations with this ACL, you need to assign it to them.
Assigning an ACL to protect hosts and locations
You can assign an ACL either during or after Edge Node deployment.
-
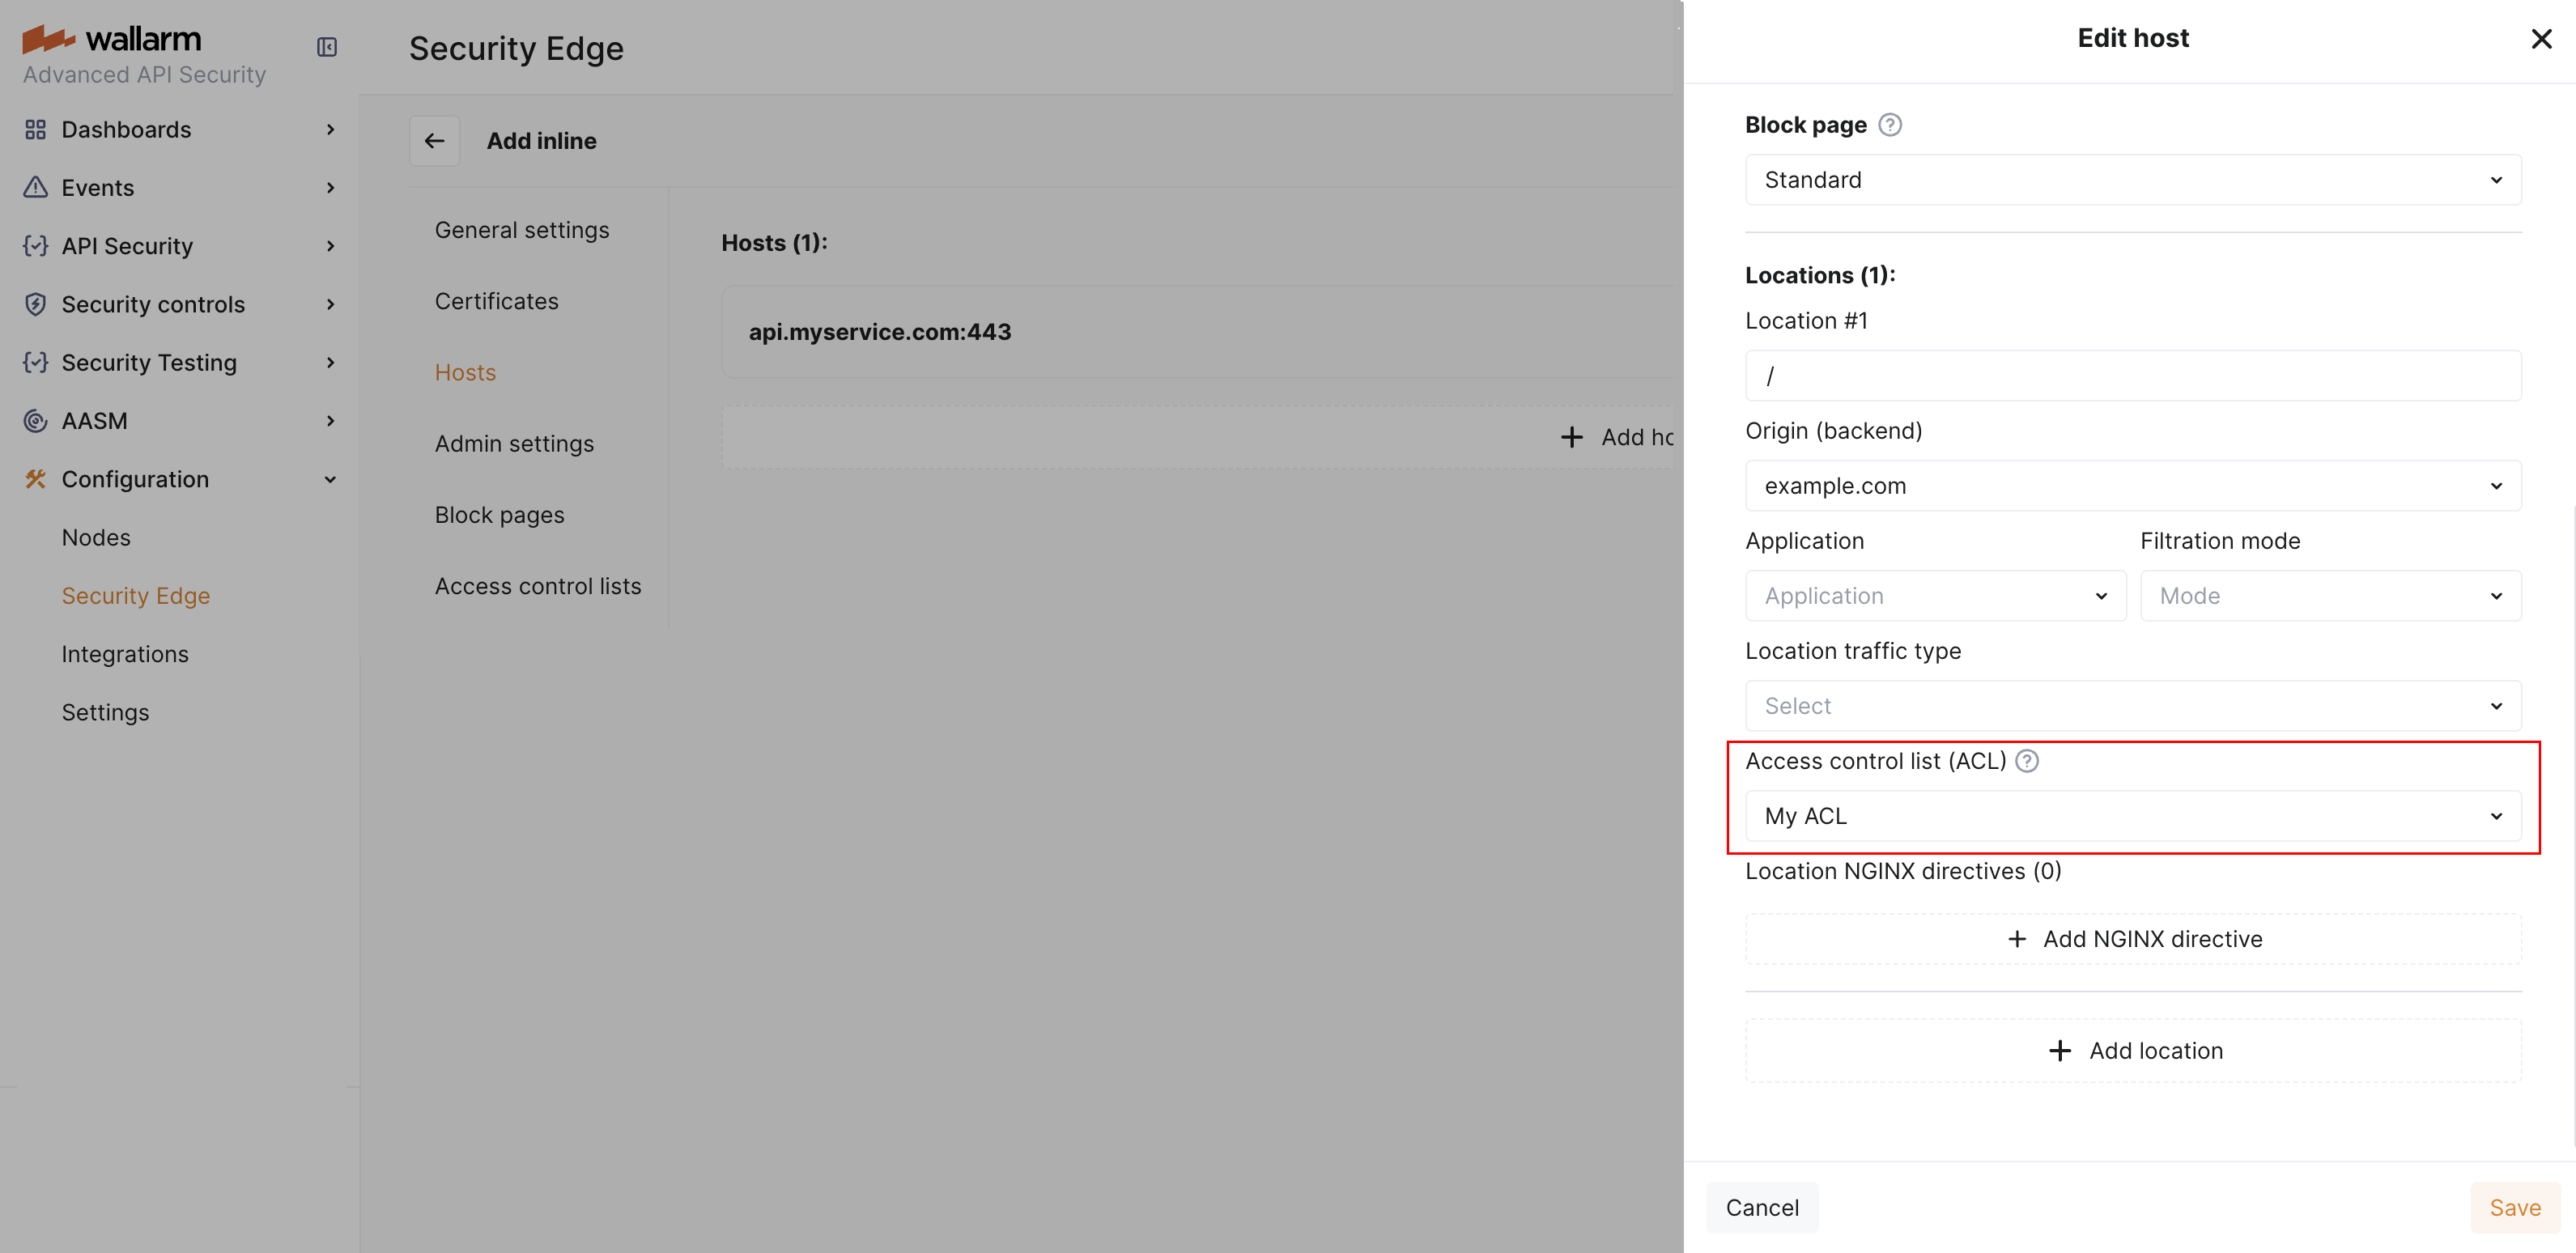
Go to Wallarm Console → Security Edge → Inline → Configure → Hosts.
-
Under "Access control list (ACL)", select the desired ACL.
ACL and IP list evaluation order
An IP must pass both the ACL and IP list evaluations to access protected endpoints. ACLs are always processed first and take precedence over IP list decisions.
When both ACLs and IP lists (allowlist, denylist, graylist) are configured, each incoming request is evaluated in two sequential stages:
Stage 1: ACL evaluation
The ACL determines whether the request is allowed to proceed.
If the ACL denies the request, evaluation stops — the request is blocked regardless of IP list entries.
Stage 2: IP list evaluation
If the request passes the ACL, the IP list is applied.
The denylist still takes precedence and will block the request even if it passed ACL evaluation.
| ACL evaluation | IP list evaluation | Final result |
|---|---|---|
| Allow | Allow | Request allowed |
| Deny | Allow | Request blocked |
| Allow | Deny | Request blocked |