نشر Wallarm باستخدام صورة آلة أمازون
توفر هذه المقالة تعليمات لنشر Wallarm على AWS من خلال استخدام صورة آلة أمازون (AMI) الرسمية.
حالات الاستخدام
Among all supported Wallarm deployment options, AMI is recommended for Wallarm deployment in these use cases:
-
Your existing infrastructure resides on AWS.
-
You aim to deploy a security solution as a separate cloud instance, rather than installing it directly on frontend systems like NGINX.
Requirements
-
An AWS account
-
Understanding of AWS EC2, Security Groups
-
Any AWS region of your choice, there are no specific restrictions on the region for the Wallarm node deployment
Wallarm supports both single availability zone (AZ) and multi availability zone deployments. In multi-AZ setups, Wallarm Nodes can be launched in separate availability zones and placed behind a Load Balancer for high availability.
-
Access to the account with the Administrator role in Wallarm Console for the US Cloud or EU Cloud
-
Executing all commands on a Wallarm instance as a superuser (e.g.
root) -
No system user named
wallarmexists
Installation
1. Launch a Wallarm Node instance
Launch an EC2 instance using the Wallarm NGINX Node AMI.
Recommended configuration:
-
Latest available [AMI version][latest-node-version]
-
Any preferred AWS region
-
EC2 instance type:
t3.medium(for testing) orm4.xlarge(for production), [see cost guidance for details][aws-costs] -
SSH key pair for accessing the instance
-
Appropriate VPC and subnet based on your infrastructure
-
Security Group inbound access to ports 22, 80, and 443
Using a security group preconfigured by Wallarm
When you deploy the instance and create a security group, AWS prompts you to use the one preconfigured by Wallarm. This group already has all the necessary ports open for inbound access.
![!Preconfigured security group][img-security-group]
-
Security Group outbound access to:
https://meganode.wallarm.comto download the Wallarm installerhttps://us1.api.wallarm.comfor working with US Wallarm Cloud or tohttps://api.wallarm.comfor working with EU Wallarm Cloud. If access can be configured only via the proxy server, then use the instructions-
IP addresses below for downloading updates to attack detection rules and [API specifications][api-spec-enforcement-docs], as well as retrieving precise IPs for your [allowlisted, denylisted, or graylisted][ip-lists-docs] countries, regions, or data centers
2. Connect to the Wallarm Node instance via SSH
Use the selected SSH key to connect to your running EC2 instance:
You need to use the admin username to connect to the instance.
3. Generate a token to connect an instance to the Wallarm Cloud
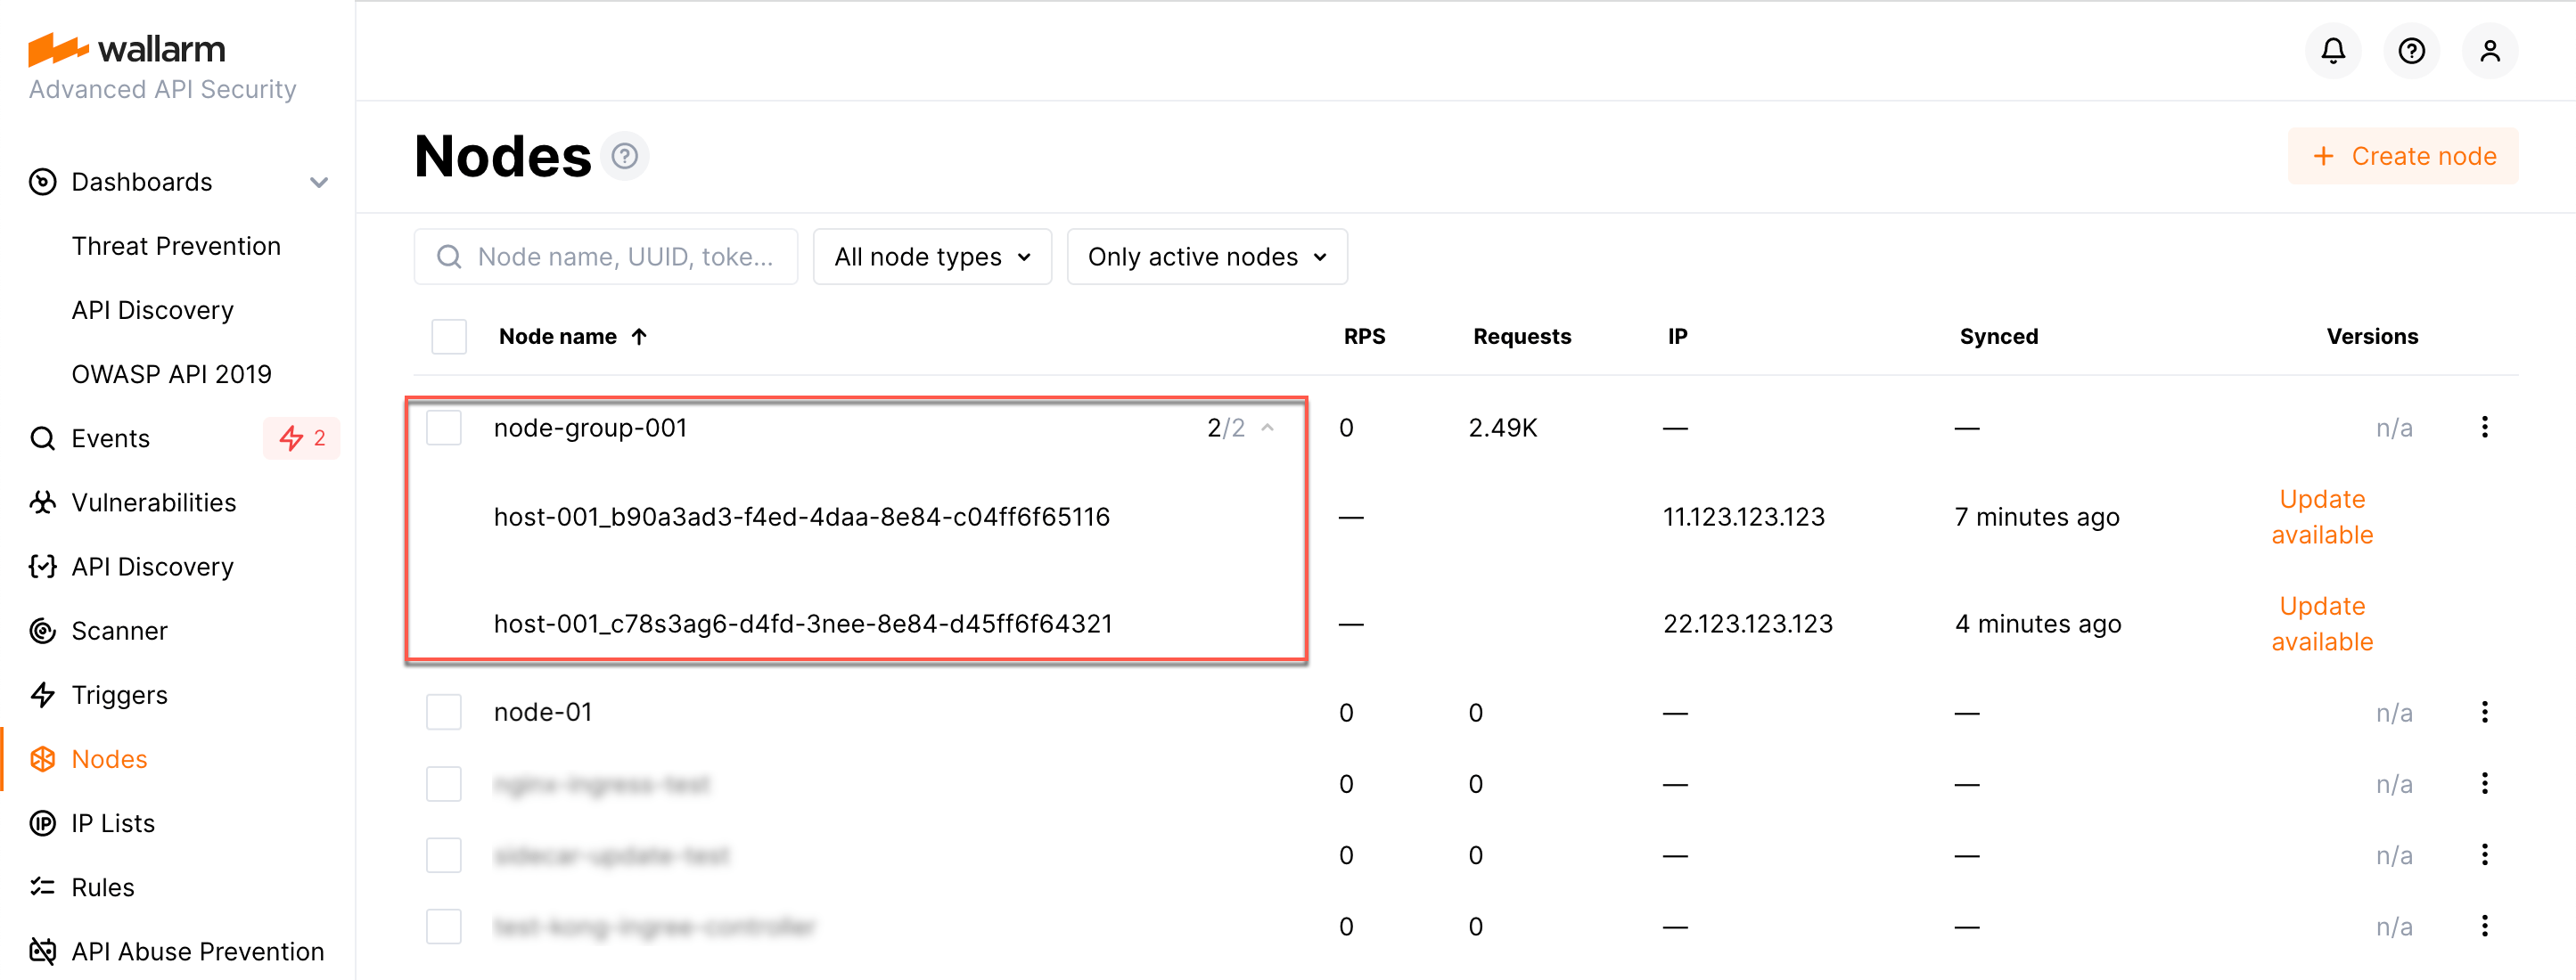
The Wallarm node needs to connect to the Wallarm Cloud using a Wallarm token of the appropriate type. An API token allows you to create a node group in the Wallarm Console UI, helping you organize your node instances more effectively.
Generate a token as follows:
6. ربط النسخة بهواء Wallarm
يتم ربط نسخة السحاب بخدمة Wallarm السحابية باستخدام السكربت cloud-init.py. يسجل هذا السكربت النسخة بخدمة Wallarm السحابية باستخدام رمز مُعطى، يضبط النسخة عالمياً على وضع الرصد mode، ويُعد النسخة لتوجيه حركة المرور الشرعية بناءً على علامة --proxy-pass. إعادة تشغيل NGINX تُكمل الإعداد.
قم بتشغيل السكربت cloud-init.py على النسخة المُنشأة من صورة السحاب كالتالي:
-
WALLARM_LABELS='group=<GROUP>'يحدد اسم مجموعة للنسخة (موجودة مسبقاً، أو، إذا لم تكن موجودة، سيتم إنشاؤها). يطبق هذا فقط إذا كنت تستخدم رمز API. -
<TOKEN>هو قيمة الرمز المنسوخة. -
<PROXY_ADDRESS>هو عنوان لنسخة Wallarm لتوجيه حركة المرور الشرعية إليه. يمكن أن يكون عنوان IP لنسخة تطبيق، موازن حمل، أو اسم DNS، الخ، بناءً على هيكليتك.
7. تهيئة إرسال حركة المرور إلى نسخة Wallarm
Update targets of your load balancer to send traffic to the Wallarm instance. For details, please refer to the documentation on your load balancer.
8. اختبار تشغيل Wallarm
-
The request with test Path Traversal attack to an address of either the load balancer or the machine with the Wallarm node:
-
Open Wallarm Console → Attacks section in the US Cloud or EU Cloud and make sure the attack is displayed in the list.

Since Wallarm operates in the monitoring mode, the Wallarm node does not block the attack but registers it.
-
Optionally, test other aspects of the node functioning.
9. ضبط الحل المنشور بدقة
The deployment is now complete. The filtering node may require some additional configuration after deployment.
Wallarm settings are defined using the NGINX directives or the Wallarm Console UI. Directives should be set in the following files on the Wallarm instance:
-
/etc/nginx/sites-enabled/defaultdefines the configuration of NGINX -
/etc/nginx/conf.d/wallarm.confdefines the global configuration of Wallarm filtering node -
/etc/nginx/conf.d/wallarm-status.confdefines the filtering node monitoring service configuration -
/opt/wallarm/wstore/wstore.yamlwith the postanalytics service (wstore) settings
You can modify the listed files or create your own configuration files to define the operation of NGINX and Wallarm. It is recommended to create a separate configuration file with the server block for each group of the domains that should be processed in the same way (e.g. example.com.conf). To see detailed information about working with NGINX configuration files, proceed to the official NGINX documentation.
Creating a configuration file
When creating a custom configuration file, make sure that NGINX listens to the incoming connections on the free port.
Below there are a few of the typical settings that you can apply if needed:
To apply the settings, restart NGINX on the Wallarm instance:
Each configuration file change requires NGINX to be restarted to apply it.
