نشر صورة Docker التابعة لـ Wallarm على Azure
يقدم هذا الدليل السريع الخطوات اللازمة لنشر صورة Docker للعقدة التي تعتمد على NGINX لـ Wallarm على منصة السحابة Microsoft Azure باستخدام خدمة Azure Container Instances.
قيود التعليمات
هذه التعليمات لا تغطي تكوين توازن الحمولة والتطبيق التلقائي للعقدة. إذا قمت بإعداد هذه المكونات بنفسك، نوصي بقراءة التوثيق على Azure Application Gateway.
حالات الاستخدام
Among all supported Wallarm deployment options, Wallarm deployment on Azure Container Instances using the Docker image is recommended in these use cases:
-
If your applications leverage a microservices architecture, and are already containerized and operational on Azure Container Instances.
-
If you require fine-grained control over each container, the Docker image excels. It affords a greater level of resource isolation than typically possible with traditional VM-based deployments.
المتطلبات
-
اشتراك Azure نشط
-
الوصول إلى الحساب ذو دور المسؤول والذي تم تعطيل التوثيق ثنائي العامل في Wallarm Console لـ السحابة الأمريكية أو السحابة الأوروبية
خيارات تكوين حاوية Docker للعقدة Wallarm
The filtering node configuration parameters should be passed to the deployed Docker container in one of the following ways:
-
In the environment variables. This option allows for the configuration of only basic filtering node parameters. Most directives cannot be configured through environment variables.
-
In the mounted configuration file. This option allows full filtering node configuration via any directives. With this configuration method, environment variables with the filtering node and Wallarm Cloud connection settings are also passed to the container.
نشر حاوية Docker للعقدة Wallarm المكوّنة من خلال المتغيرات البيئية
لنشر العقدة التصفية الخاصة بـ Wallarm المحتواة والتي تم تكوينها فقط من خلال المتغيرات البيئية، يمكنك استخدام الأدوات التالية:
في هذه التعليمات، يتم نشر الحاوية باستخدام Azure CLI.
-
Get Wallarm token of the appropriate type:
-
قم بتسجيل الدخول إلى Azure CLI باستخدام الأمر
az login: -
قم بإنشاء مجموعة موارد باستخدام الأمر
az group create. على سبيل المثال، أنشئ الفرقةmyResourceGroupفي منطقة East US بالأمر التالي: -
قم بتعيين المتغير البيئي المحلي برمز العقدة Wallarm الذي سيتم استخدامه لربط الوحدة بالسحابة Wallarm:
-
قم بإنشاء المورد Azure من حاوية Docker الخاصة بالعقدة Wallarm باستخدام الأمر
az container create:az container create \ --resource-group myResourceGroup \ --name wallarm-node \ --dns-name-label wallarm \ --ports 80 \ --image registry-1.docker.io/wallarm/node:4.10.4-1 \ --environment-variables WALLARM_API_TOKEN=${WALLARM_API_TOKEN} NGINX_BACKEND='example.com' WALLARM_API_HOST='us1.api.wallarm.com' WALLARM_LABELS='group=<GROUP>'--resource-group: اسم مجموعة الموارد التي تم إنشاؤها في الخطوة الثانية.--name: اسم الحاوية.--dns-name-label: تسمية اسم DNS للحاوية.--ports: النافذة التي تستمع العقدة التصفية عليها.--image: اسم صورة Docker الخاصة بالعقدة Wallarm.-
--environment-variables: المتغيرات البيئية بتكوينات العقدة التصفية (المتغيرات المتاحة مدرجة في الجدول أدناه). يرجى ملاحظة أنه لا يوصى بتمرير قيمةWALLARM_API_TOKENبشكل صريح.Environment variable Description Required WALLARM_API_TOKENWallarm node or API token. Yes WALLARM_LABELSAvailable starting from node 4.6. Works only if
WALLARM_API_TOKENis set to API token with theDeployrole. Sets thegrouplabel for node instance grouping, for example:WALLARM_LABELS="group=<GROUP>"...will place node instance into the
<GROUP>instance group (existing, or, if does not exist, it will be created).Yes (for API tokens) NGINX_BACKENDDomain or IP address of the resource to protect with the Wallarm solution. Yes WALLARM_API_HOSTWallarm API server: us1.api.wallarm.comfor the US Cloudapi.wallarm.comfor the EU Cloud
api.wallarm.com.No WALLARM_MODENode mode: blockto block malicious requestssafe_blockingto block only those malicious requests originated from graylisted IP addressesmonitoringto analyze but not block requestsoffto disable traffic analyzing and processing
monitoring.
Detailed description of filtration modes →No WALLARM_APPLICATIONUnique identifier of the protected application to be used in the Wallarm Cloud. The value can be a positive integer except for 0.
Default value (if the variable is not passed to the container) is-1which indicates the default application displayed in Wallarm Console → Settings → Application.
More details on setting up applications →No SLAB_ALLOC_ARENA(TARANTOOL_MEMORY_GB[NGINX Node 5.x and earlier][what-is-new-wstore])Amount of memory allocated to wstore. The value can be a float (a dot .is a decimal separator). By default: 1.0 (1 gygabyte).
Note that when passing this variable in Dockerruncommand with the-e, the variable is not recorded in any configuration file within the container, but it is still used whenwstorestarts.No NGINX_PORTSets a port that NGINX will use inside the Docker container.
Starting from the Docker image4.0.2-1, thewallarm-statusservice automatically runs on the same port as NGINX.
Default value (if the variable is not passed to the container) is80.
Syntax isNGINX_PORT='443'.No WALLARM_STATUS_ALLOWCustom CIDRs that are allowed to access the /wallarm-statusendpoint from outside the Docker container. Example value:10.0.0.0/8. If you need to pass several values, use a comma,as a separator. To access the service externally, use the Docker container's IP, specifying the/wallarm-statusendpoint path.No DISABLE_IPV6The variable with any value except for an empty one deletes the listen [::]:80 default_server ipv6only=on;line from the NGINX configuration file which will stop NGINX from IPv6 connection processing.
If the variable is not specified explicitly or has an empty value"", NGINX processes both IPv6 and IPv4 connections.No WALLARM_APIFW_ENABLEThis setting toggles API Specification Enforcement on or off, available from release 4.10 onwards. Please note that activating this feature does not substitute for the required subscription and configuration through the Wallarm Console UI.
Its default value istrue, enabling the functionality.No WALLARM_APID_ONLY(5.3.7 and higher)In this mode, attacks detected in your traffic are blocked locally by the node (if enabled) but not exported to Wallarm Cloud. Meanwhile, API Discovery and some other features remain fully functional, detecting your API inventory and uploading it to the Cloud for visualization. This mode is for those who want to review their API inventory and identify sensitive data first, and plan controlled attack data export accordingly. However, disabling attack export is rare, as Wallarm securely processes attack data and provides sensitive attack data masking if needed. More details
By default:false.No APIFW_METRICS_ENABLED(6.4.1 and higher)Enables Prometheus metrics for the API Specification Enforcement module.
By default:false(disabled).No APIFW_METRICS_HOST(6.4.1 and higher)Defines the host and port on which the API Specification Enforcement exposes metrics.
By default::9010.No APIFW_METRICS_ENDPOINT_NAME(6.4.1 and higher)Defines the HTTP path of the API Specification Enforcement metrics endpoint
By default:metrics.No WALLARM_WSTORE__METRICS__LISTEN_ADDRESSDefines the host and port on which [Postanalytics and general system metrics][wstore-metrics] are exposed.
By default:http://localhost:9001/metrics.No WALLARM_WSTORE__SERVICE__PROTOCOL(6.6.0 and higher)Specifies the protocol family that wstore uses for incoming connections. Possible values: "tcp"- dual-stack mode (listens on both IPv4 and IPv6)"tcp4"- IPv4 only"tcp6"- IPv6 only
"tcp4".No WALLARM_WCLI__METRICS__LISTEN_ADDRESSDefines the host and port on which the [wcli Controller metrics][wcli-metrics] are exposed.
By default:http://localhost:9003/metrics.No WALLARM_WCLI__METRICS__ENDPOINTDefines the HTTP path for the [wcli Controller metrics][wcli-metrics] endpoint.
By default:metrics.No
-
قم بفتح Azure portal وتأكد من عرض المورد المنشئ في قائمة الموارد.
نشر حاوية Docker للعقدة Wallarm المكوّنة من خلال الملف المثبت
لنشر العقدة التصفية الخاصة بـ Wallarm المحتواة والتي تم تكوينها من خلال المتغيرات البيئية والملف المثبت، يمكن استخدام Azure CLI فقط.
لنشر الحاوية بالمتغيرات البيئية وملف التكوين المثبت:
-
Get Wallarm token of the appropriate type:
-
قم بتسجيل الدخول إلى Azure CLI باستخدام الأمر
az login: -
قم بإنشاء مجموعة موارد باستخدام الأمر
az group create. على سبيل المثال، أنشئ الفرقةmyResourceGroupفي منطقة East US بالأمر التالي: -
قم بإنشاء ملف التكوين المحلي مع إعدادات العقدة التصفية. على سبيل المثال، ملف بالإعدادات القليلة:
server {
    listen 80 default_server;
    listen [::]:80 default_server ipv6only=on;
    #listen 443 ssl;

    server_name localhost;

    #ssl_certificate cert.pem;
    #ssl_certificate_key cert.key;

    root /usr/share/nginx/html;

    index index.html index.htm;

    wallarm_mode monitoring;
    # wallarm_application 1;

    location / {
            proxy_pass http://example.com;
            include proxy_params;
    }
}
مجموعة التوجيهات التصفية للعقدة التي يمكن تحديدها في ملف التكوين →
-
حدد موقع الملف التكوين إحدى الطرق المناسبة لتثبيت أحجام البيانات في Azure. تتم مناقشة جميع الأساليب في قسم تثبيت أحجام البيانات لتوثيقات Azure.
في هذه التعليمات، يتم تثبيت ملف التكوين من المستودع Git.
-
قم بتعيين المتغير البيئي المحلي برمز العقدة Wallarm الذي سيتم استخدامه لربط الوحدة بالسحابة Wallarm:
-
قم بإنشاء مورد Azure من حاوية Docker الخاصة بالعقدة Wallarm باستخدام الأمر
az container create:az container create \ --resource-group myResourceGroup \ --name wallarm-node \ --dns-name-label wallarm \ --ports 80 \ --image registry-1.docker.io/wallarm/node:4.10.4-1 \ --gitrepo-url <URL_OF_GITREPO> \ --gitrepo-mount-path /etc/nginx/sites-enabled \ --environment-variables WALLARM_API_TOKEN=${WALLARM_API_TOKEN} WALLARM_API_HOST='us1.api.wallarm.com' WALLARM_LABELS='group=<GROUP>'az container create \ --resource-group myResourceGroup \ --name wallarm-node \ --dns-name-label wallarm \ --ports 80 \ --image registry-1.docker.io/wallarm/node:4.10.4-1 \ --gitrepo-url <URL_OF_GITREPO> \ --gitrepo-mount-path /etc/nginx/sites-enabled \ --environment-variables WALLARM_API_TOKEN=${WALLARM_API_TOKEN} WALLARM_LABELS='group=<GROUP>'--resource-group: اسم مجموعة الموارد التي تم إنشاؤها في الخطوة الثانية.--name: اسم الحاوية.--dns-name-label: تسمية اسم DNS للحاوية.--ports: النافذة التي تستمع العقدة التصفية عليها.--image: اسم صورة Docker الخاصة بالعقدة Wallarm.--gitrepo-url: URL لمستودع Git الذي يحتوي على ملف التكوين. إذا كان الملف موجودًا في جذر المستودع، فكل ما تحتاج إليه هو تمرير هذا المعلمة فقط. إذا كان الملف موجود في دليل مستودع Git منفصل، يرجى مرور مسار الدليل في المعلمة--gitrepo-dir(على سبيل المثال،--gitrepo-dir ./dir1).-
--gitrepo-mount-path: دليل الحاوية لتثبيت ملف التكوين عليه. يمكن تثبيت ملفات التكوين على الدلائل التالية من الحاوية التي يستخدمها NGINX:/etc/nginx/conf.d— الإعدادات المشتركة/etc/nginx/sites-enabled— إعدادات الاستضافة الافتراضية/var/www/html— الملفات الثابتة
يجب وصف توجيهات العقدة التصفية في ملف
/etc/nginx/sites-enabled/default. -
--environment-variables: المتغيرات البيئية التي تحتوي على إعدادات العقدة التصفية واتصال Wallarm Cloud (المتغيرات المتاحة مدرجة في الجدول أدناه). يرجى ملاحظة أنه لا يوصى بتمرير قيمةWALLARM_API_TOKENبصراحة.Environment variable Description Required WALLARM_API_TOKENWallarm node or API token. Yes WALLARM_API_HOSTWallarm API server: us1.api.wallarm.comfor the US Cloudapi.wallarm.comfor the EU Cloud
api.wallarm.com.No WALLARM_LABELSAvailable starting from node 4.6. Works only if
WALLARM_API_TOKENis set to API token with theDeployrole. Sets thegrouplabel for node instance grouping, for example:WALLARM_LABELS="group=<GROUP>"...will place node instance into the
<GROUP>instance group (existing, or, if does not exist, it will be created).Yes (for API tokens) SLAB_ALLOC_ARENA(TARANTOOL_MEMORY_GB[NGINX Node 5.x and earlier][what-is-new-wstore])Amount of memory allocated to wstore. The value can be a float (a dot .is a decimal separator). By default: 1.0 (1 gygabyte).No WALLARM_APID_ONLY(5.3.7 and higher)In this mode, attacks detected in your traffic are blocked locally by the node (if enabled) but not exported to Wallarm Cloud. Meanwhile, API Discovery and some other features remain fully functional, detecting your API inventory and uploading it to the Cloud for visualization. This mode is for those who want to review their API inventory and identify sensitive data first, and plan controlled attack data export accordingly. However, disabling attack export is rare, as Wallarm securely processes attack data and provides sensitive attack data masking if needed. More details
By default:false.No APIFW_METRICS_ENABLED(6.4.1 and higher)Enables Prometheus metrics for the API Specification Enforcement module.
By default:false(disabled).No APIFW_METRICS_HOST(6.4.1 and higher)Defines the host and port on which the API Specification Enforcement exposes metrics.
By default::9010.No APIFW_METRICS_ENDPOINT_NAME(6.4.1 and higher)Defines the HTTP path of the API Specification Enforcement metrics endpoint
By default:metrics.No WALLARM_WSTORE__METRICS__LISTEN_ADDRESSDefines the host and port on which [Postanalytics and general system metrics][wstore-metrics-mount] are exposed.
By default:http://localhost:9001/metrics.No WALLARM_WSTORE__SERVICE__PROTOCOL(6.6.0 and higher)Specifies the protocol family that wstore uses for incoming connections. Possible values: "tcp"- dual-stack mode (listens on both IPv4 and IPv6)"tcp4"- IPv4 only"tcp6"- IPv6 only
"tcp4".No WALLARM_WCLI__METRICS__LISTEN_ADDRESSDefines the host and port on which the [wcli Controller metrics][wcli-metrics] are exposed.
By default:http://localhost:9003/metrics.No WALLARM_WCLI__METRICS__ENDPOINTDefines the HTTP path for the [wcli Controller metrics][wcli-metrics] endpoint.
By default:metrics.No
-
افتح Azure portal وتأكد من عرض المورد المنشئ في قائمة الموارد.
اختبار عملية تصفية العقدة
-
افتح المورد المنشئ على Azure portal وانسخ قيمة FQDN.
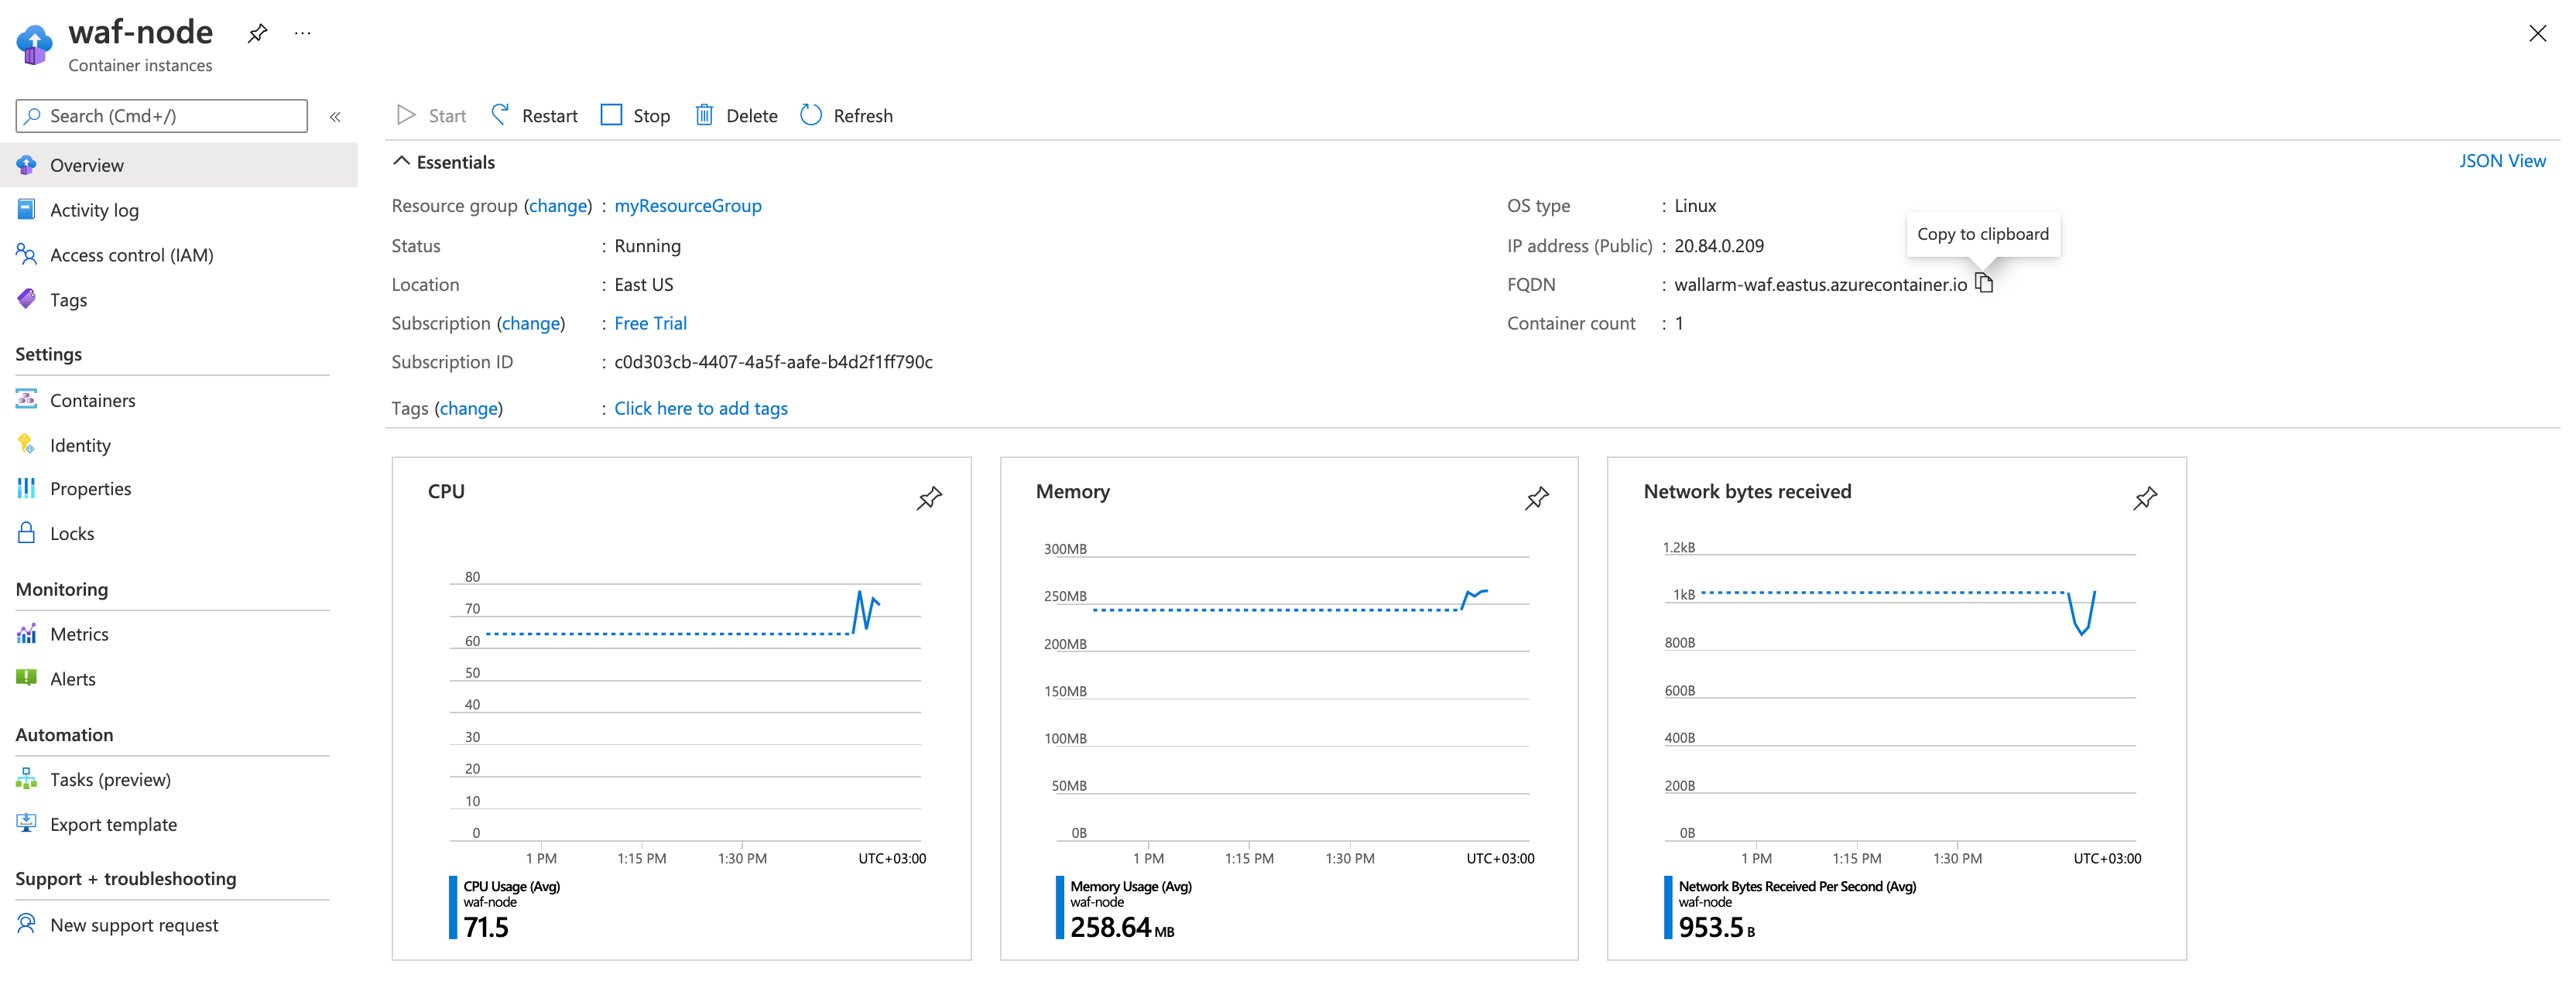
إذا كان حقل FQDN فارغًا، يرجى التأكد من أن الحاوية في الحالة Running.
-
أرسل الطلب بالهجوم Path Traversal الاختباري إلى النطاق المنسوخ:
-
افتح Wallarm Console → Attacks في السحابة الأمريكية أو السحابة الأوروبية وتأكد من عرض الهجوم في القائمة.

تظهر التفاصيل الخاصة بالأخطاء التي حدثت أثناء نشر الحاوية على التبويب Containers → Logs من تفاصيل المورد على Azure portal. إذا كان المورد غير متوفر، يرجى التأكد من تمرير الوحدة المطلوبة للعقدة التصفية بقيم صحيحة إلى الحاوية.