Chaining of the Wallarm and additional Ingress Controllers in the same Kubernetes cluster
These instructions provide you with the steps to deploy the Wallarm Ingress controller to your K8s cluster and chain it with other Controllers that are already running in your environment.
The issue addressed by the solution
Wallarm offers its node software in different form-factors, including Ingress Controller built on top of the Community Ingress NGINX Controller.
If you already use an Ingress controller, it might be challenging to replace the existing Ingress controller with the Wallarm controller (e.g. if using AWS ALB Ingress Controller). In this case, you can explore the Wallarm Sidecar solution but if it also does not fit your infrastructure, it is possible to chain several Ingress controllers.
Ingress controller chaining enables you to utilize an existing controller to get end-user requests to a cluster, and deploy an additional Wallarm Ingress controller to provide necessary application protection.
Requirements
-
Kubernetes platform version 1.26-1.30
-
Helm package manager
-
Access to the account with the Administrator role in Wallarm Console for the US Cloud or EU Cloud
-
Access to
https://us1.api.wallarm.comfor working with US Wallarm Cloud or tohttps://api.wallarm.comfor working with EU Wallarm Cloud -
Access to
https://charts.wallarm.comto add the Wallarm Helm charts. Ensure the access is not blocked by a firewall -
Access to the Wallarm repositories on Docker Hub
https://hub.docker.com/r/wallarm. Make sure the access is not blocked by a firewall -
Access to the IP addresses below for downloading updates to attack detection rules and API specifications, as well as retrieving precise IPs for your allowlisted, denylisted, or graylisted countries, regions, or data centers
-
Deployed Kubernetes cluster running an Ingress controller
Deploying the Wallarm Ingress controller and chaining it with an additional Ingress Controller
To deploy the Wallarm Ingress controller and chain it with additional controllers:
-
Deploy the official Wallarm controller Helm chart using an Ingress class value different from the existing Ingress controller.
-
Create the Wallarm-specific Ingress object with:
- The same
ingressClassas specified invalues.yamlof Wallarm Ingress Helm chart. - Ingress controller requests routing rules configured in the same way as the existing Ingress controller.
Wallarm Ingress controller will not be exposed outside the cluster
Please note that the Wallarm Ingress controller uses
ClusterIPfor its service, which means it will not be exposed outside the cluster. - The same
-
Reconfigure the existing Ingress controller to forward incoming requests to the new Wallarm Ingress controller instead of application services.
-
Test the Wallarm Ingress controller operation.
Step 1: Deploy the Wallarm Ingress controller
-
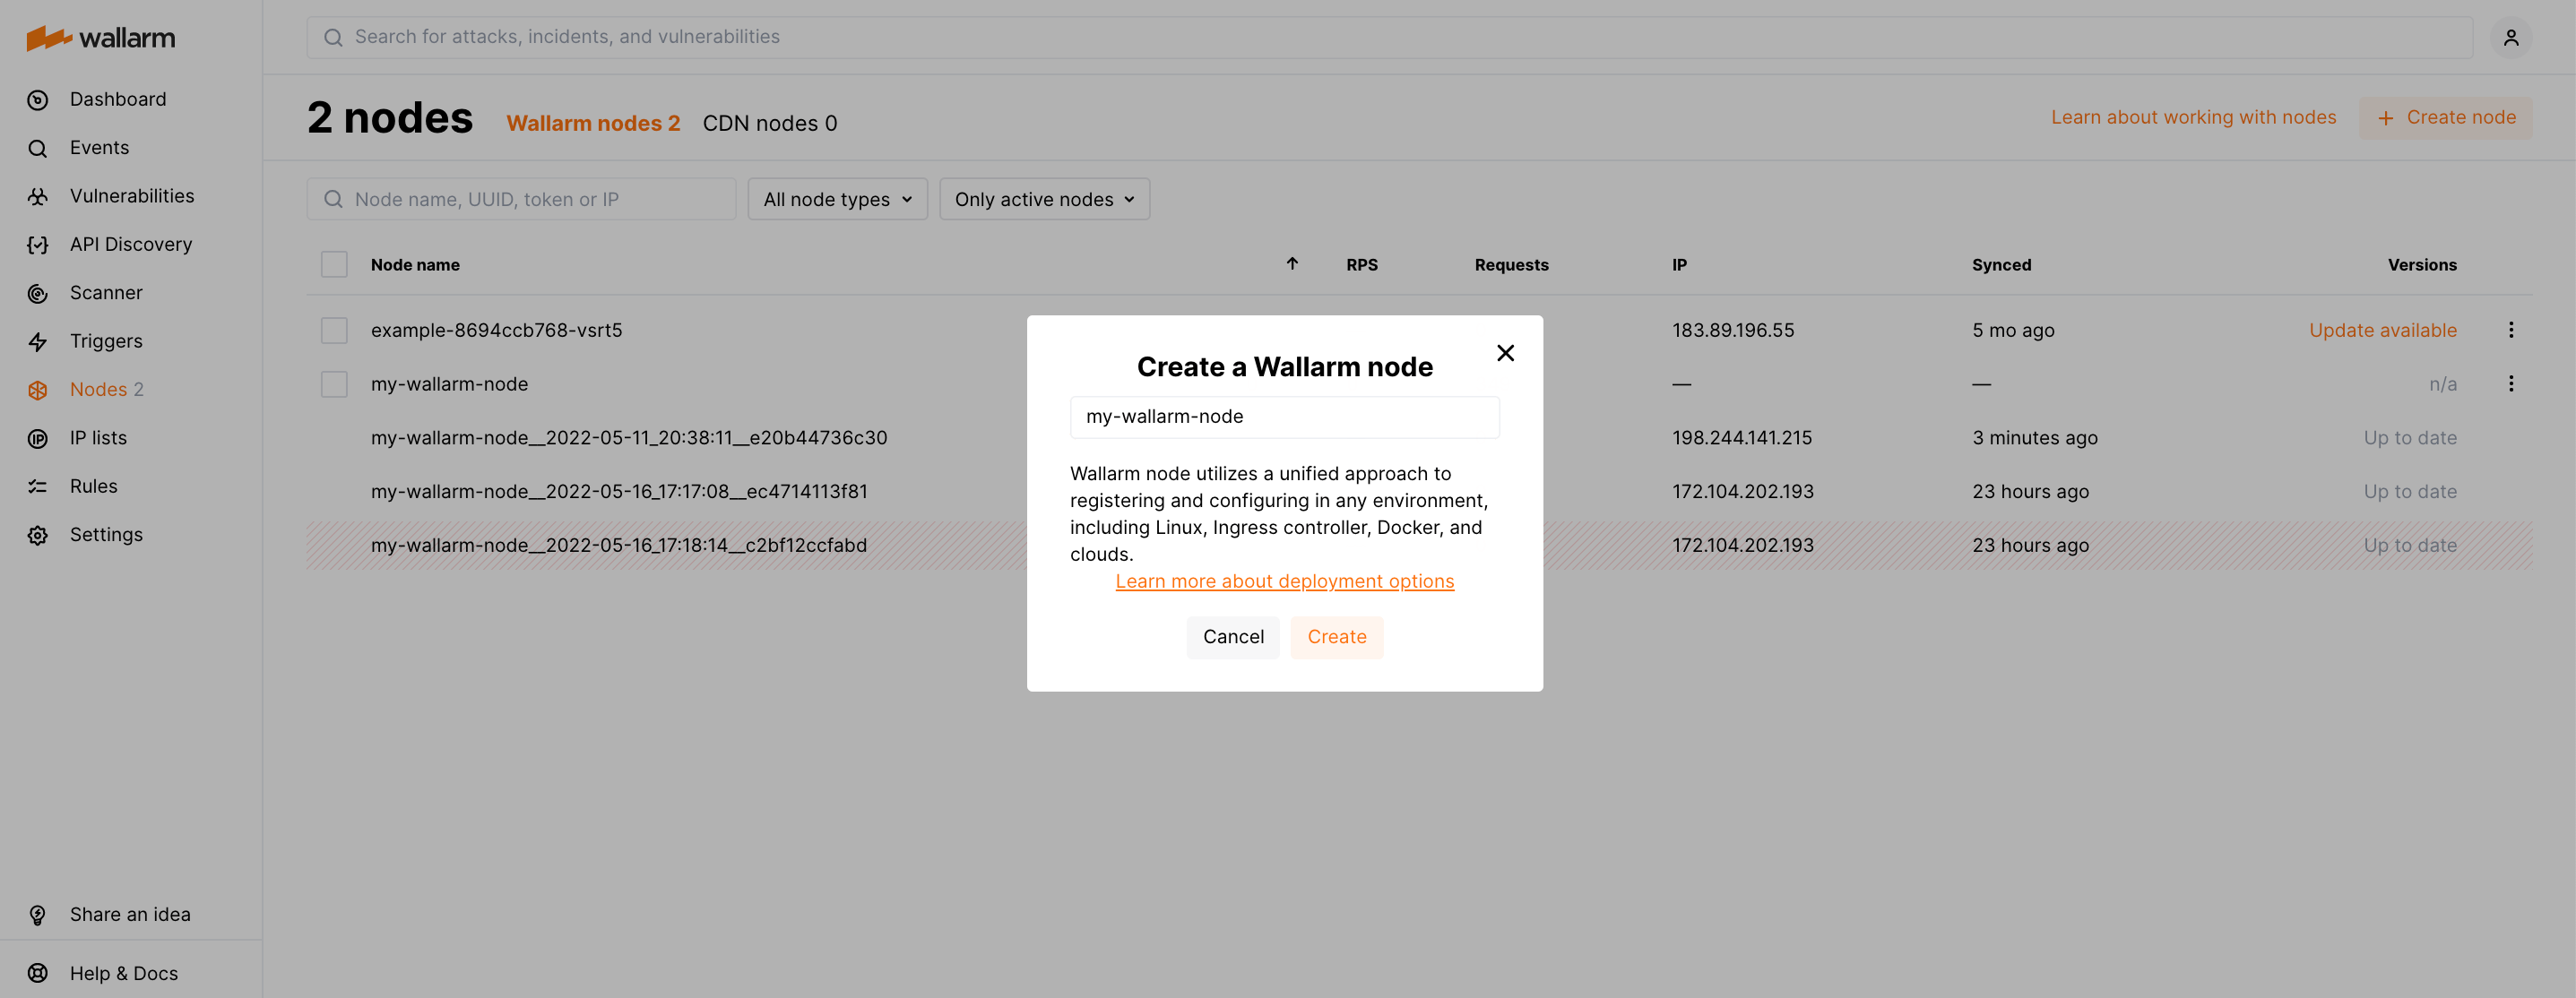
Generate a filtering node token of the appropriate type:
-
Add the Wallarm Helm charts repository:
-
Create the
values.yamlfile with the following Wallarm configuration:controller: wallarm: enabled: true token: "<NODE_TOKEN>" apiHost: us1.api.wallarm.com # nodeGroup: defaultIngressGroup config: use-forwarded-headers: "true" ingressClass: wallarm-ingress ingressClassResource: name: wallarm-ingress controllerValue: "k8s.io/wallarm-ingress" service: type: ClusterIP nameOverride: wallarm-ingresscontroller: wallarm: enabled: true token: "<NODE_TOKEN>" # nodeGroup: defaultIngressGroup config: use-forwarded-headers: "true" ingressClass: wallarm-ingress ingressClassResource: name: wallarm-ingress controllerValue: "k8s.io/wallarm-ingress" service: type: "ClusterIP" nameOverride: wallarm-ingress<NODE_TOKEN>is the Wallarm node token.- When using an API token, specify a node group name in the
nodeGroupparameter. Your node will be assigned to this group, shown in the Wallarm Console's Nodes section. The default group name isdefaultIngressGroup.
To learn more configuration options, please use the link.
-
Install the Wallarm Ingress Helm chart:
helm install --version 6.2.0 internal-ingress wallarm/wallarm-ingress -n wallarm-ingress -f values.yaml --create-namespaceinternal-ingressis the name of Helm releasevalues.yamlis the YAML file with Helm values created in the previous stepwallarm-ingressis the namespace where to install Helm chart (it will be created)
-
Verify that the Wallarm ingress controller is up and running:
The Wallarm pod status should be STATUS: Running and READY: N/N:
Step 2: Create Ingress object with Wallarm-specific ingressClassName
Create the Ingress object with the same ingressClass name as configured in values.yaml in the previous step.
Ingress object must be in the same namespace where your application is deployed, e.g.:
apiVersion: networking.k8s.io/v1
kind: Ingress
metadata:
  annotations:
    nginx.ingress.kubernetes.io/wallarm-application: "1"
    nginx.ingress.kubernetes.io/wallarm-mode: monitoring
  name: myapp-internal
  namespace: myapp
spec:
  ingressClassName: wallarm-ingress
  rules:
  - host: www.example.com
    http:
      paths:
      - path: /
        pathType: Prefix
        backend:
          service:
            name: myapp
            port:
              number: 80
Step 3: Reconfigure the existing Ingress controller to forward requests to Wallarm
Reconfigure the existing Ingress controller to forward incoming requests to the new Wallarm Ingress controller instead of application services as follows:
-
Create the Ingress object with the
ingressClassname to benginx. Please note it is the default value, you can replace it by your own value if it differs. -
Ingress object must be in the same namespace as Wallarm Ingress Chart, which is
wallarm-ingressin our example. -
The value of
spec.rules[0].http.paths[0].backend.service.namemust be the name of the Wallarm Ingress controller service that is made up of the Helm release name and.Values.nameOverride.To get the name, you can use the following command:
kubectl get svc -l "app.kubernetes.io/component=controller" -n wallarm-ingress -o=jsonpath='{.items[0].metadata.name}'In our example the name is
internal-ingress-wallarm-ingress-controller.
The resulting configuration example:
apiVersion: networking.k8s.io/v1
kind: Ingress
metadata:
  name: myapp-external
  namespace: wallarm-ingress
spec:
  ingressClassName: nginx
  rules:
    - host: www.example.com
      http:
        paths:
          - path: /
            pathType: Prefix
            backend:
              service:
                name: internal-ingress-wallarm-ingress-controller
                port:
                  number: 80
Step 4: Test the Wallarm Ingress controller operation
Get Load Balancer public IP of existing external Ingress controller, e.g. let us consider it is deployed in the ingress-nginx namespace:
LB_IP=$(kubectl get svc -l "app.kubernetes.io/component=controller" -n ingress-nginx -o=jsonpath='{.items[0].status.loadBalancer.ingress[0].ip}')
Send a test request to the existing Ingress controller address and verify that the system is working as expected:
