Step 2: Creating and Configuring an Application in G Suite
Prerequisites
The following values are used as demonstration values in this guide:
WallarmAppas a value for the Application Name parameter (in G Suite).https://sso.online.wallarm.com/acsas a value for the ACS URL parameter (in G Suite).https://sso.online.wallarm.com/entity-idas a value for the Entity ID parameter (in G Suite).
Warning
Ensure that you replace the sample values for the ACS URL and Entity ID parameters with the real ones obtained in the previous step.
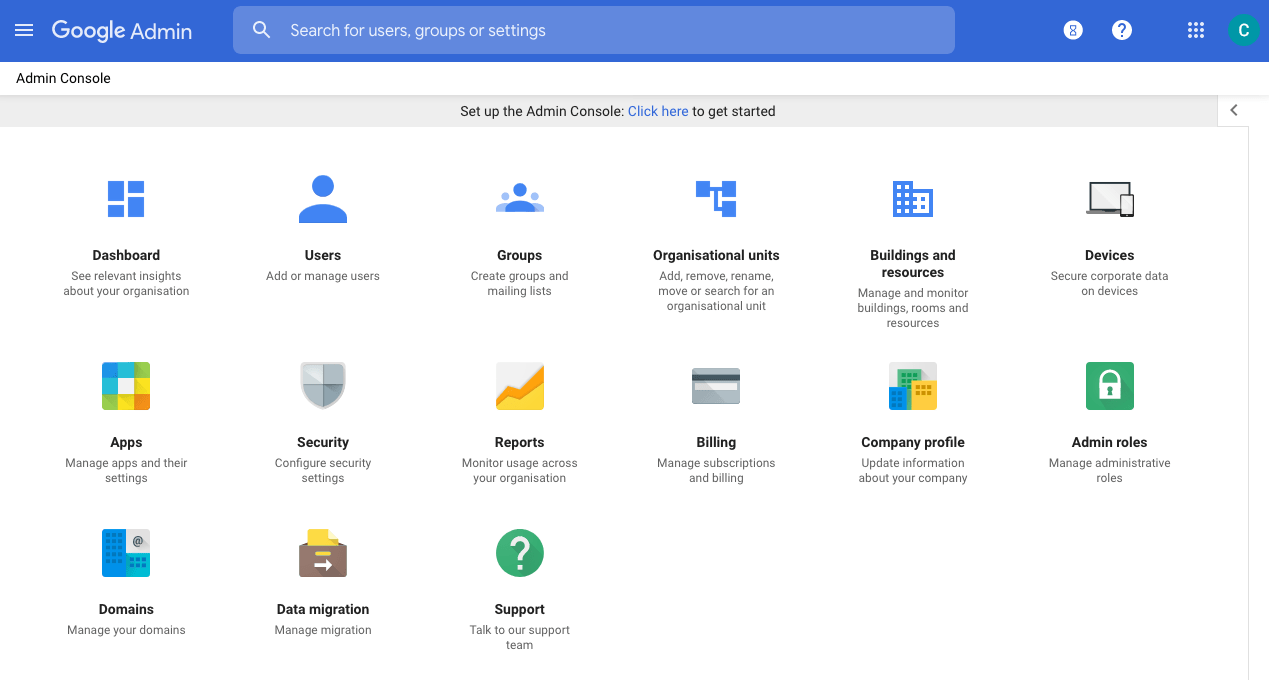
Log in to the Google admin console. Click on the Apps block.
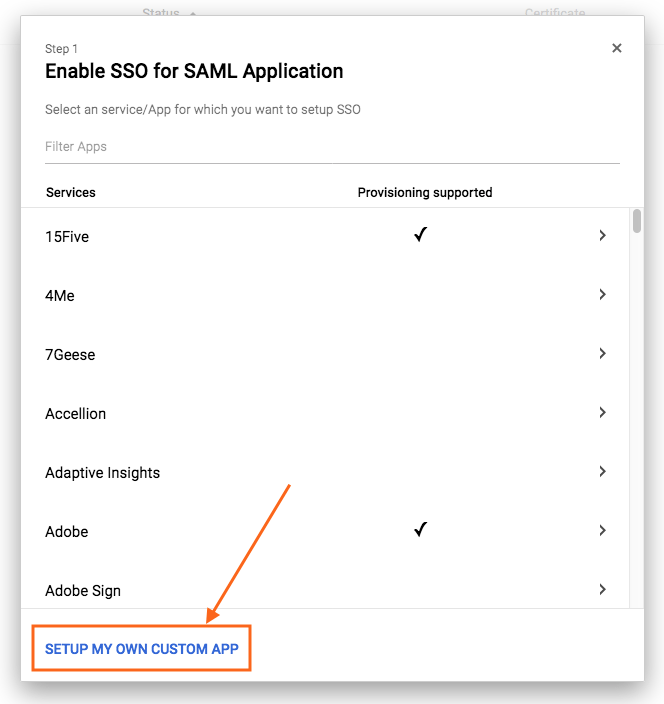
Click on the SAML apps block. Add a new application by clicking the Add a service/App to your domain link or the “+” button at the bottom right.
Click on the Setup my own custom app button.
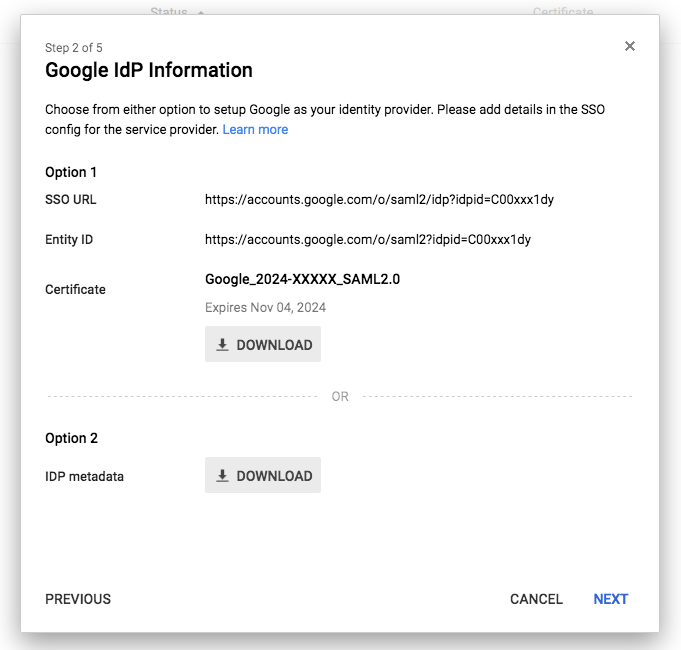
You will be provided with information (metadata) by G Suite as your identity provider:
* SSO URL
* Entity ID
- Certificate (X.509)
Metadata is a set of parameters describing the identity provider's properties (similar to those generated for the service provider in Step 1) that are required to configure SSO.
You can transfer them to the SSO Wallarm setup wizard in two ways:
-
Copy each parameter and download the certificate, and then paste (upload) it into the corresponding fields of the Wallarm setup wizard.
-
Download an XML file with metadata and upload it on the Wallarm side.
Save the metadata in any way you like and go to the next step of configuring the application by clicking Next. Entering the identity provider metadata on the Wallarm side will be described in Step 3.
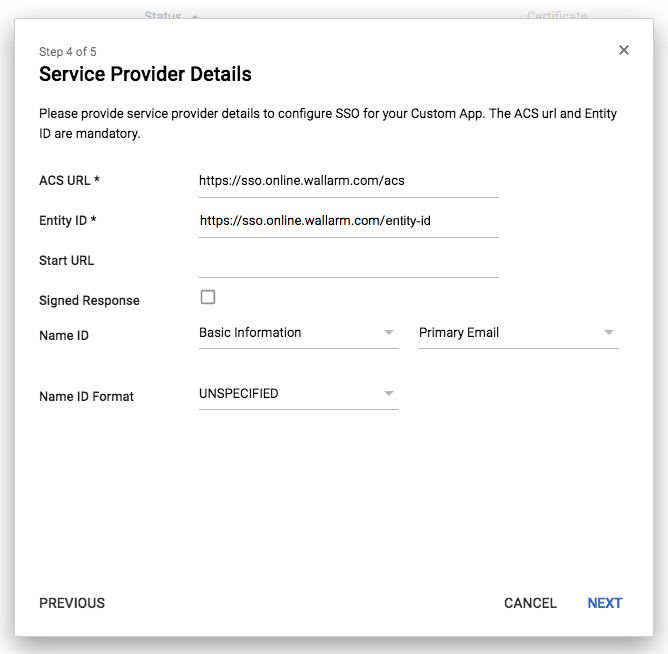
The next stage of configuring the application is to provide the service provider's (Wallarm) metadata. Required fields:
-
ACS URL corresponds to the Assertion Consumer Service URL parameter generated on the Wallarm side.
-
Entity ID corresponds to the Wallarm Entity ID parameter generated on the Wallarm side.
Fill in the remaining parameters if required. Click Next.
At the final stage of configuring the application, you will be prompted to provide mappings between service provider's attributes to the available user profile fields. Wallarm (as a service provider) requires you to create an attribute mapping.
Click Add new mapping and then map the email attribute to the “Primary Email” user profile field (in the “Basic Information” group).
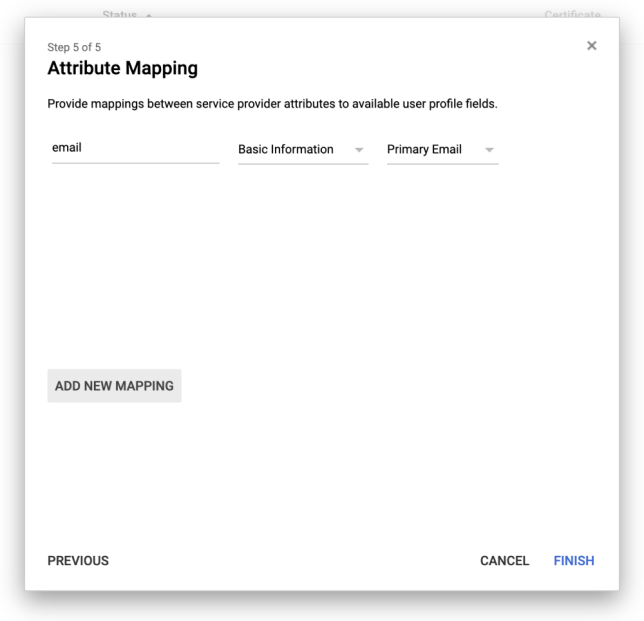
Click Finish.
After that, you will be informed in the pop-up window that the provided information is saved and, in order to complete the SAML SSO configuration, you will need to upload the data about the identity provider (Google) in the admin panel of the service provider (Wallarm). Click Ok.
After that, you will be redirected to the page of the created application.
Once the application is created, it is disabled for all your organizations in G Suite. To activate the SSO for this application, click the Edit Service button.

Select ON for everyone for the Service status parameter and click Save.
Now you can continue configuring the SSO on the Wallarm side.