Step 3: Transferring G Suite Metadata to the Wallarm Setup Wizard
Return to the G Suite SSO setup wizard in Wallarm Console and click Next to proceed to the next setup step.
At this stage, you need to provide the metadata generated by the G Suite service to the Wallarm SSO setup wizard.
There are two ways to transfer metadata:
-
Upload an XML file with metadata in the Wallarm setup wizard.
-
Copy and paste the required parameters into the Wallarm setup wizard manually.
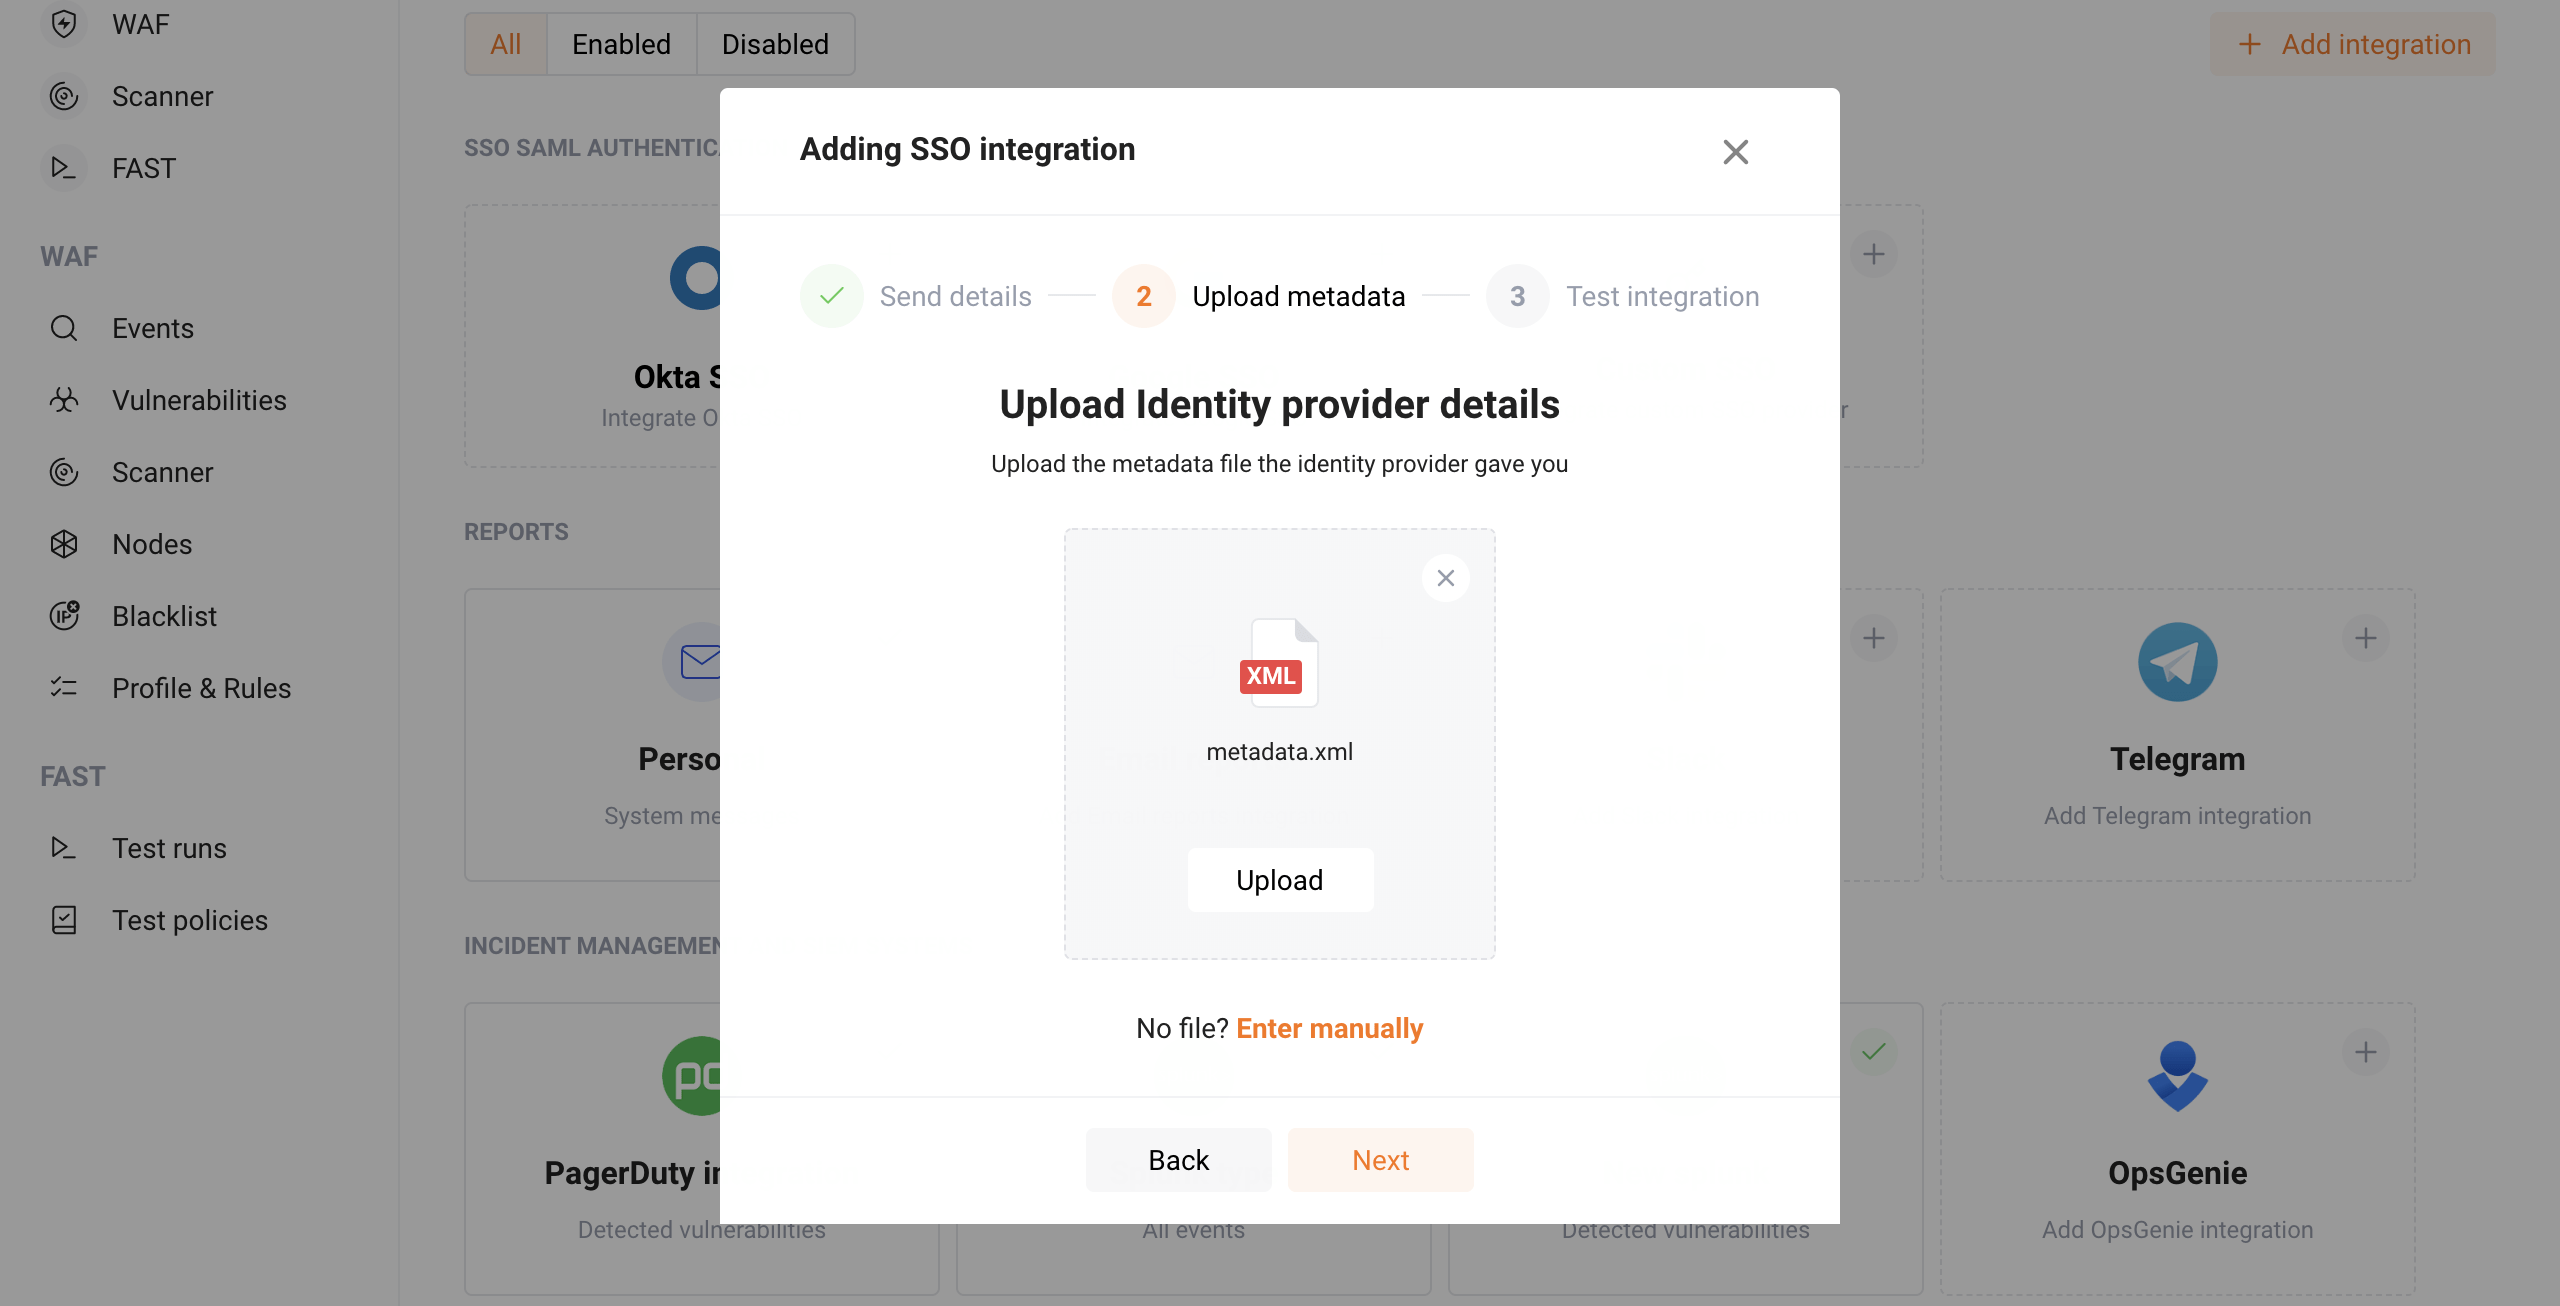
Uploading Metadata Using an XML File
If you saved the metadata of G Suite as an XML file when configuring the application in G Suite earlier (in Step 2), click the Upload button and select the desired file. You can also do this by dragging the file from your file manager to the “XML” icon. After uploading the file, click Next to go to the next step.
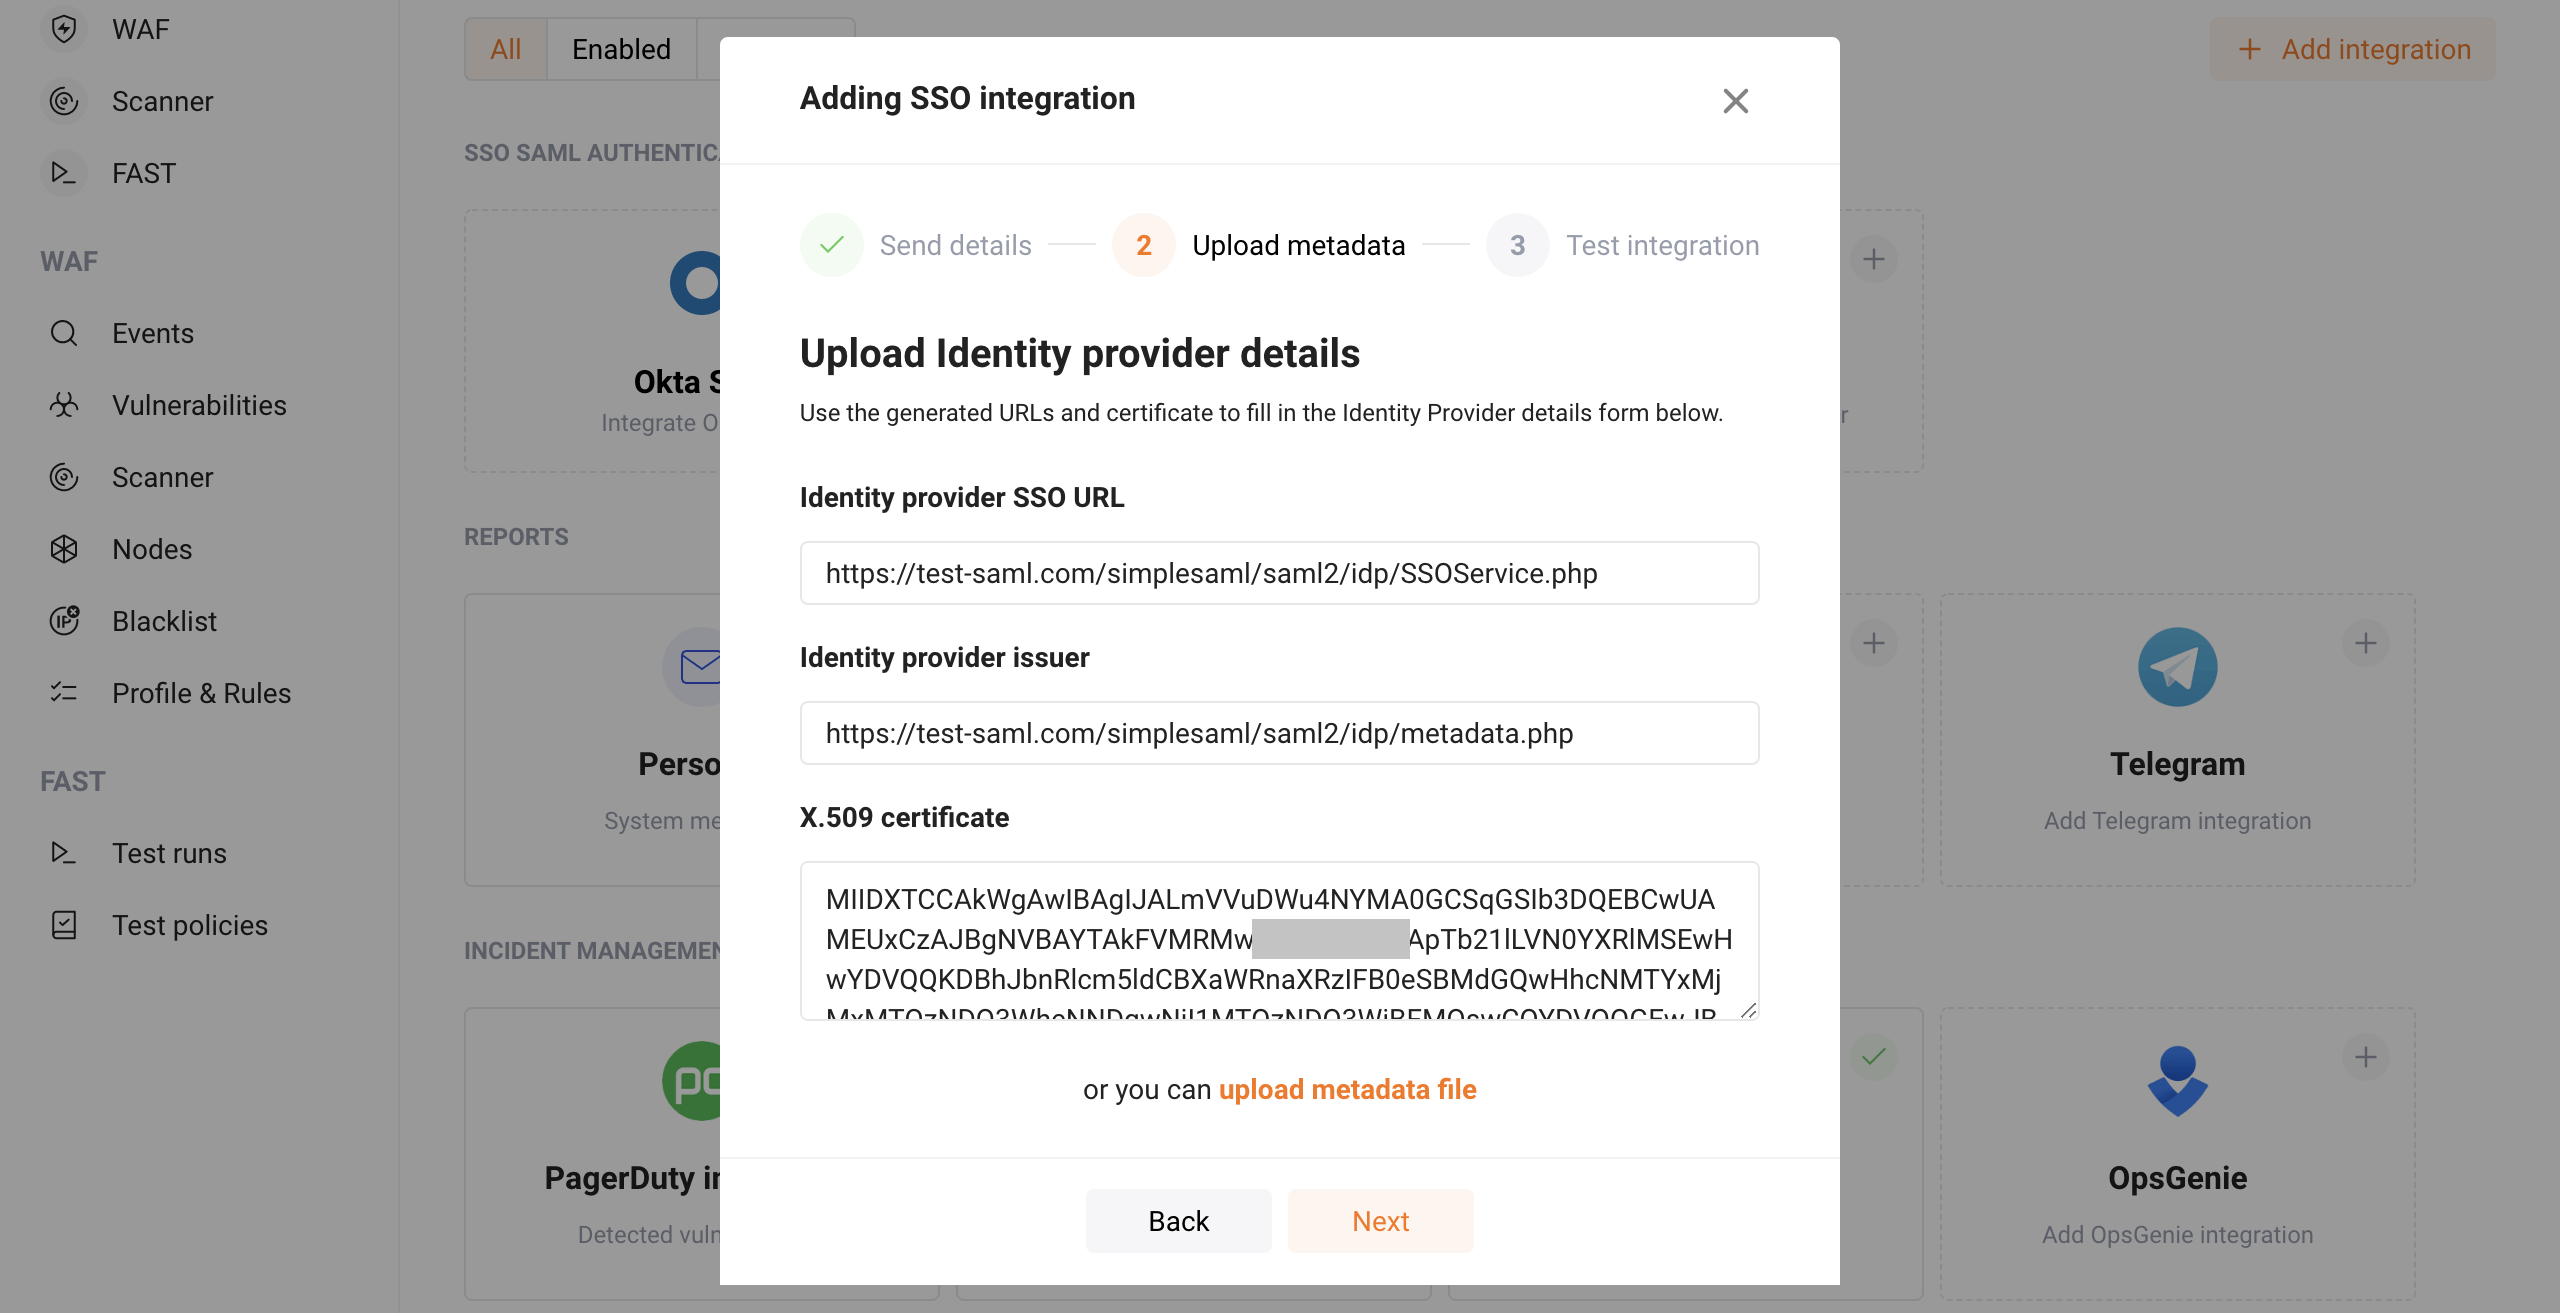
Copying Parameters Manually
If you have copied the provided identity provider parameters when configuring the application in G Suite, click the Enter manually link to enter the copied parameters manually and fill out the form.
Insert the parameters generated by G Suite into the fields of the Wallarm setup wizard as follows:
- SSO URL → Identity provider SSO URL
- Entity ID → Identity provider issuer
- Certificate → X.509 Certificate
Click Next to go to the next step. If you want to return to the previous step, click Back.
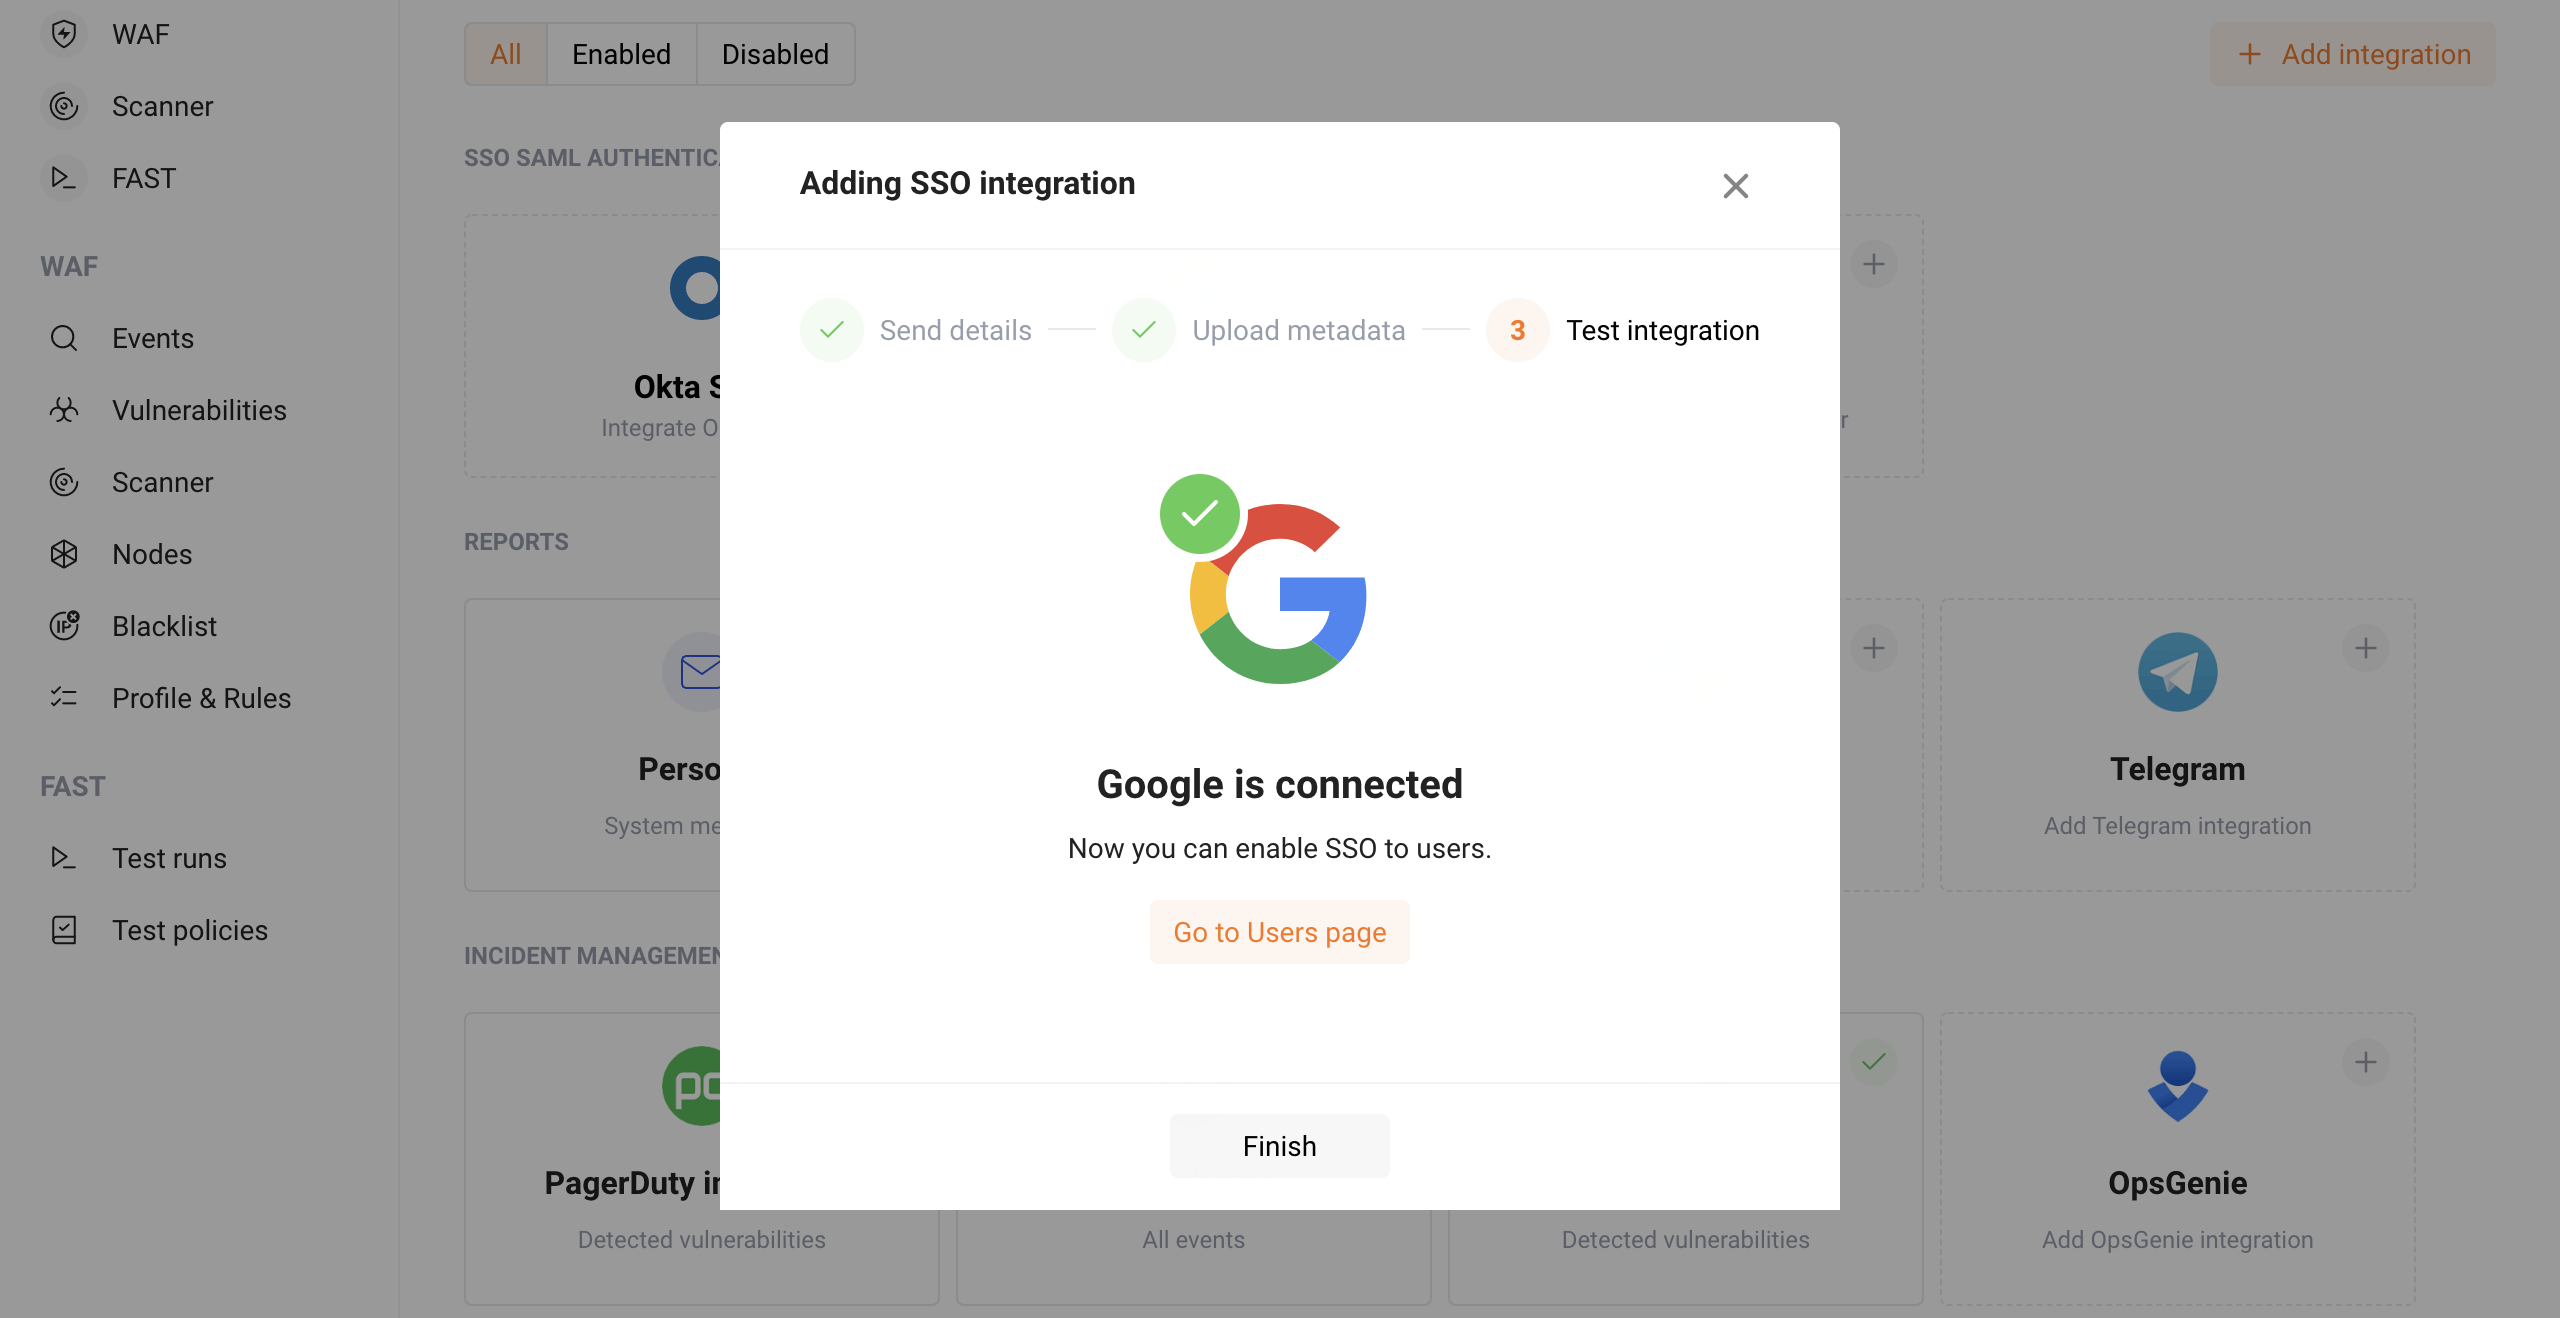
Completing SSO Wizard
On the final step of the Wallarm setup wizard, a test connection to the G Suite service will be performed automatically and the SSO provider will be checked.
After successful completion of the test (if all the necessary parameters are filled in correctly), the setup wizard will inform you that the G Suite service is connected as an identity provider and you can start connecting the SSO mechanism to authenticate your users.
Finish configuring SSO by clicking the Finish button or go to the user page to configure SSO by clicking the corresponding button.
After completing the SSO configuration wizard, on the Integration tab you will see that the G Suite service is connected as an identity provider and that no other SSO providers are available.

Now, navigate to the next step of the SSO configuration process.