Chaining of the Wallarm and additional Ingress Controllers in the same Kubernetes cluster
These instructions provide you with the steps to deploy the Wallarm Ingress controller to your K8s cluster using Helm when there are other non-Ingress controllers deployed (e.g. AWS ALB Ingress Controller which is not supported by Wallarm).
The issue addressed by the solution
Wallarm offers its node software in different form-factors, including a Kubernetes Ingress Controller built on top of the Community Ingress NGINX Controller.
If you already use a non-NGINX Ingress controller, it might be challenging to replace the existing Ingress controller with the Wallarm controller. Fortunately, it is possible to chain several Ingress controllers that enable you to utilize an existing controller to get end-user requests to a cluster, and deploy an additional Wallarm Ingress controller to provide necessary application protection.
Requirements
-
Kubernetes platform version 1.19-1.23
-
Helm package manager
-
Access to the account with the Administrator role in Wallarm Console for the EU Cloud or US Cloud
-
Access to
https://api.wallarm.com:444for working with EU Wallarm Cloud or tohttps://us1.api.wallarm.com:444for working with US Wallarm Cloud -
Access to
https://charts.wallarm.comto add the Wallarm Helm charts. Ensure the access is not blocked by a firewall -
Access to the Wallarm repositories on Docker Hub
https://hub.docker.com/r/wallarm. Make sure the access is not blocked by a firewall -
Access to GCP storage addresses to download an actual list of IP addresses registered in allowlisted, denylisted, or graylisted countries, regions or data centers
-
Deployed Kubernetes cluster running an Ingress controller
Deploying the Wallarm Ingress controller and chaining it with an additional Ingress Controller
To deploy the Wallarm Ingress controller and chain it with additional controllers:
-
Deploy the official Wallarm controller Helm chart using an Ingress class value different from the existing Ingress controller.
-
Create the Wallarm-specific Ingress object with:
- The Ingress class similar to the value in the Wallarm Ingress controller configuration.
- External ELB/ALB load balancers disabled, so the Wallarm Ingress controller will be not exposed to the Internet.
- Ingress controller requests routing rules configured in the same way as the existing Ingress controller.
-
Reconfigure the existing Ingress controller to forward incoming requests to the new Wallarm Ingress controller instead of application services.
-
Test the Wallarm Ingress controller operation.
Step 1: Deploy the Wallarm Ingress controller
-
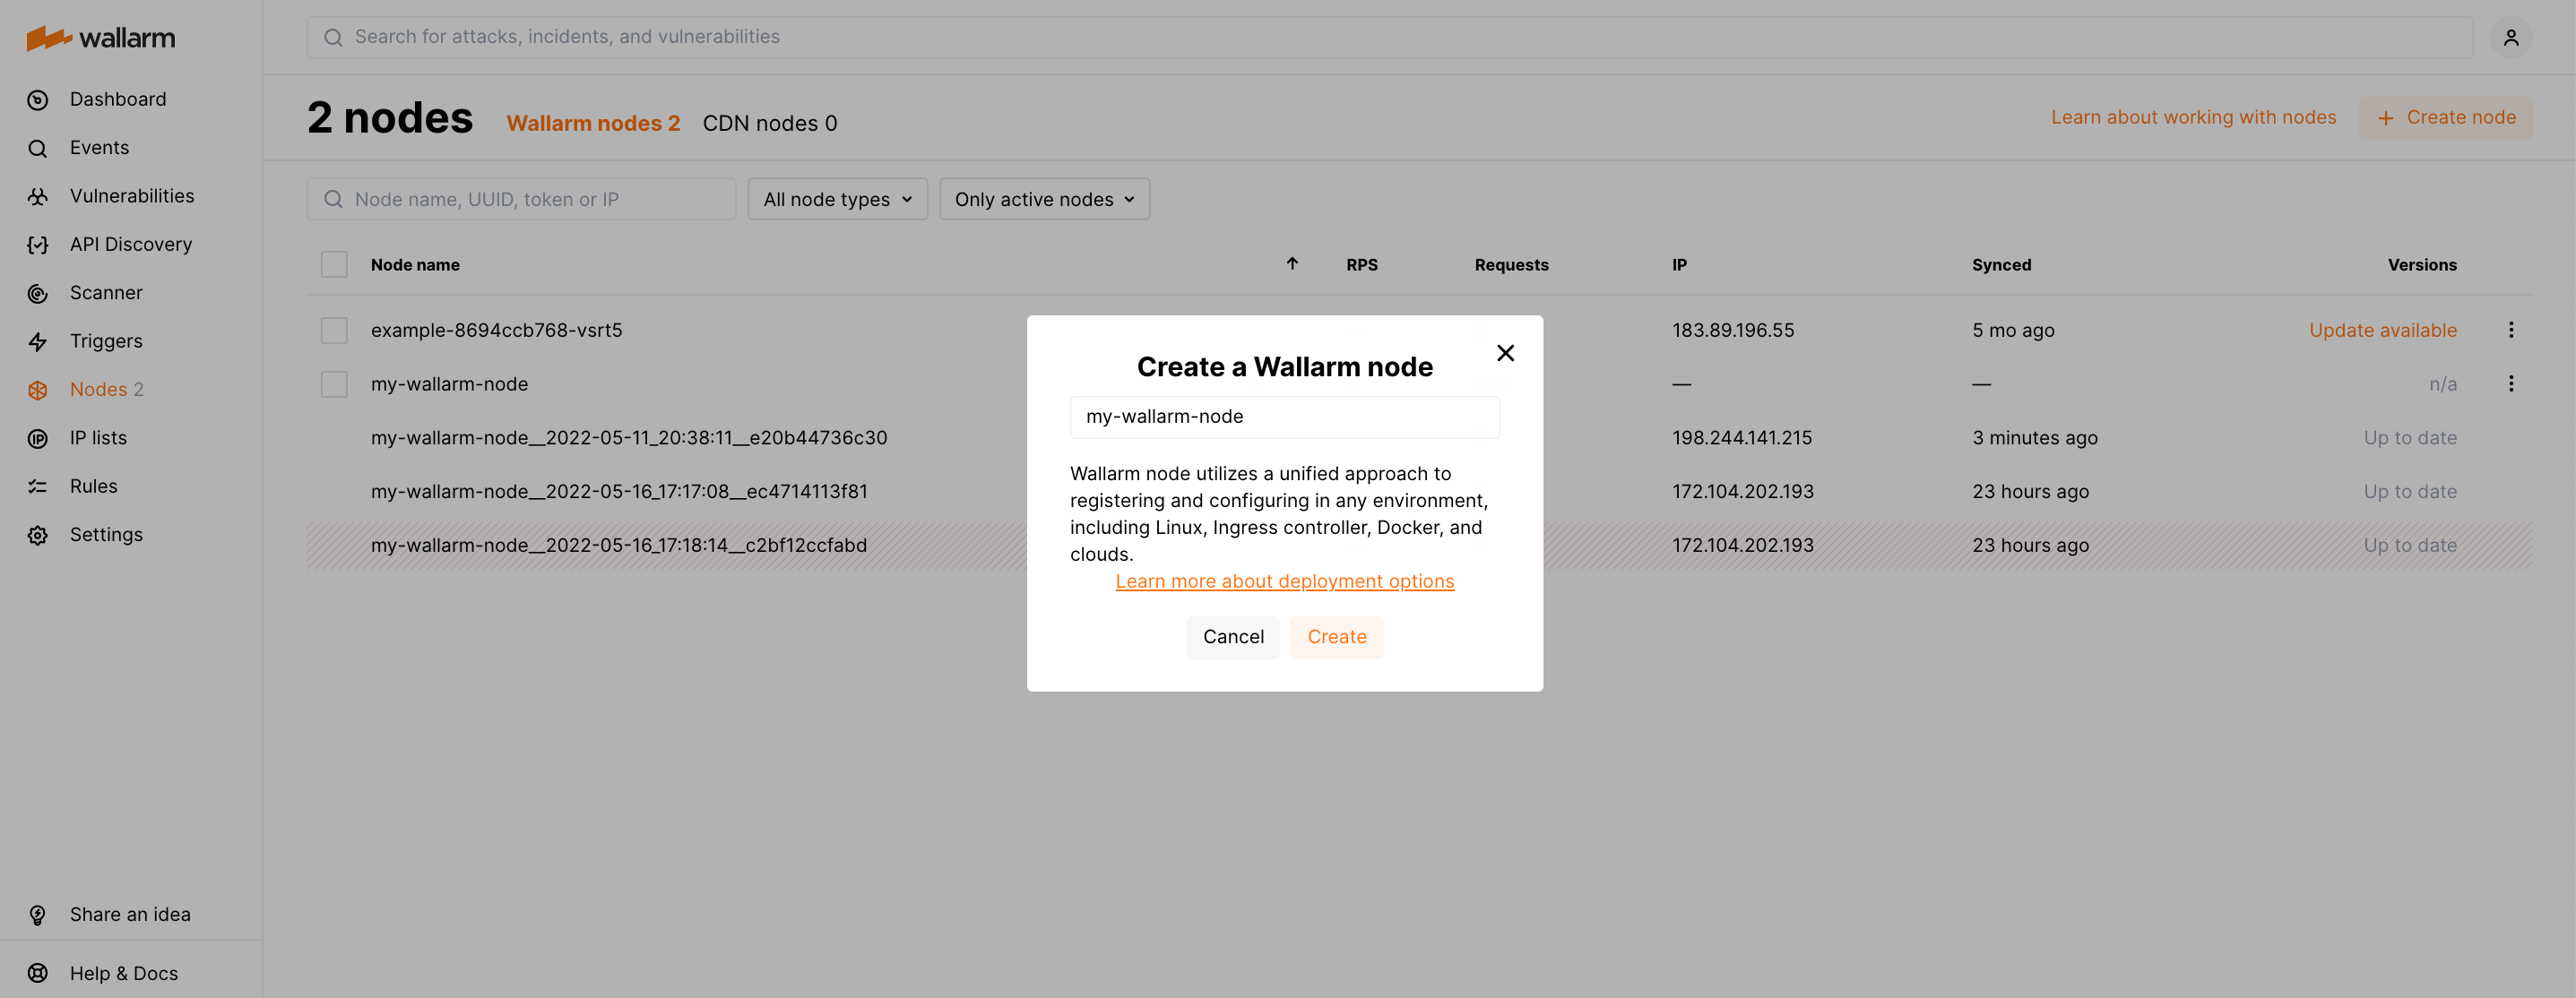
Go to Wallarm Console → Nodes via the link below:
- https://my.wallarm.com/nodes for the EU Cloud
- https://us1.my.wallarm.com/nodes for the US Cloud
-
Create a filtering node with the Wallarm node type and copy the generated token.
-
Add the Wallarm chart repository:
-
Create the new K8s namespace, e.g.
wallarm-ingress: -
Create the
values.yamlfile with the following Wallarm configuration:<NODE_TOKEN>is the Wallarm node token.To learn more configuration options, please use the link.
-
Install the Wallarm packages:
helm install --version 3.6.9 <INGRESS_CONTROLLER_NAME> wallarm/wallarm-ingress -n wallarm-ingress -f <PATH_TO_VALUES><INGRESS_CONTROLLER_NAME>is the name for the Wallarm Ingress controller<PATH_TO_VALUES>is the path to thevalues.yamlfile
-
Verify that the Wallarm ingress controller is up and running:
Each pod status should be STATUS: Running or READY: N/N. For example:
Step 2: Create the Wallarm-specific Ingress object
Create the Wallarm-specific Ingress object, e.g.:
apiVersion: networking.k8s.io/v1
kind: Ingress
metadata:
  annotations:
    nginx.ingress.kubernetes.io/wallarm-application: "1"
    nginx.ingress.kubernetes.io/wallarm-mode: monitoring
    kubernetes.io/ingress.class: "wallarm-ingress"
  name: wallarm-ingress
  namespace: default
spec:
  rules:
  - host: www.example.com
    http:
      paths:
      - backend:
          service:
            name: myapp
            port:
              number: 80
        path: /
Step 3: Reconfigure the existing Ingress controller to forward requests to Wallarm
Reconfigure the existing Ingress controller to forward incoming requests to the new Wallarm Ingress controller instead of application services, e.g.:
apiVersion: networking.k8s.io/v1
kind: Ingress
metadata:
  annotations:
    kubernetes.io/ingress.class: nginx
  name: nginx-ingress
  namespace: wallarm-ingress
spec:
  rules:
    - host: www.example.com
      http:
        paths:
          - backend:
              service:
                name: wallarm-ingress-controller
                port:
                  number: 80
            path: /
Step 4: Test the Wallarm Ingress controller operation
Send a test request to the existing Ingress controller address and verify that the system is working as expected: