Upgrading the EOL multi-tenant node
These instructions describe the steps to upgrade the end‑of‑life multi-tenant node (version 3.6 and lower) up to 4.10.
Requirements
-
Execution of further commands by the user with the Global administrator role added under the technical tenant account
-
Access to
https://us1.api.wallarm.comif working with US Wallarm Cloud or tohttps://api.wallarm.comif working with EU Wallarm Cloud. Please ensure the access is not blocked by a firewall
Step 1: Contact the Wallarm support team
Request the Wallarm support team assistance to get the latest version of the custom ruleset building feature during multi-tenant node upgrade.
Blocked upgrade
Using an incorrect version of the custom ruleset building feature may block the upgrade process.
The support team will also help you answer all questions related to the multi-tenant node upgrade and necessary reconfiguration.
Step 2: Follow standard upgrade procedure
Standard procedures are the ones for:
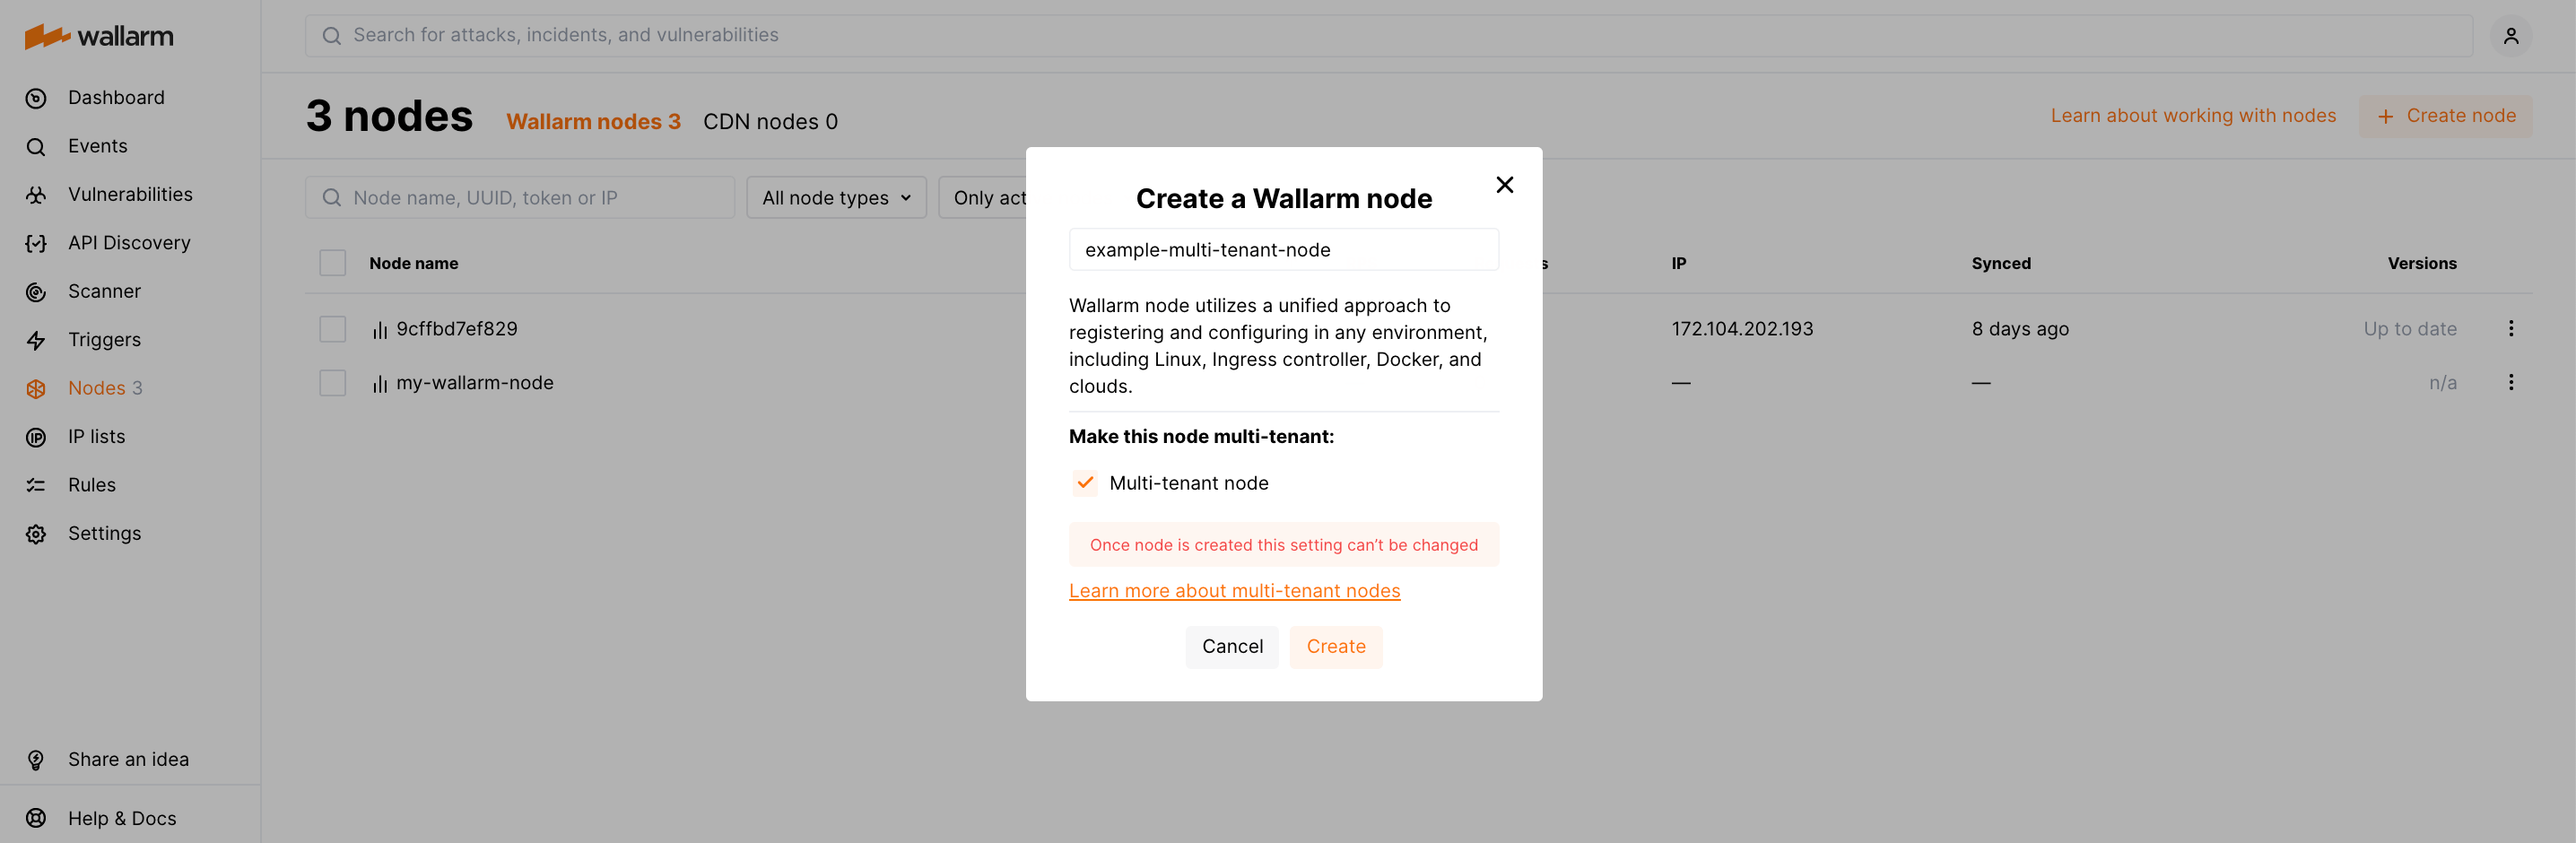
Creating the multi-tenant node
During the Wallarm node creation, please select the Multi-tenant node option:
Step 3: Reconfigure multitenancy
Rewrite the configuration of how traffic is associated with your tenants and their applications. Consider the example below. In the example:
-
Tenant stands for partner's client. The partner has two clients.
-
The traffic targeting
tenant1.comandtenant1-1.comshould be associated with client 1. -
The traffic targeting
tenant2.comshould be associated with client 2. -
Client 1 also has three applications:
tenant1.com/logintenant1.com/userstenant1-1.com
The traffic targeting these 3 paths should be associated with the corresponding application; the remaining should be considered to be the generic traffic of client 1.
Study your previous version configuration
In 3.6, this could be configured as follows:
server {
  server_name  tenant1.com;
  wallarm_application 20;
  ...
  location /login {
     wallarm_application 21;
     ...
  }
  location /users {
     wallarm_application 22;
     ...
  }

server {
  server_name  tenant1-1.com;
  wallarm_application 23;
  ...
}

server {
  server_name  tenant2.com;
  wallarm_application 24;
  ...
}
...
}
Notes on the configuration above:
-
The traffic targeting
tenant1.comandtenant1-1.comis associated with client 1 via20and23values, linked to this client via the API request. -
Alike API requests should have been sent to link other applications to the tenants.
-
The tenants and the applications are separate entities, so it is logical to configure them with the different directives. Also, it would be convenient to avoid additional API requests. It would be logical to define relations between the tenants and applications via the configuration itself. All this is missing in the current configuration but will become available in the new 4.x approach described below.
Study 4.x approach
In version 4.x, UUID is the way to define the tenant in the node configuration.
To rewrite the configuration, do the following:
-
Get the UUIDs of your tenants.
-
Include tenants and set their applications in the NGINX configuration file.
Get UUIDs of your tenants
To get the list of tenants, send authenticated requests to Wallarm API. Authentication approach is the same as the one used for tenant creation.
-
Get
clientid(s) to later find UUIDs related to them:Copy
clientid(s) from the ID column in the Wallarm Console user interface: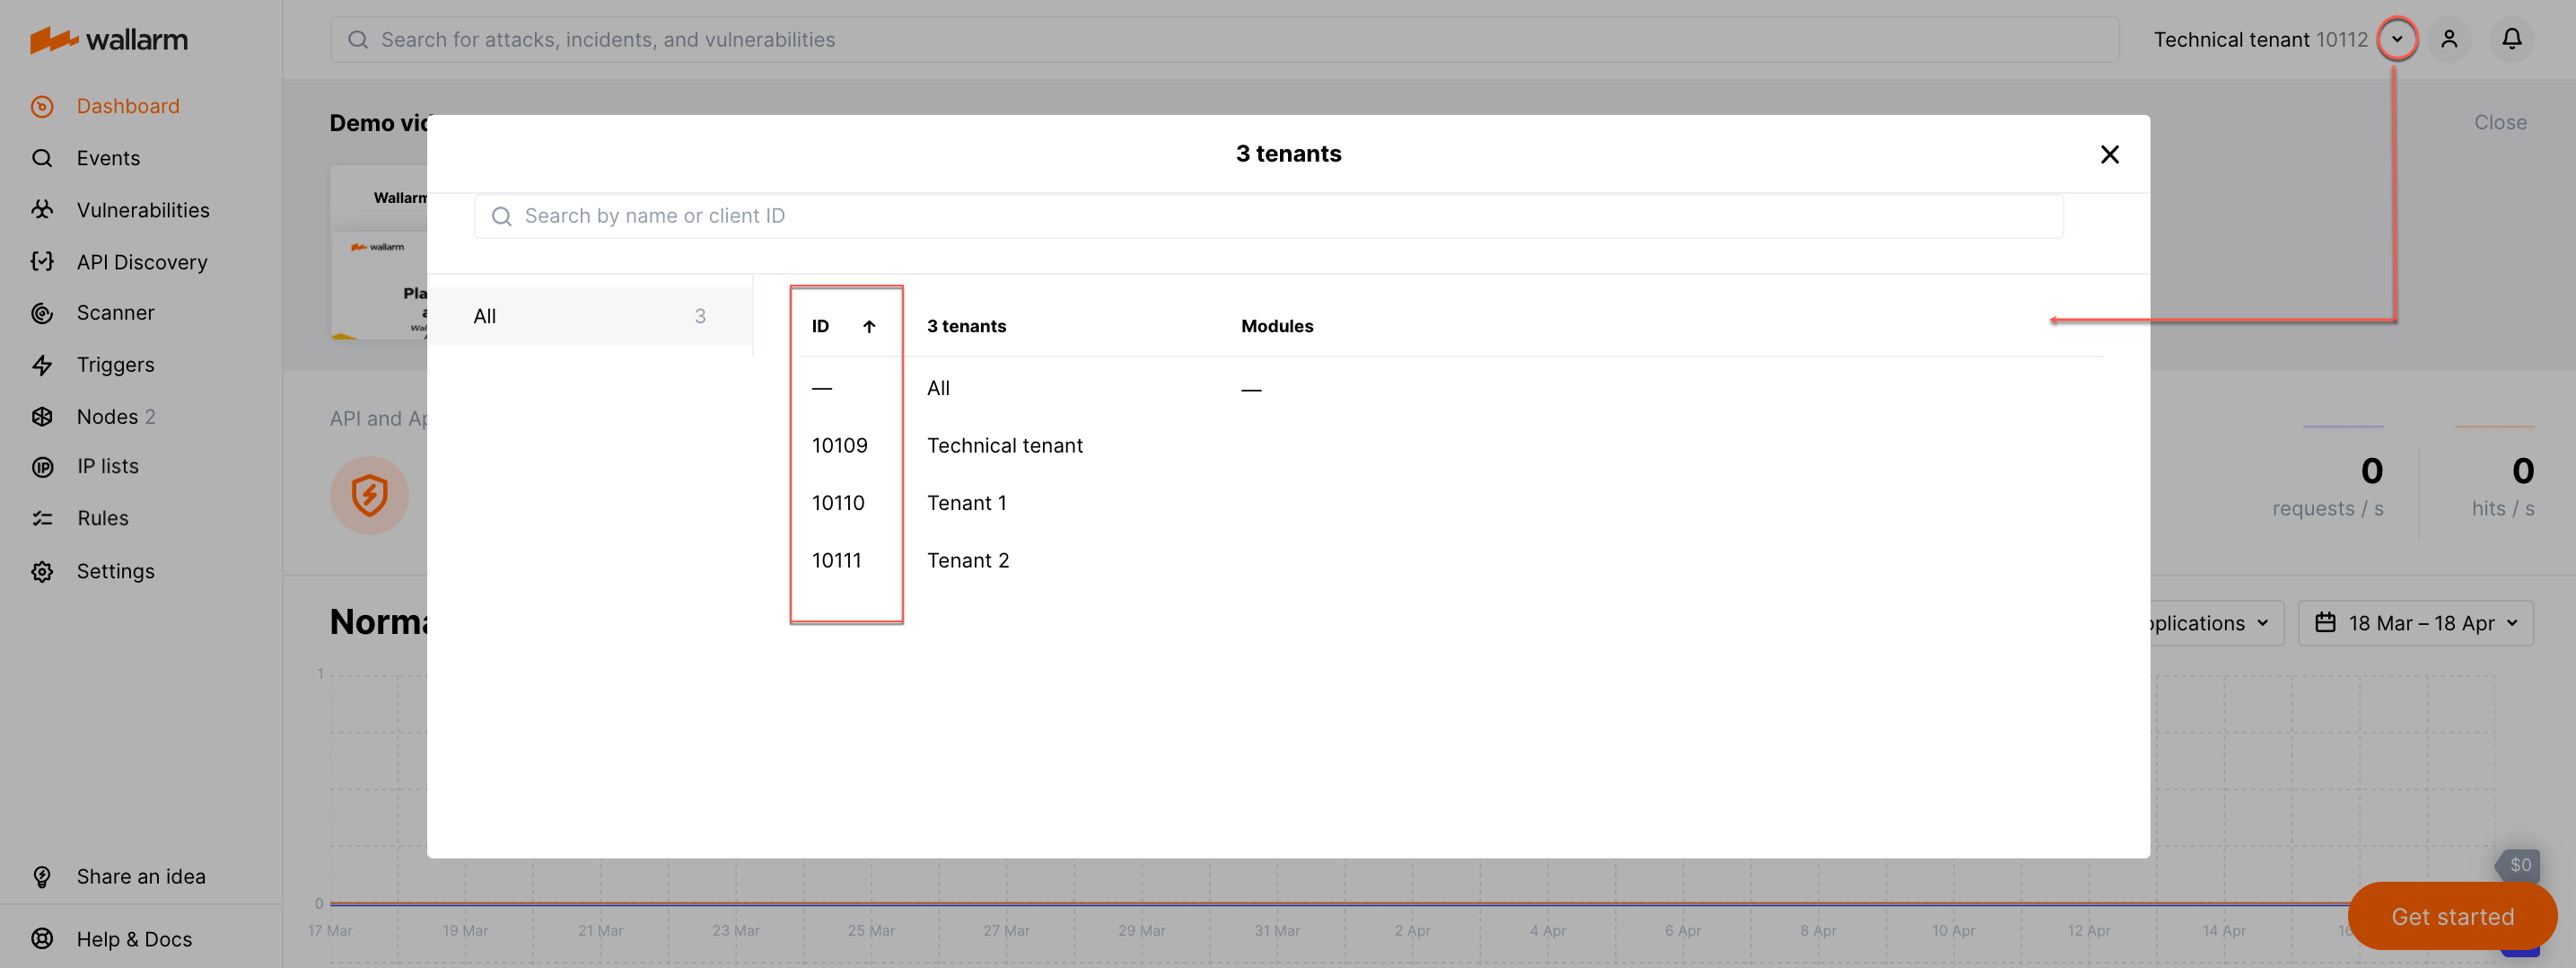
-
Send the GET request to the route
/v2/partner_client:Example of the request sent from your own client
Where
PARTNER_IDis the one obtained at Step 2 of the tenant creation procedure.Response example:
-
Copy
clientid(s) from the response.
-
-
To get the UUID of each tenant, send the POST request to the route
v1/objects/client:Example of the request sent from your own client
Response example:
-
From the response, copy
uuid(s).
Include tenants and set their applications in the NGINX configuration file
In the NGINX configuration file:
-
Specify the tenant UUIDs received above in the
wallarm_partner_client_uuiddirectives. -
Set the protected application IDs in the
wallarm_applicationdirectives.If the NGINX configuration used for the node 3.6 or lower involves application configuration, only specify tenant UUIDs and keep application configuration unchanged.
Example:
server {
  server_name  tenant1.com;
  wallarm_partner_client_uuid 11111111-1111-1111-1111-111111111111;
  ...
  location /login {
     wallarm_application 21;
     ...
  }
  location /users {
     wallarm_application 22;
     ...
  }

server {
  server_name  tenant1-1.com;
  wallarm_partner_client_uuid 11111111-1111-1111-1111-111111111111;
  wallarm_application 23;
  ...
}

server {
  server_name  tenant2.com;
  wallarm_partner_client_uuid 22222222-2222-2222-2222-222222222222;
  ...
}
...
}
In the configuration above:
-
Tenants and applications are configured with different directives.
-
Relations between the tenants and applications are defined via the
wallarm_applicationdirectives in the corresponding blocks of the NGINX configuration file.
Step 4: Test Wallarm multi-tenant node operation
-
Send the request with test Path Traversal attack to a protected resource address:
-
Open Wallarm Console → Attacks section in the US Cloud or EU Cloud and make sure the attack is displayed in the list.
